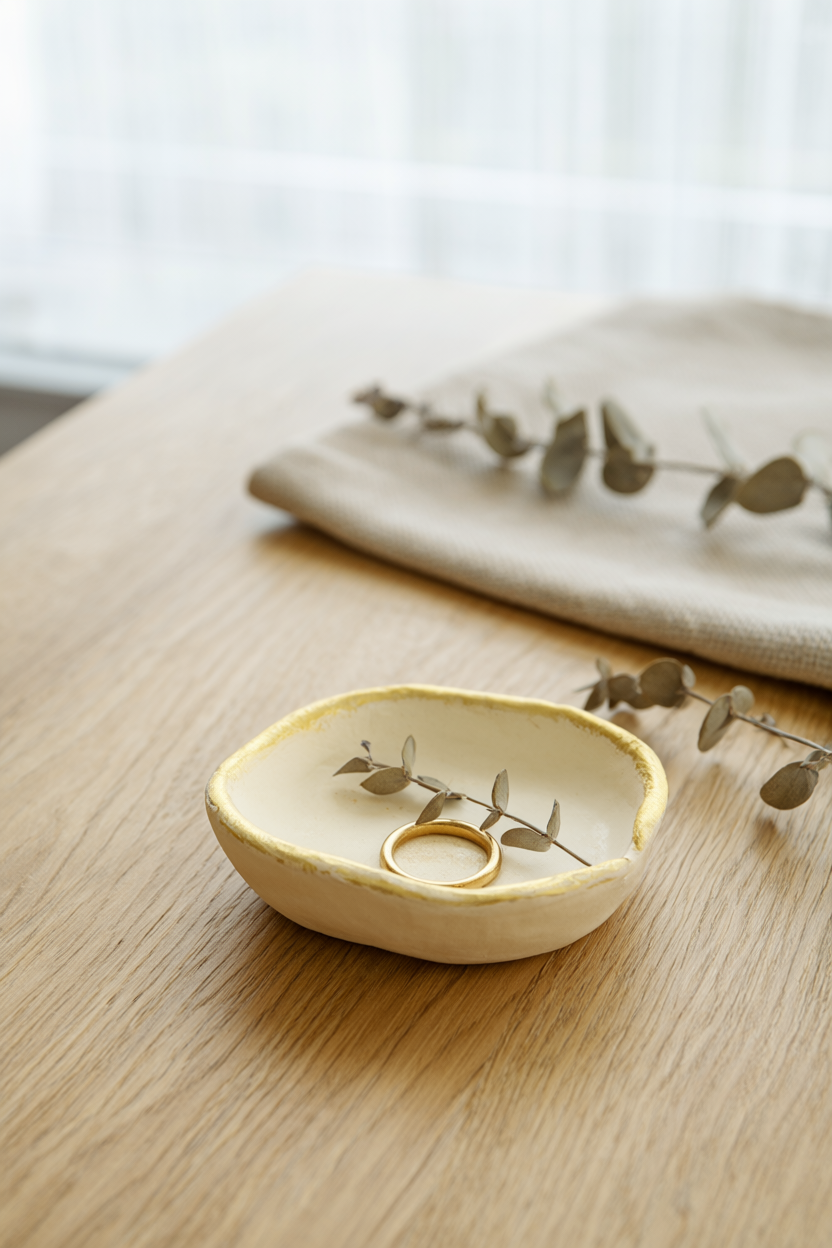
In about 30-40 minutes of hands-on time, one small ball of air-dry clay turns into a handmade trinket dish with a soft, wavy rim that looks lovely on a nightstand and keeps rings and earrings safe. It is one of the friendliest first clay projects you can try: no kiln, no wheel, and no special tools, just your hands, a bowl, and a rolling pin. An honest note before you start: the dish needs 48-72 hours to dry completely, and a free printable supply list is included below, so you can gather everything in one trip.
At a Glance
- Difficulty: Beginner, no clay experience needed.
- Hands-on time: 30-40 minutes.
- Drying and curing time: 24 hours in the bowl, then 24-48 more hours flipped, so 48-72 hours total, plus optional overnight drying for paint or sealant.
- Cost level: Low. A 1 lb (454 g) bag of air-dry clay makes two small dishes, and most of the tools are already in your kitchen.
What You’ll Need
- Air-dry clay, about 200 g (7 oz) per dish; a 1 lb (454 g) bag makes 2 small dishes
- Rolling pin or a smooth glass jar
- Small bowl, 4-6 in (10-15 cm) wide, as the mold
- Plastic wrap (cling film)
- Round cookie cutter, 5-6 in, or a butter knife
- Small cup of water and a soft brush or your fingertip
- Fine sandpaper, 220-320 grit (optional)
- Wax paper or parchment paper for drying
- Acrylic paint and/or water-based matte sealant (optional)
- Gold paint pen (optional)
- Small felt circle and craft glue (optional)
Step-by-Step Instructions
- Line a small bowl with plastic wrap, pressing it into the curve, and set it aside. Pull off a fist-size ball of air-dry clay, about 200 g (7 oz), and knead it for a minute until it feels soft and smooth, adding water a few drops at a time if it cracks.
- Flatten the ball into a disc and roll it to about 1/4 inch (6 mm) thick, turning and lifting the clay often so it does not stick; the thickness of two stacked quarters is a good guide.
- Cut a circle about 5-6 inches (13-15 cm) wide with a round cookie cutter or a butter knife, then smooth the cut edge with a wet fingertip so there are no jagged spots.
- Lift the circle gently and press it into the lined bowl so the sides rise into a dish shape. Use the back of a spoon to smooth the bottom of the well and to nudge the rim into a soft, slightly wavy edge.
- Let the dish sit in the bowl for 24 hours to set its shape. Lift it out, place it rim-down on wax paper, and dry for another 24-48 hours until the bottom feels hard and fully dry; thick spots may need the full 48 hours.
- Once the dish is completely dry, sand any rough edges with fine sandpaper over a bin or outdoors so the dust does not spread, then wipe the dish with a barely damp cloth. A dust mask is worth wearing for this step.
- Optional: paint the dish with acrylic paint, or just run a gold paint pen around the rim for a metallic edge, and let the paint dry completely.
- Optional: brush on a matte water-based sealant in a ventilated area and let it cure; sealant makes the dish water-resistant but not waterproof. Glue a small felt circle under the base to protect furniture, and let everything dry overnight before using it.
Why This Is the Perfect First Clay Craft
Air-dry clay is wonderfully forgiving. There is no kiln to book and no firing schedule to learn, and you do not need a pottery wheel or a drawer full of specialty tools. Everything this project asks for, aside from the clay itself, can come from your kitchen: a bowl, plastic wrap, a rolling pin or glass jar, and a butter knife will do the job.
Because the dish is small, one ball of clay is enough. If a step goes sideways, you can usually smooth it with a wet fingertip, or squash it back into a ball and start again, and you can still finish the whole piece in the same week you started, once the drying time is done.
Make It Yours: Three Easy Variations
- Wavy rim: press your fingertip gently around the rim while the clay is still soft for a scalloped edge that catches the light.
- Stamped or leaf-printed texture: press a clean stamp or the veins of a small leaf into the clay before it dries for a one-of-a-kind pattern.
- Two-tone painted dish: paint the inside of the well in one color and the rim in another, or keep it simple with a single gold rim.
Troubleshooting: Cracks, Sticking, and Warping
Cracks usually mean the clay is a little dry. Knead in a few drops of water at a time until it feels smooth again, and press small surface cracks with a wet fingertip before you shape the clay.
If the clay sticks to the work surface, stop pulling at it: lift and turn it more often as you roll, and move it onto wax paper if you need to keep going.
If the rim starts to droop or the shape looks uneven while it dries, press the dish gently back into the lined bowl, nudge the rim level, and let it set again before flipping it rim-down for the final dry.
Care and Gifting: Dry Items Only
An air-dry clay dish is happiest with dry items: rings, earrings, keys, and other small treasures. Wipe it clean with a dry cloth rather than soaking it or putting it in the dishwasher, even if you sealed it.
To gift it, tuck a pair of earrings or a ring inside and wrap the dish simply with tissue or a small box. It is a handmade present that suits a birthday, a thank-you, or a just-because moment.
Your Free Printable
The free printable is a two-page PDF made to sit on your workbench while you craft. Page 1, What You’ll Need, is a checklist of 11 materials and tools, from the clay and the bowl mold to the optional paint, gold pen, and felt base. Page 2, Step by Step, breaks the project into 13 short actions, from lining the bowl and rolling the clay to drying, sanding, and optional sealing.
Print it, tick the boxes as you go, and enjoy your new dish. If you make one, we would love to see how you finished it.