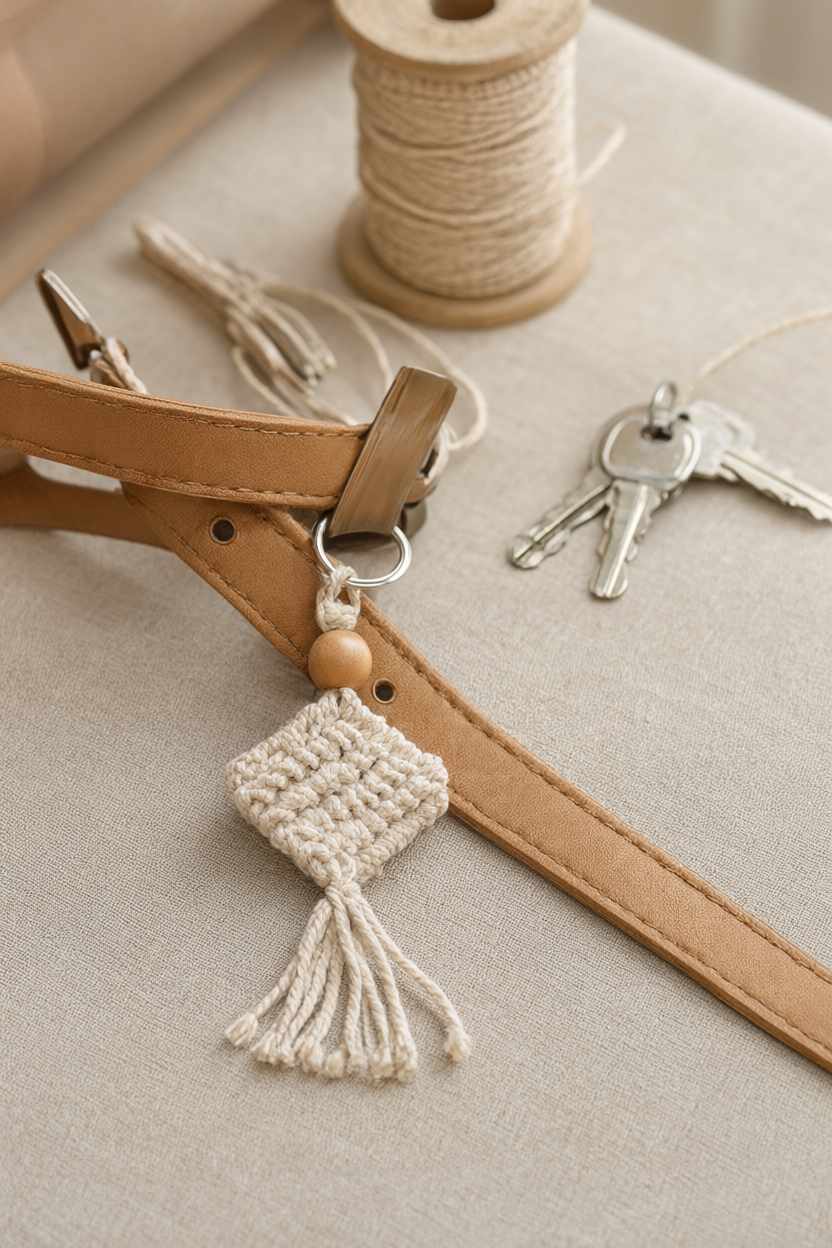
Want to make something cute and useful without a big craft-room setup? In this macrame keychain tutorial you will tie a sturdy little keychain or bag charm using just two easy knots — the lark’s head and the square knot — and it is genuinely fun to watch the band grow row by row. Hands-on time is honestly about 20 to 25 minutes for your first one (closer to 12-15 minutes once you have practised), there is no drying or curing time at all, and a free printable supply list is included below so you can keep everything in one place.
At a Glance
- Difficulty: Beginner — you only need two knots (lark’s head and square knot) and no special tools, though young kids will need a grown-up for the scissors.
- Hands-on time: 20-25 minutes for your first keychain; 12-15 minutes once you have practised.
- Drying or curing time: none — the keychain is ready to clip on as soon as you finish.
- Cost level: low — about 2 m of 3 mm cotton cord plus one keychain ring, which makes this a great stash-buster.
What You’ll Need
Everything here is easy to find at a craft shop or online, and much of it is probably already in your stash. This list makes one keychain.
- 3 mm cotton macrame cord — 2 strands of 1 m (40 in) per keychain (about 2 m total)
- Keychain ring with lobster clasp or 25 mm split ring — 1
- Wooden bead, 16 mm, wide hole — 1 (optional accent)
- Scissors
- Tape measure or ruler
- Clear tape or a clipboard to anchor the ring while knotting
- Clear craft glue — optional, a tiny dab to secure the end knot
Step-by-Step Instructions
Work at a table you can tape down to, and read through all nine steps before you start — the rhythm is simple once you see how a square knot is built.
- Cut two 1 m (40 in) lengths of 3 mm cotton macrame cord and fold each in half to find its middle. Sharp scissors give cleaner cuts; if young kids are helping, an adult should do the cutting or hand over safety scissors and supervise.
- Attach both cords to the ring with lark’s head knots: push the folded loop of one cord through the ring, pass the two tail ends through that loop and pull snug; repeat with the second cord so 4 strands hang from the ring.
- Tape the ring to a table edge or clip it to a clipboard so the four strands hang straight and stay taut while you knot. This small setup step is what keeps your band even, so do not skip it.
- Set the two center strands as fillers and the two outer strands as working cords. Tie the first square knot: cross the left working cord over the fillers, take the right working cord over the left tail, under the fillers and up through the left loop, then pull both working cords snug so the knot sits just below the ring.
- Tie the next square knot starting from the right side; alternating the starting side keeps the band flat instead of spiralling.
- Repeat square knots, alternating sides, until the band is about 6-7 cm (2.5-2.75 in) long — roughly 18-20 knots — keeping the filler strands straight and each knot pulled tight before the next.
- Optional: thread the 16 mm wooden bead onto the two center filler strands and slide it down against the last knot.
- Tie a firm overhand knot with all four strands just below the bead (or below the last square knot if you skipped it); add a tiny dab of clear glue to the knot for security and let it set a few minutes.
- Trim the four tails to about 1 cm (1/2 in) for a neat fringe, then clip the ring onto your keys, a backpack zipper or a bag strap.
Why a Macrame Keychain Is the Perfect First Project
Macrame looks impressive, but the keychain band uses just two knots, and you will have both of them memorised after a couple of rows. There is nothing to dry, nothing to bake and nothing to sew, so you can start after dinner and be clipping the finished piece onto your keys before the kettle has cooled. The supply list is tiny and cheap — a couple of metres of cord and one ring — and it is a lovely way to use up leftover cord from bigger projects. Best of all, you end up with something you actually use every day, which is the most satisfying kind of first project.
Variations to Try
Once the basic band feels automatic, small changes turn one keychain into a whole set:
- Spiral band: start every knot from the same side and the band will twist into a neat spiral instead of staying flat.
- Two-tone cords: knot with one colour on the left and another on the right for a striped effect.
- Extra beads: add more wooden beads above the end knot, or slide one onto each working cord.
- Longer band: keep knotting past 7 cm to make a zipper pull for a backpack or jacket.
Troubleshooting
Here are the three snags beginners hit most often, and the quick fix for each:
- Loose or uneven band: pull every knot snug before tying the next one, keep the filler strands taut, and count your knots as you go so both halves match.
- Twisting band: you are probably starting every knot from the same side; alternate the starting side to keep the band flat (or embrace it for the spiral variation).
- Fraying ends: cut with sharp scissors in one clean snip and add a dot of clear glue to the tips.
If a knot still looks off, simply loosen it by pulling the loop open and re-tie it — cotton cord is forgiving.
Care and Gifting
Cotton cord likes a gentle touch: spot-clean the keychain with a damp cloth only and never soak it, then let it air-dry away from direct heat. To gift one, clip it straight onto a friend’s bag strap as a surprise, or tuck it into a small cotton pouch with a handwritten tag — the free printable even lists the supplies if you want to pass the craft on. Handmade keychains also make lovely little add-ons to birthday cards, teacher gifts or a crafty sleepover party favour.
Your Free Printable
The free printable that comes with this tutorial is two pages: Page 1 is a “What You’ll Need” checklist — cord, ring, bead, scissors, ruler, tape or clipboard, and glue (7 items with quantities). Page 2 is a “Step by Step” checklist — 9 short actions that take you from cutting the cords all the way to clipping the finished keychain on. Print it out, tick the boxes as you work, and your hands can stay busy instead of scrolling back up the page.
So grab that leftover cotton cord, pour a cup of tea and give the square knot a try — your keys are about to get a very cute little upgrade. And if you make one, try the spiral variation next; it is nearly impossible to stop at just one.