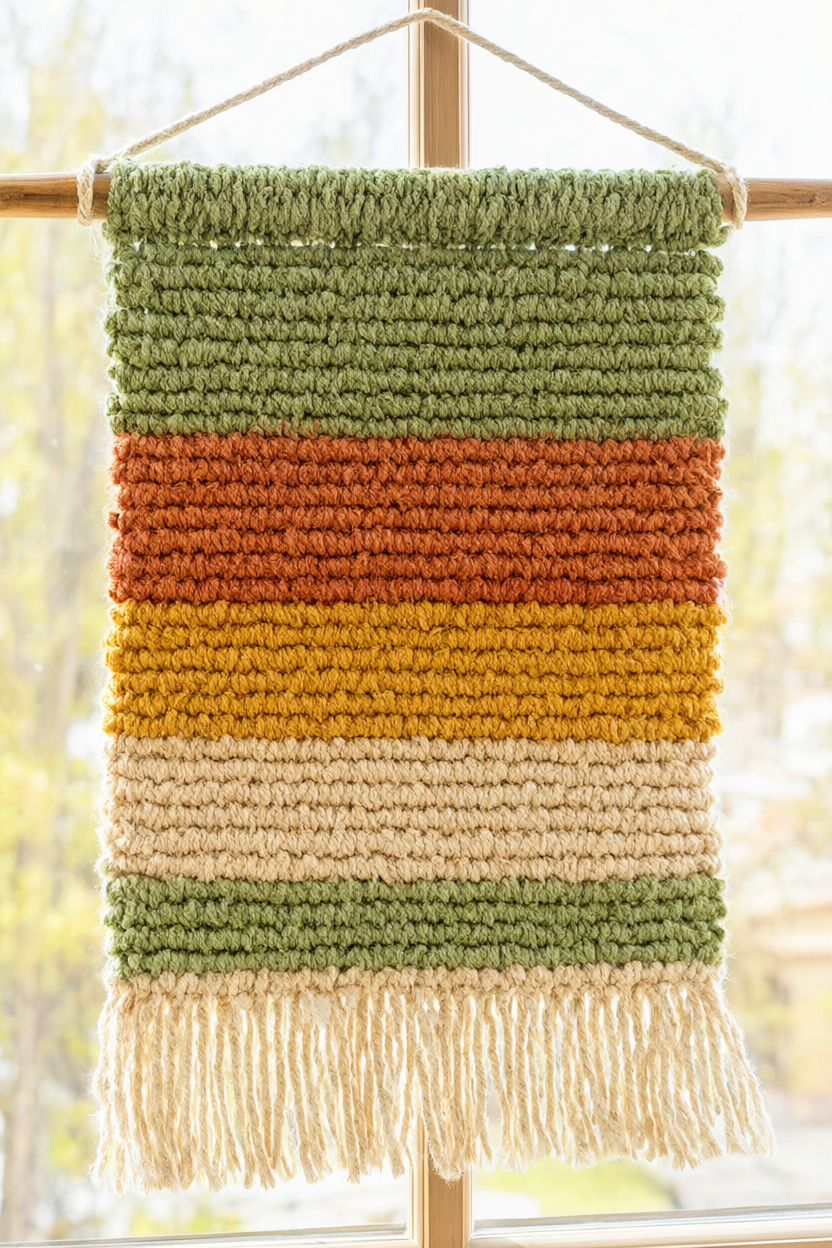
Make a soft, striped wall hanging on a cardboard loom, with no fancy equipment and no power tools. This beginner project leans into chunky colour blocks of sage green, terracotta, mustard yellow and cream, and it takes about 2 to 2.5 hours from the first notch to the hanger. A free printable supply list is included, so you can gather everything before you sit down to weave.
At a Glance
- Difficulty: Beginner. Straight over-and-under weaving, no shaping and no tricky joins.
- Hands-on time: About 2 to 2.5 hours for a 10 x 14 in hanging, warping included.
- Drying or curing time: None. The piece is ready to hang as soon as the fringe is trimmed.
- Cost: About $12-18 buying yarn, string and a dowel new; scrap yarn and a box flap bring it under $5.
What You’ll Need
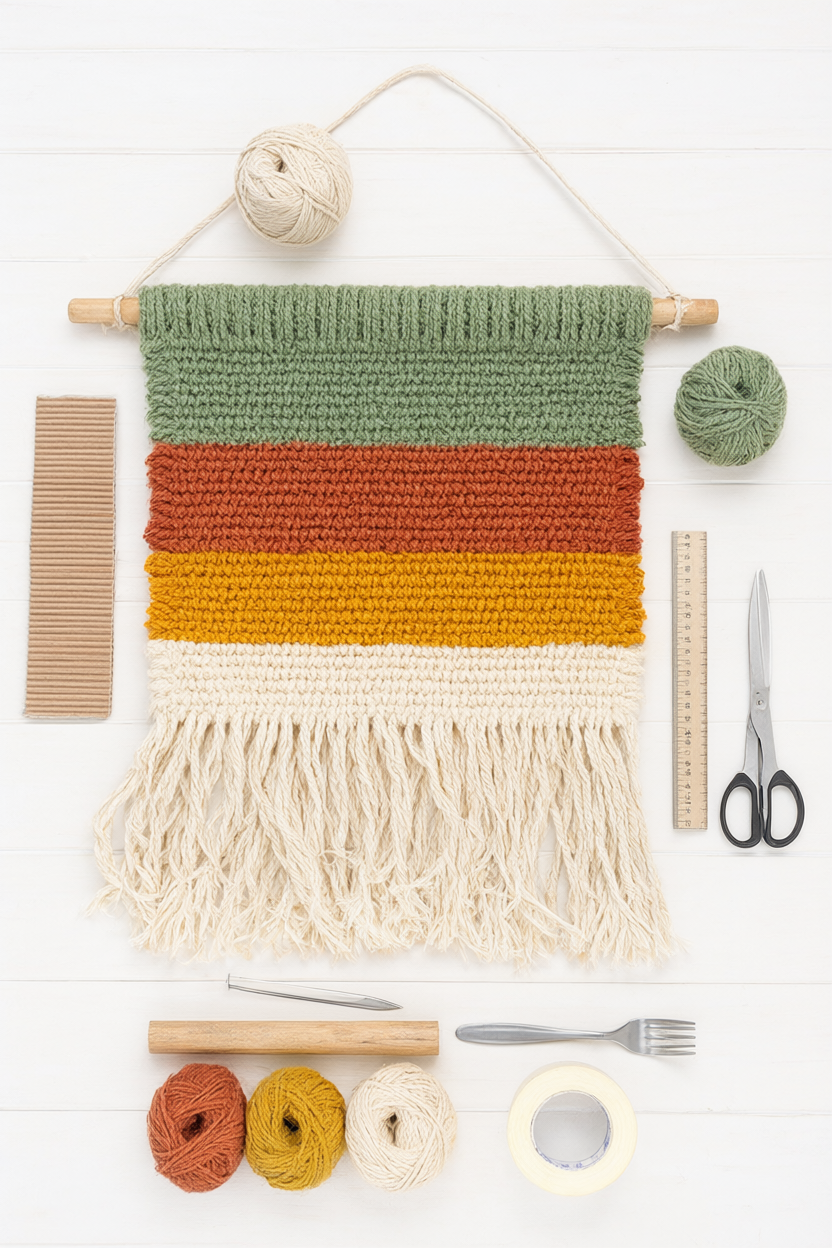
Most of this list is already in a kitchen drawer. The only things worth buying are the yarn, the string and the dowel.
- Sturdy corrugated cardboard, 10 x 14 in (a shipping box flap is ideal)
- Cotton string or thin twine, about 30 yd
- Worsted or chunky yarn in 3-4 colours, 1 skein each: sage green, terracotta, mustard yellow and cream
- 12 in wooden dowel or a smooth stick
- Plastic tapestry needle with a blunt tip
- Scissors
- Ruler and pencil
- Masking tape
- Fork or wide-tooth comb
- Cotton string for the hanger, 2 ft
Step-by-Step Instructions
Set the loom on a flat table with good light. Keep the cardboard still while you weave, and move around the table rather than lifting the loom.
- Cut a 10 x 14 in rectangle from sturdy corrugated cardboard. Mark the top and bottom edges every 1/2 in with a ruler and pencil, then snip shallow notches about 1/4 in deep. Line the notches up on both edges so every warp thread runs straight.
- Tie one end of the cotton string to the bottom-left notch with a double knot. Wrap it up to the matching top notch, down to the next bottom notch, and keep going across the board. Aim for even, firm tension: snug enough to pluck, not so tight that the cardboard bows.
- Count the warp threads and make sure the number is even, which keeps the over-under pattern tidy at the edges. Tape both loose string ends to the back of the cardboard, pressing the tape flat so nothing catches on the yarn.
- Thread the tapestry needle with your first colour and leave a 2-3 in tail at the back. Weave over the first warp thread, under the second, and repeat across the row. Carry the yarn loosely around the last warp thread before turning, so the edge stays straight instead of pulling in.
- Push every row up snug with a fork or wide-tooth comb. Aim for about 8-10 rows per inch. If you can see daylight between rows, you are packing too loosely.
- Change colour by finishing a row, leaving a 2 in tail at the back, and starting the new colour the same way. Use wide and narrow stripes in sage green, terracotta, mustard yellow and cream, and keep the tails on the back for now.
- Weave until the piece is about 8-9 in tall, leaving 1-2 in of bare warp at the top and 1 in at the bottom. Those bare ends are what you tie off later, so do not weave right to the edge.
- To remove the piece, cut the warp threads across the middle of the cardboard’s back, then gently ease the cardboard out. Tie the top warp ends in pairs with double knots around the 12 in dowel, spacing them evenly. Keep your fingers behind the scissors as you cut.
- Tie the bottom warp ends in pairs and trim them to one length, or knot on extra yarn for a fuller fringe. Weave any loose colour-change tails into the back with the needle and snip them close.
- Tie a 2 ft string loop to both ends of the dowel, comb the fringe straight, trim it level and hang.
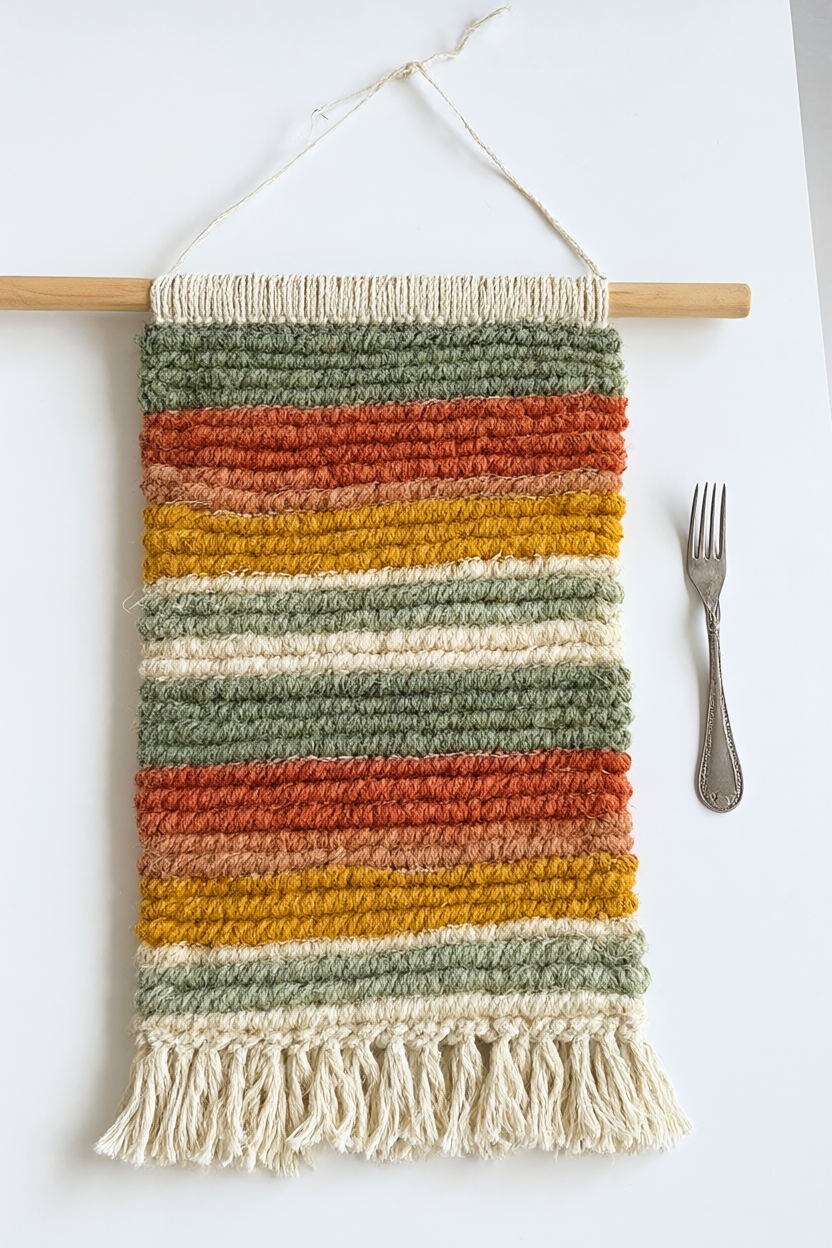
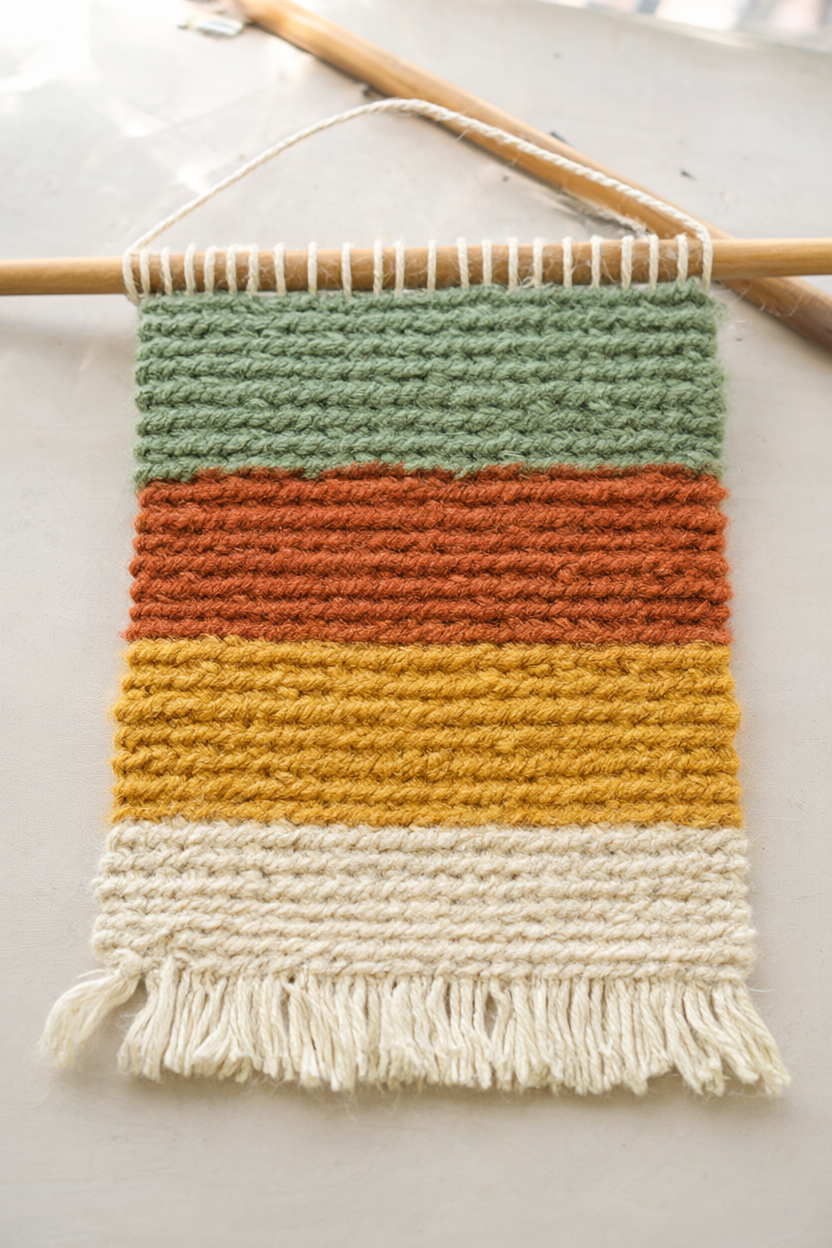
Stand back and check the stripes from a few feet away; small gaps even out once the hanging settles under its own weight.
Make It Your Own
Colour scheme: swap to cream, sage, dusty blue and oatmeal for a calm coastal palette, or black, white and hot pink for a graphic pop. Keep the stripe widths the same and the whole character of the hanging changes.
Technique: start a new colour a few warp threads in for a curved colour block, or add chunky looped rows by looping yarn around a finger before pulling the needle through. Both add texture without changing the basic over-and-under rhythm.
Size and use: weave a 5 x 7 in version for a framed mini, or make three small hangings as a gallery wall. A smaller loom takes less yarn and finishes in about an hour.
Beginner Mistakes (and Easy Fixes)
- Warp too loose: the piece narrows in the middle and sags on the wall. Fix it by wrapping firmly, taping both ends and checking the spacing with a ruler before you weave.
- Rows not packed: gaps show bare warp and stripes look fuzzy. Fix it by pushing each row up with a fork after every pass and aiming for 8-10 rows per inch.
- Warp cut before the top is secured: the weaving can slip off. Fix it by tying the top warp ends to the dowel in pairs as soon as the cardboard is out, before trimming or adding fringe.
Your Free Printable
The PDF is two pages, sized to print on letter paper. Page 1 (What You’ll Need) is a 10-item checklist of the cardboard, cotton string, four yarn colours, dowel and tools. Page 2 (Step by Step) is an 8-step checklist from cutting the notches to tying the piece onto the dowel.
Questions You Might Have
How long does it take?
About 2 to 2.5 hours for a 10 x 14 in hanging, including warping, with no drying time. Lay out the yarn and dowel first and the weaving itself moves faster than you expect.
What yarn should a beginner use?
Worsted or chunky acrylic or cotton. Avoid fluffy or novelty yarn, which hides the over-under pattern and is hard to pack.
Can kids make it?
Yes, with pre-cut notches and a blunt plastic needle, and an adult handling the scissors and dowel knots. Ages 8 and up do best.
Save This for Later
Pin the project now so the stripe colours and the printable are easy to find when you are ready to weave.
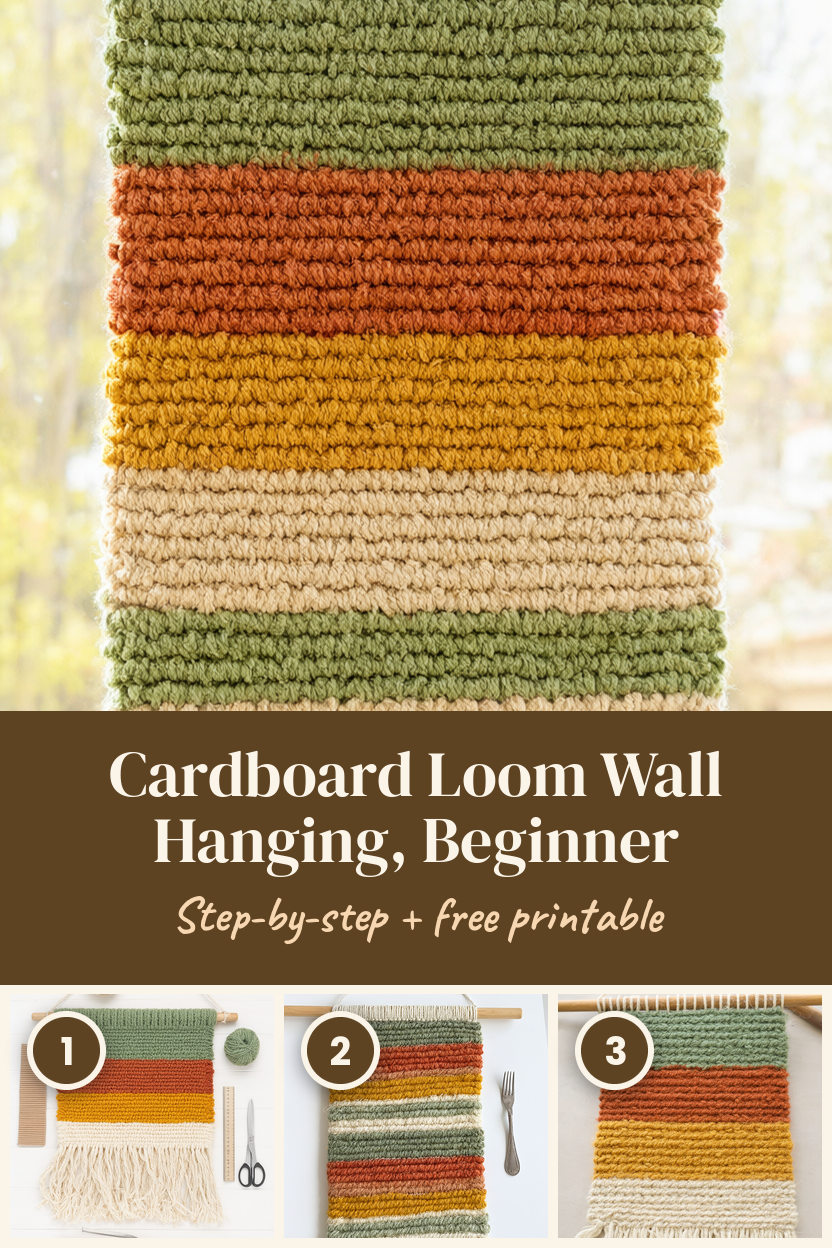
Cardboard, string and a few skeins are all it takes. Hang the finished piece where morning light hits the fringe, and let the stripes do the rest.