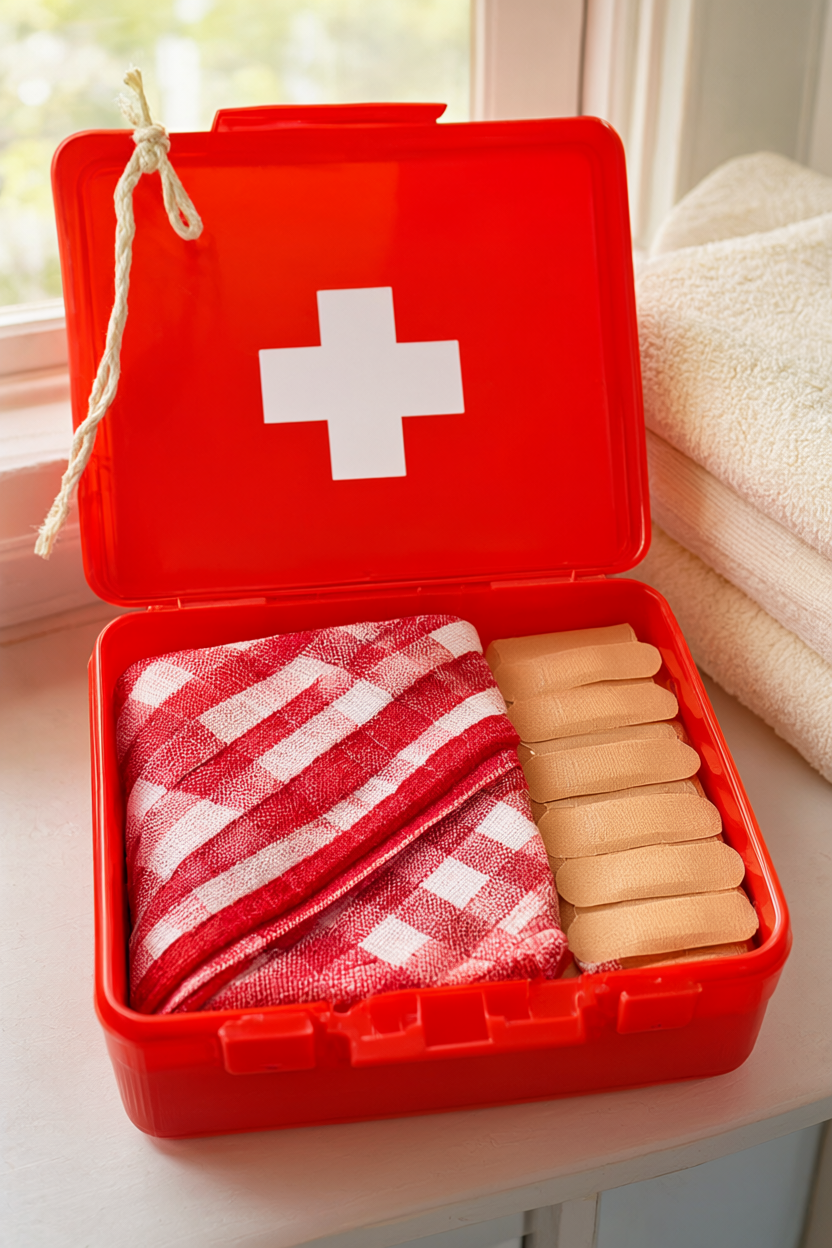
You can put together a first-aid kit gift that someone actually keeps in the hall cupboard or the car, and it takes about 25 minutes of hands-on work. This one is built around a bright red 9 x 6 x 3 inch box, a red-and-white checked bandana that doubles as a sling, and two tidy rows of tan bandages, so it looks like a present instead of a grocery bag. There is no drying time, a free printable supply list is included below, and you can pack the whole thing tonight.
At a Glance
- Difficulty: Beginner. If you can fold a bandana and write a label, you can do this.
- Hands-on time: About 25 minutes.
- Drying or curing time: None. The kit is ready to gift as soon as the lid closes.
- Cost: About $30 at dollar-store and pharmacy prices, or $35-40 at a drugstore. Most crafters already have the bandana, safety pins, marker, cardstock, twine and kraft paper.
What You’ll Need
Lay everything out first so you can check dates and sizes in one go. A 9 x 6 x 3 inch box holds this exact list with a little breathing room.
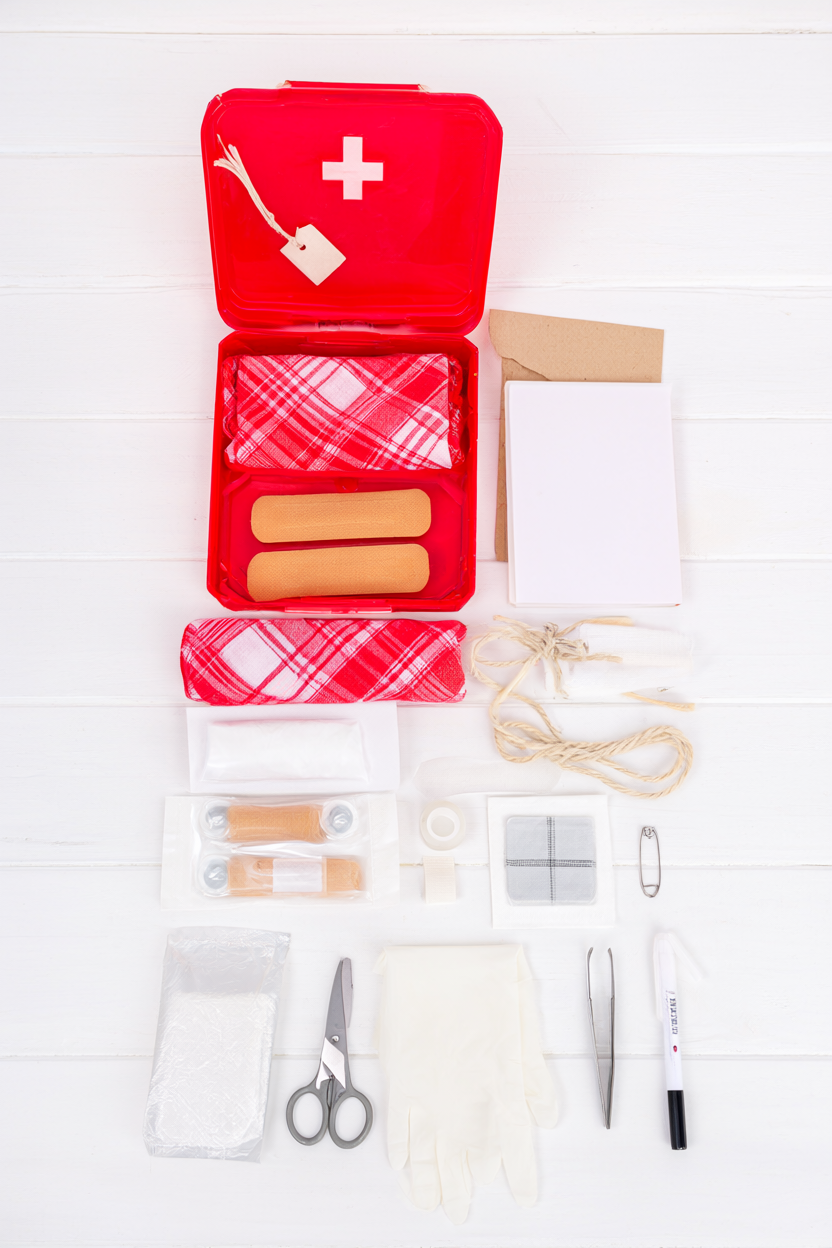
- Empty first-aid box with a lid, 9 x 6 x 3 inches, bright red
- Cotton bandana, 1, red-and-white checked (it doubles as a sling)
- Adhesive bandages, 20 assorted sizes
- Sterile gauze pads, 3 inch, 6 pack
- Rolled gauze, 2 inch, 1 roll
- Medical tape, 1 inch, 1 roll
- Antiseptic wipes, 10 pack
- Blister pads, 4 pack
- Instant cold pack, 1
- Disposable gloves, 2 pairs
- Tweezers and small bandage scissors
- Safety pins, 6
- White cardstock and twine for the card and tag
- Fine-tip marker
- Kraft paper for wrapping
Step-by-Step Instructions
Work on a clean table with the lid off to the side. The order matters: soft and bulky items go in first, and the things you reach for in a hurry end up on top.
- Check every expiry date before anything goes into the box, and keep each wrapper sealed so the contents stay sterile. If a date is close, set that item aside for home use and buy a fresh one.
- Fold the bandana into a flat triangle and press the crease with your fingers, then lay it in the box so the long edge runs along the base and the ends come up the sides. Keep the fold loose enough to shake out later, because the bandana works as a sling.
- Layer the instant cold pack, the two pairs of gloves and the rolled gauze flat across the bottom of the bandana. These are the bulky items, and they make a soft bed for everything else.
- Stand the bandages, gauze pads, blister pads, medical tape and wipes upright, label-up, in two rows. Leave a finger-width gap between the rows so you can pull one out without spilling the rest.
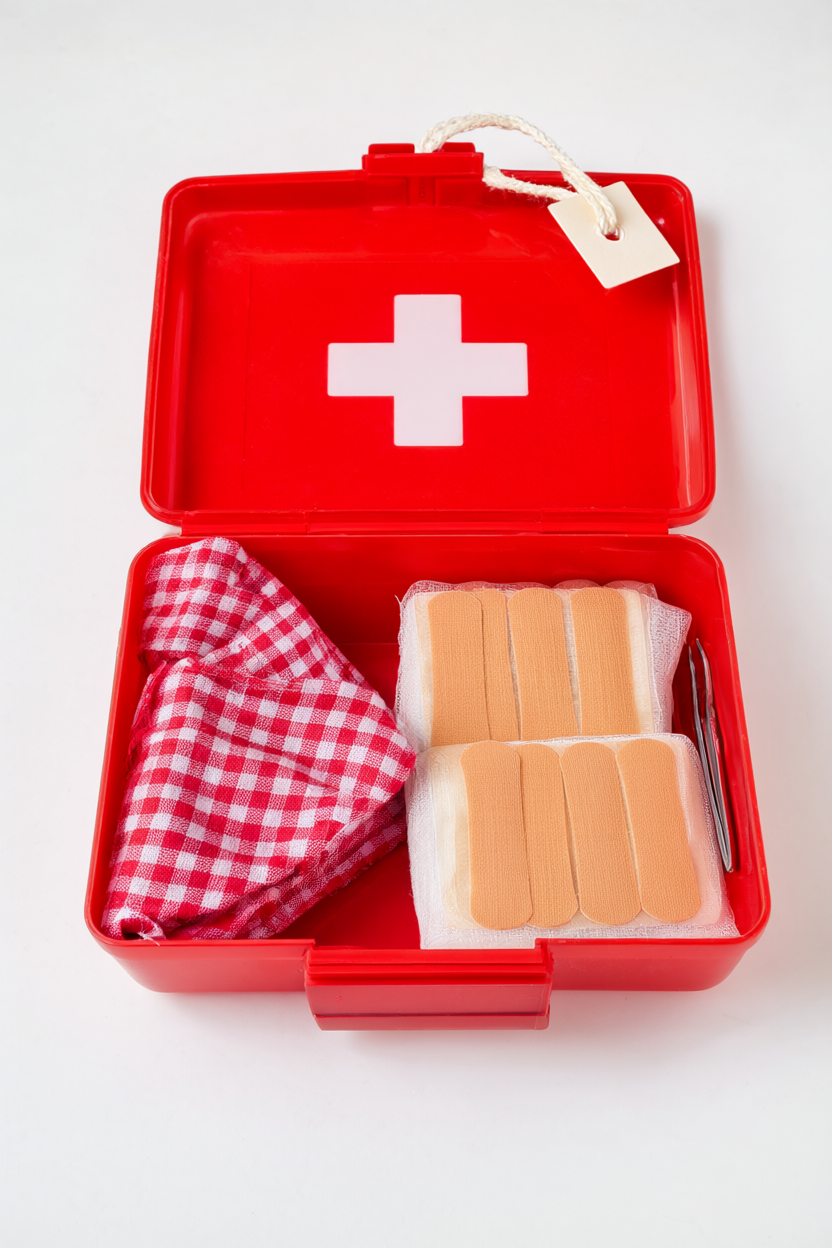
- Safety-pin the tweezers and the bandage scissors to the bandana fold so they sit on top and cannot slide underneath. Point the blades down and keep the pins closed, since sharp tools loose in a box are the main thing to avoid.
- Write the recipient’s name, any allergies, the doctor’s number and the packing date on the white cardstock with the fine-tip marker. Spelling out the allergies matters more than neat handwriting.
- Fold the cardstock into quarters, write First Aid and the date on the front, then wrap the twine around the box twice and tie the tag on. No hole punch needed.
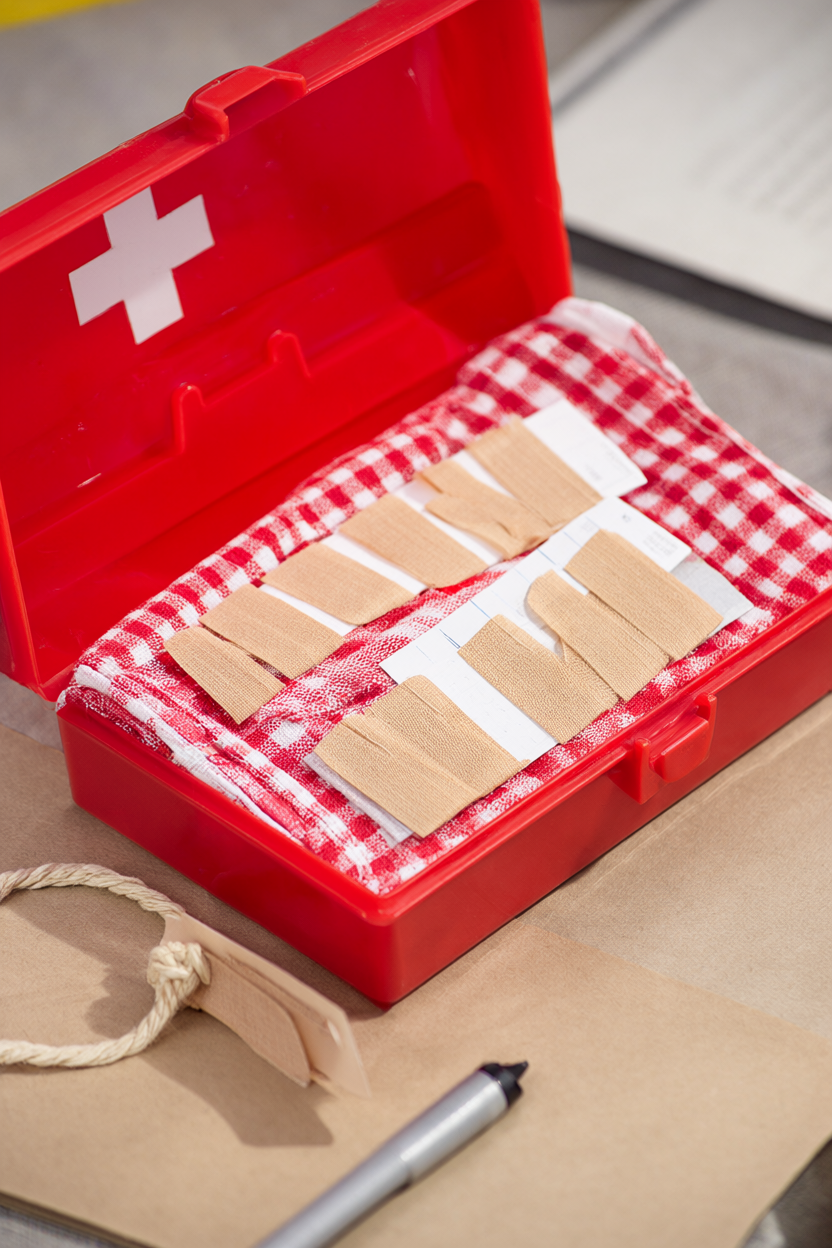
- Close the lid and shake gently. If anything slides, open it and tuck the loose pieces under the bandana fold.
- Wrap the box in kraft paper and tie it with the same twine, or gift it unwrapped with the tag showing. Add a note inside the lid listing the contents and a restock month.
Make It Your Own
Glovebox kit: Use a flat 10 x 7 inch tin, add a small flashlight and a $5 bill, and label it for the car. The flat shape slides under a seat without rattling, and the cash covers a parking meter or a phone call.
Dorm kit: Pack a clear zip pouch with a mini sewing kit, a stain-remover wipe and the campus health number. A student can see everything at a glance in a drawer, and the health number saves a panicked search at 2 a.m.
Hiking kit: Swap the box for a waterproof pouch and add moleskin, a whistle and a small emergency blanket. The blanket weighs almost nothing, and a whistle carries much farther than a voice.
Beginner Mistakes (and Easy Fixes)
- Including loose pills or prescription medicine. Allergies, interactions and expiry dates make this risky. The fix: leave medication out, and add an over-the-counter pain reliever in its sealed original pack only if you know the recipient.
- Buying the container before measuring the supplies. A too-small box crushes the gauze and will not close. The fix: lay everything out, measure the pile, then choose a 9 x 6 x 3 inch box.
- Burying small tools at the bottom. Nobody finds the tweezers in a hurry. The fix: stand items label-up, group them by use and keep the contact card on top.
Your Free Printable
Page 1 is a 15-line checklist of the box, every supply, the card-and-tag materials, the marker and the wrapping. Page 2 walks through the 9 packing steps from the expiry check to the wrapped gift. Print both and tick items off as you gather them.
Questions You Might Have
What should go in a DIY first-aid kit gift?
Adhesive bandages, sterile gauze pads, rolled gauze, medical tape, antiseptic wipes, blister pads, an instant cold pack, gloves, tweezers, small scissors and a bandana that works as a sling. Skip prescription medicine.
How often should a first-aid kit be restocked?
Check it every six to twelve months, replace anything past its expiry date and refill used items right away. Write the packing date on the card so the recipient knows when to check.
Is a DIY first-aid kit cheaper than a store-bought one?
Usually about the same, roughly $30 for a well-stocked box. The advantage is choosing the container and supplies that suit the recipient instead of paying for filler items.
Save This for Later
Pin this tutorial so the supply list and packing steps are ready the next time a gift is needed.
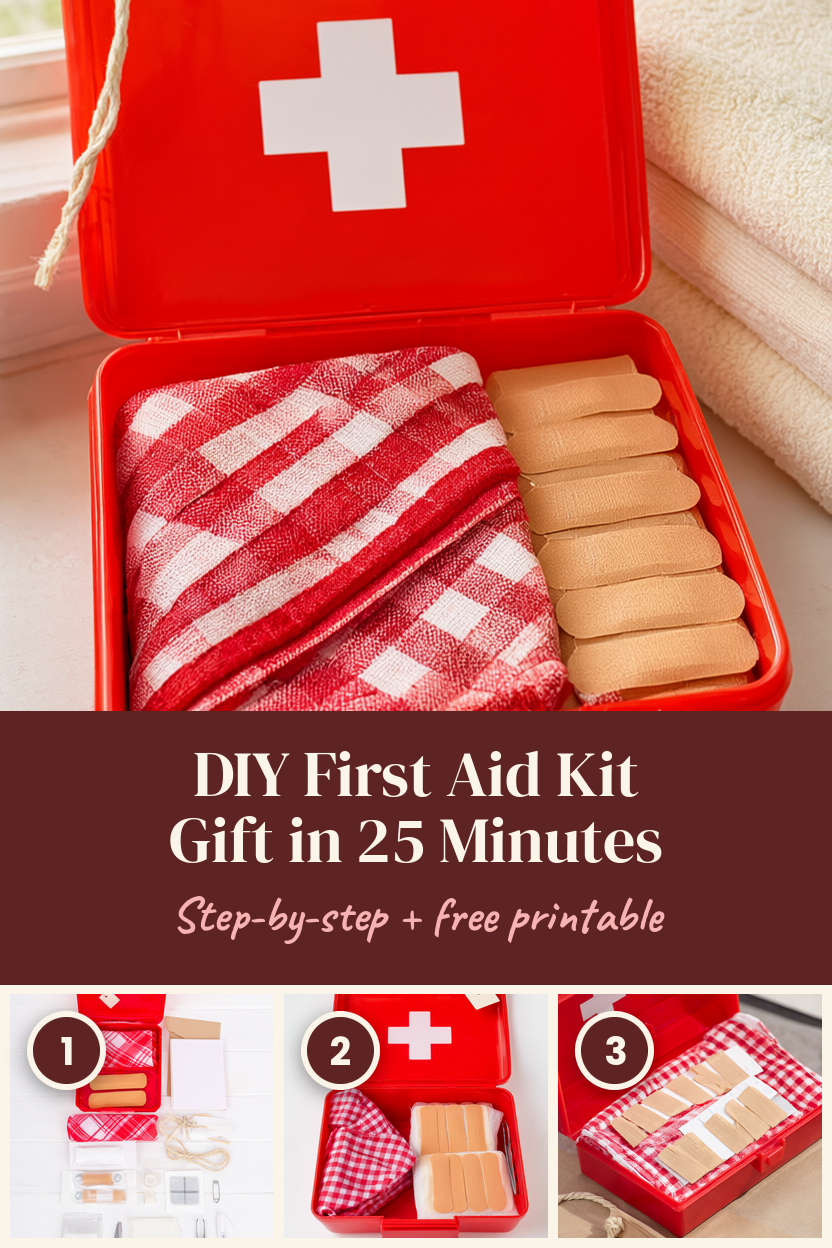
A kit like this gets used, and the bandana, the card and the tidy rows make it feel chosen for one person. Pack one this weekend and keep the printable on the fridge.