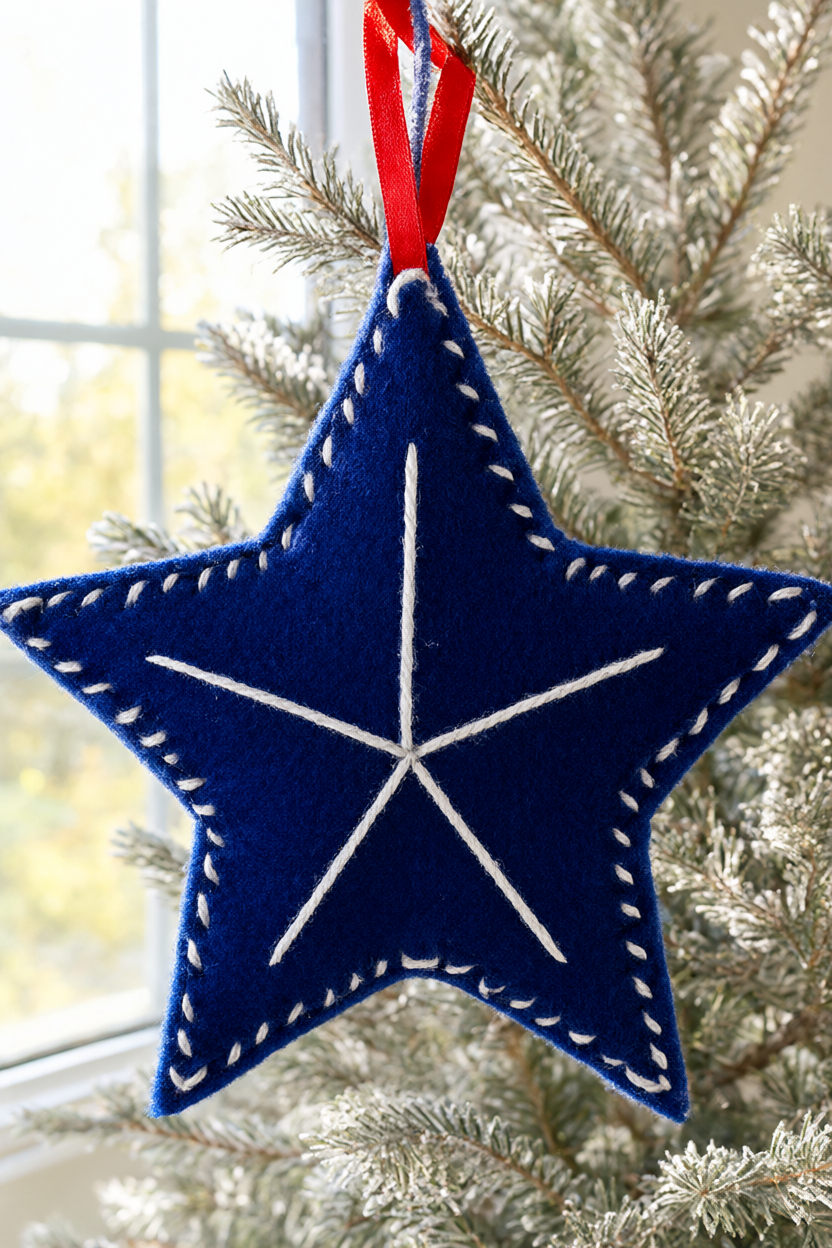
This little indigo star is the kind of project that finishes in one sitting: deep blue felt, thick white running stitches, a soft puff of stuffing and a small red ribbon loop at the top. The angle is real sashiko stitching without the learning curve — no embroidery experience needed, no drying time, and about 30 minutes per ornament once the first one is done. A free printable supply list and step checklist is included below, ready to print and take to the craft table.
At a Glance
- Difficulty: beginner — every stitch is a straight running stitch.
- Hands-on time: about 30 minutes per ornament, or around 3 hours for a set of six including the cutting.
- Drying or curing time: none. The star is ready to hang as soon as the last knot is buried.
- Cost: about $12–18 for all materials bought new, roughly $2–3 per ornament, and closer to $10 if you already own the scissors, pins, needle and star cutter.
What You’ll Need
Everything here is easy to find at a craft shop or online, and one card of sashiko thread covers all six ornaments with plenty left over for mistakes.
- 3 sheets indigo felt, 9 x 12 in, at least 1.5 mm thick (wool-blend is best)
- 1 card white sashiko thread, about 20 m, or white perle cotton size 8
- 1 sashiko needle or large-eye embroidery needle, sharp and sturdy
- 1½ yd red satin ribbon, ¼ in wide
- Small bag polyester fiberfill, about 1 cup total
- Star cookie cutter or paper star template, 4½ in across
- Fabric scissors
- Pencil or chalk
- Straight pins
- Ruler
- Optional: beeswax or a candle stub to smooth the thread

Step-by-Step Instructions
The whole ornament is one stitch repeated in a loop, so once your star is pinned and your thread is knotted you can settle in and stitch. Keep the felt flat on the table while you work and the needle will do most of the guiding for you. If this is your first sashiko project, stitch a few practice lines on a felt scrap first — five minutes of practice makes your stitch lengths beautifully even.
- Trace a 4½ in five-point star onto paper and cut it out as a template. Fold the felt, pin the template on, and cut two stars per ornament — 12 stars for six ornaments. Use sharp fabric scissors and long, clean snips; dull blades chew the felt and leave fuzzy points.
- Measure and cut six 8 in pieces of red ribbon, fold each in half into a loop, and pin the two cut ends inside the top point, sandwiched between the two felt stars. The loop should stand up from the point with about 3 in showing above the felt.
- Thread a long needle with about 30 in of white sashiko thread and knot the end. Sew a running stitch ¼ in inside the star edge through both layers, loading three or four stitches on the needle before pulling; keep the stitches about ¼ in long with ⅛ in gaps.
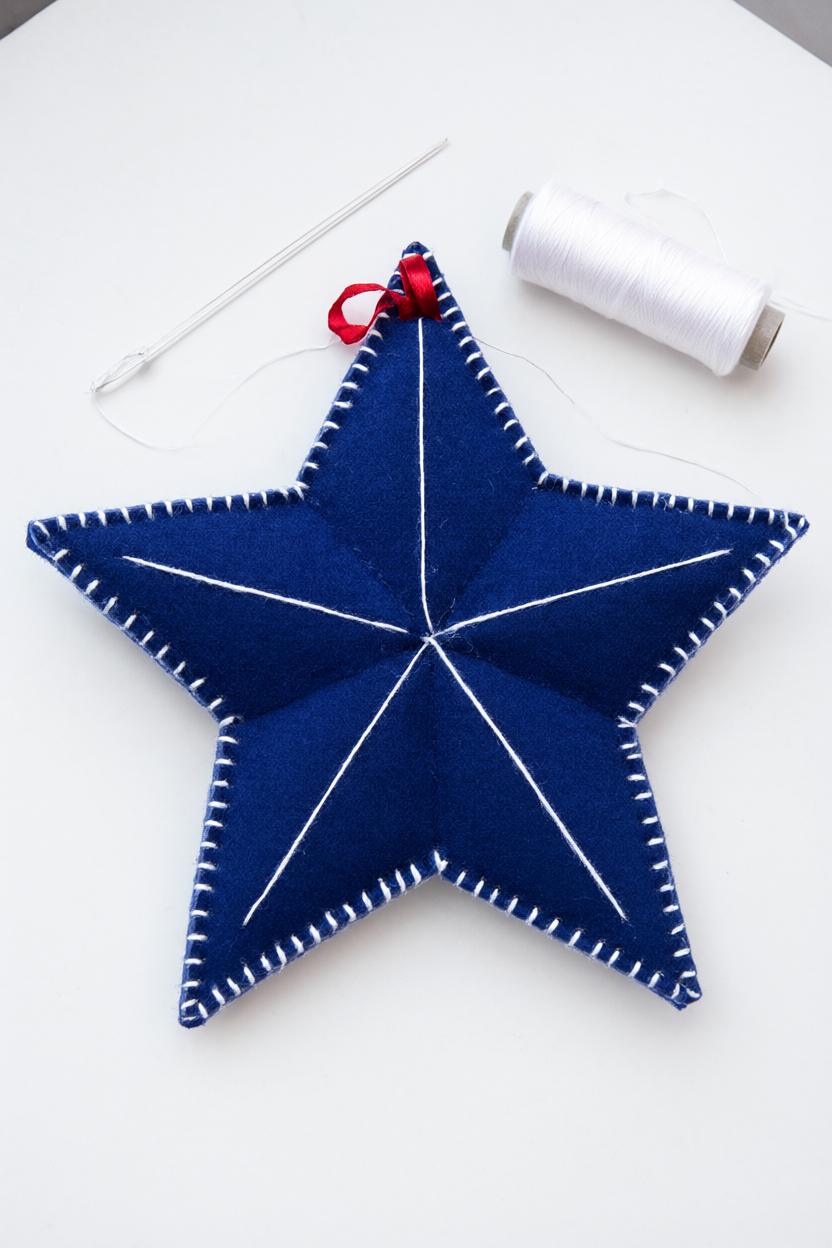
- Work all the way around the five points, catching the ribbon ends as you pass the top point, and stop about 1½ in before the start to leave a gap at the bottom. Keep the felt flat on the table as you push the needle through rather than holding it in your lap — the points are sharp and so is the needle.
- Stuff the star through the gap with small pinches of fiberfill — about a walnut’s worth — until it puffs but the edges still meet. Small pinches keep the shape even; one big handful makes lumpy corners.
- Sew the gap closed with the same running stitch, then push the needle through the stuffed star and out the side to bury the knot between the layers. Give the thread a gentle tug before trimming so the knot disappears inside the felt.
- Mark the center with a pin and stitch five straight white lines from the center to each point tip, finishing with three short stitches at the center. Trim the thread and fluff the star flat with your fingers.

Make It Your Own
Swap the palette. Deep forest green felt with red thread looks like a tiny vintage ornament, and blush pink with cream thread feels soft and modern. Keep the same stitch plan and the stars still read as a set on the tree.
Scale it up for the tree. Enlarge the template to 9 in across and stuff it a little fuller for a matching tree topper. The stitching takes about twice as long, but the shape is just as forgiving.
Put a name in the middle. Stitch a name, an initial or the year instead of the five lines, or string six stars on a length of red ribbon as a garland. Both versions use the same star and the same running stitch.
Beginner Mistakes (and Easy Fixes)
- Thin bargain felt tears at the points and pills — use felt at least 1.5 mm thick (wool-blend is best) and cut with sharp fabric scissors.
- Pulling each stitch tight puckers the star — keep the tension slightly loose and flatten the ornament after every few stitches.
- Long thread tangles and knots — cut it no longer than 30 in and run it over a candle stub or beeswax before stitching.
Your Free Printable
The PDF has two pages. Page 1 is a “What You’ll Need” checklist with 11 supplies, including the 4.5 in star template and the optional beeswax. Page 2 is a “Step by Step” 11-item checklist from cutting 12 stars to stitching the center lines and trimming.
Questions You Might Have
Do I need an embroidery hoop?
No. Felt is stiff enough to hold its shape, and the two pinned layers act as their own frame.
What if I can’t find sashiko thread?
White perle cotton size 8 is the closest match. Three strands of embroidery floss also work but look flatter.
Can these ornaments be washed?
Spot-clean only with a damp cloth. Hot water shrinks wool-blend felt and clumps the fiberfill.
Save This for Later
Pin this tutorial now so the star is waiting for you the next time you sit down to stitch.
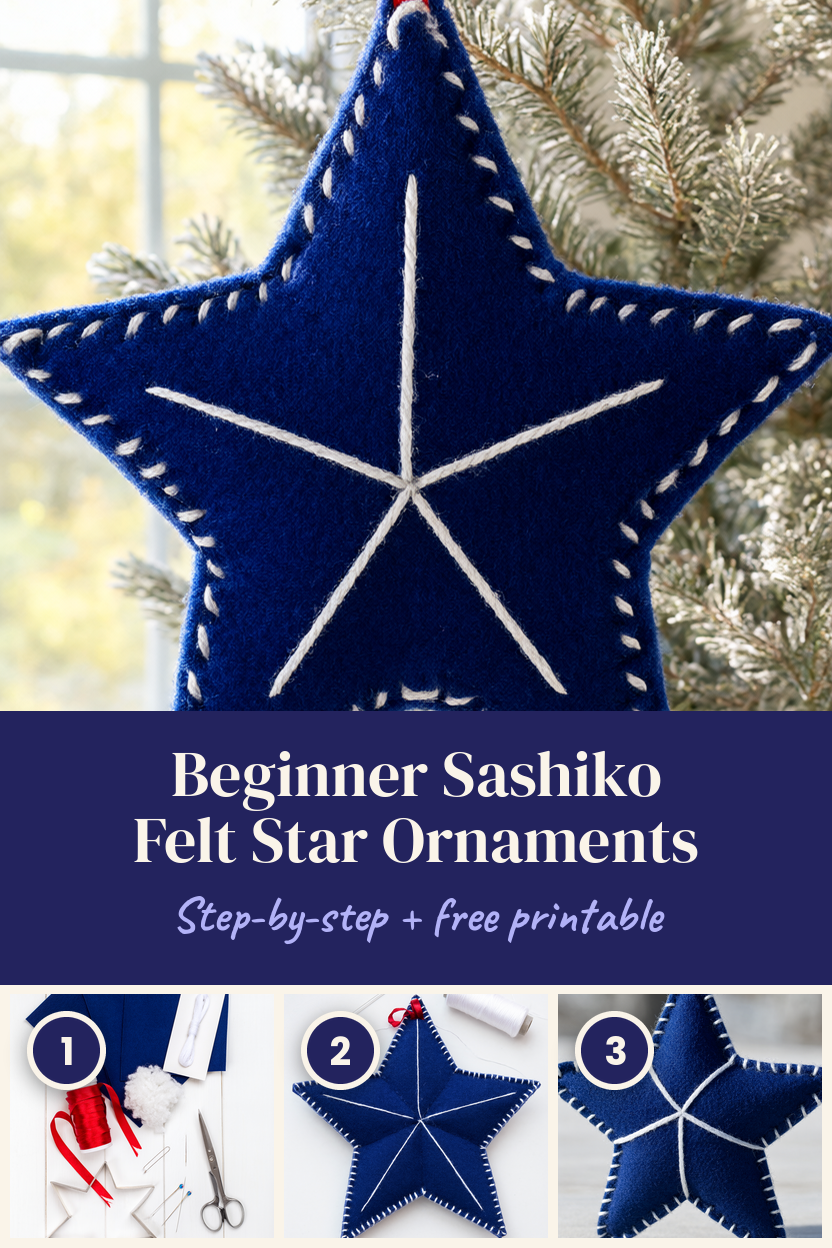
Six stars make a full set, and the last one will look noticeably neater than the first — that is normal, and it is why a practice star is worth keeping for yourself. Happy stitching.