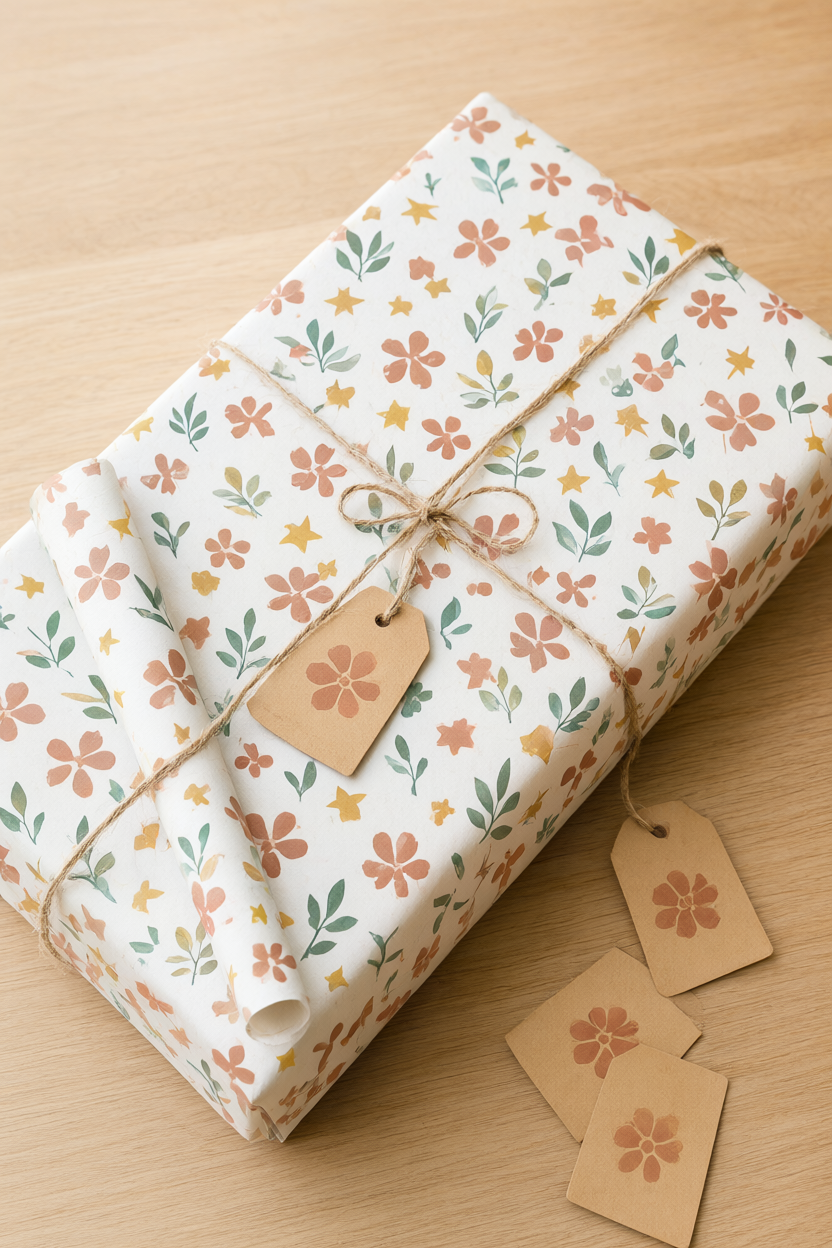
A cereal box, a glue gun and three little bottles of craft paint can turn a plain roll of white wrapping paper into something that looks boutique-bought. This tutorial shows how to make simple flower, star and leaf stamps from hot glue, then print a repeating grid in terracotta, mustard and forest green. It takes about an hour of hands-on time plus 15-20 minutes of drying, and a free printable supply list is included.
At a Glance
- Difficulty: Beginner friendly — no carving tools needed.
- Hands-on time: About 1 hour.
- Drying time: 15-20 minutes for the stamped paper and tags.
- Cost: About $10-15 for paint, wrapping paper, tags and glue sticks if you own a glue gun; add $12-18 for a glue gun if you don’t. Most people already have scissors, a pencil, scrap paper and a cereal box.
What You’ll Need
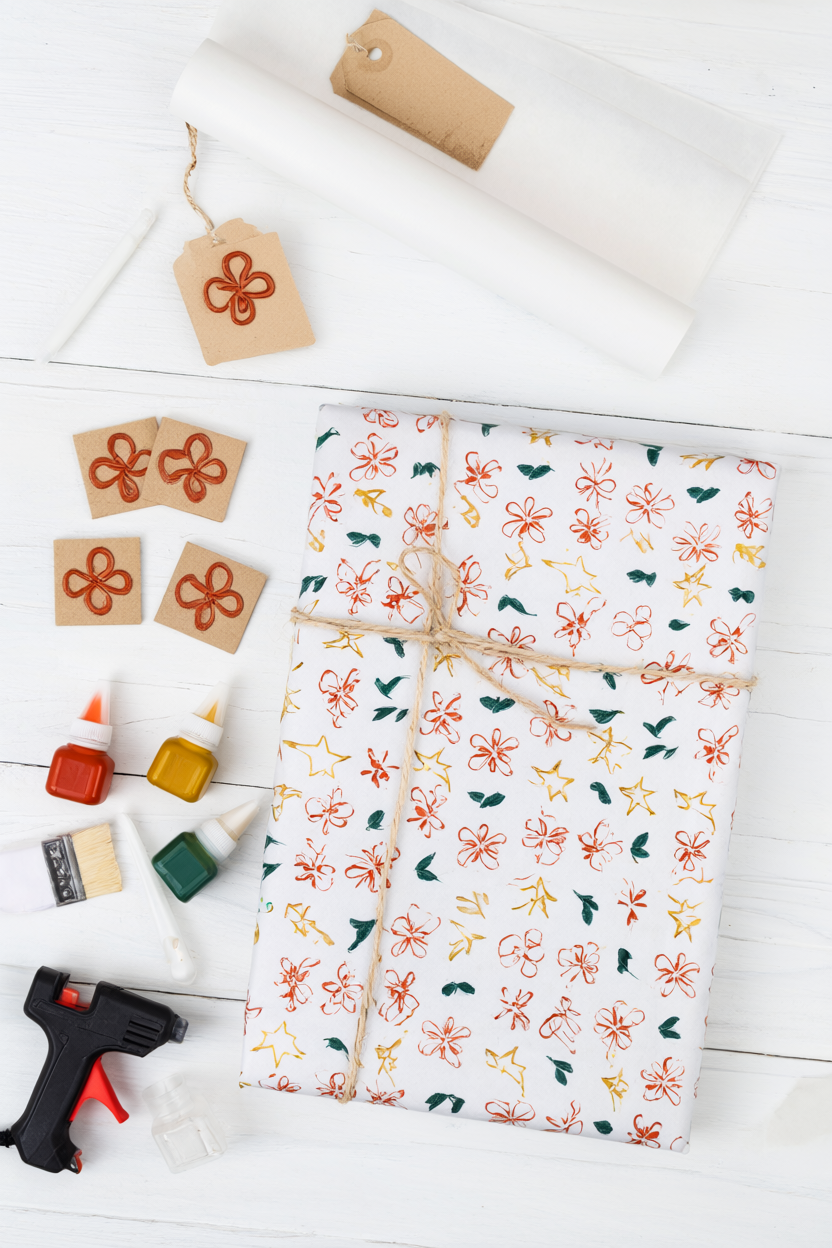
Everything on this list is easy to find, and the cardboard comes from a box headed for the recycling bin. Gather it all before you plug in the glue gun so you can work without stopping. A 30-square-foot roll covers two or three medium gifts, with spare paper for test prints.
- 1 empty cereal box (stiff cardboard)
- Hot glue gun plus 4-6 glue sticks
- 2-3 acrylic craft paint colors, 2 oz each
- 1 foam brush or small flat paint brush
- 1 roll white or kraft wrapping paper (30 sq ft)
- 8-12 plain kraft or white gift tags
- Pencil
- Scissors
- Scrap paper for test prints
- Jute twine or ribbon (optional)
Step-by-Step Instructions
The order matters: build the stamps first, let the glue set hard, then print. Keep the paint thin and the presses straight, and the pattern stays crisp.
- Cut three 4-inch squares from the cereal box with scissors, using the flat panels and avoiding crease lines so each stamp sits level. Keep your fingers clear of the blades and cut slowly for clean edges.
- Sketch one bold, simple shape on each square in pencil: a four-petal flower, a five-point star and a simple leaf. Keep every line at least 1/8 inch apart so the hot glue has room to stay crisp.
- Trace every pencil line with a raised bead of hot glue, squeezing slowly and keeping the tip moving. The glue is hot, so work on scrap cardboard and keep fingers clear of the fresh beads.
- Let the stamps cool and harden for 5 minutes, until the glue feels firm and slightly rubbery. Pick off any thin glue strings with your fingers. A warm stamp smears paint, so give it the full five minutes.
- Brush a thin coat of acrylic paint on the raised glue only, using a foam brush. A little goes far; the paint should sit on the ridges, not pool in the gaps.
- Test on scrap paper first: press straight down, count two seconds, then lift straight up. If the print looks blobby, blot the stamp once on scrap paper and try again.
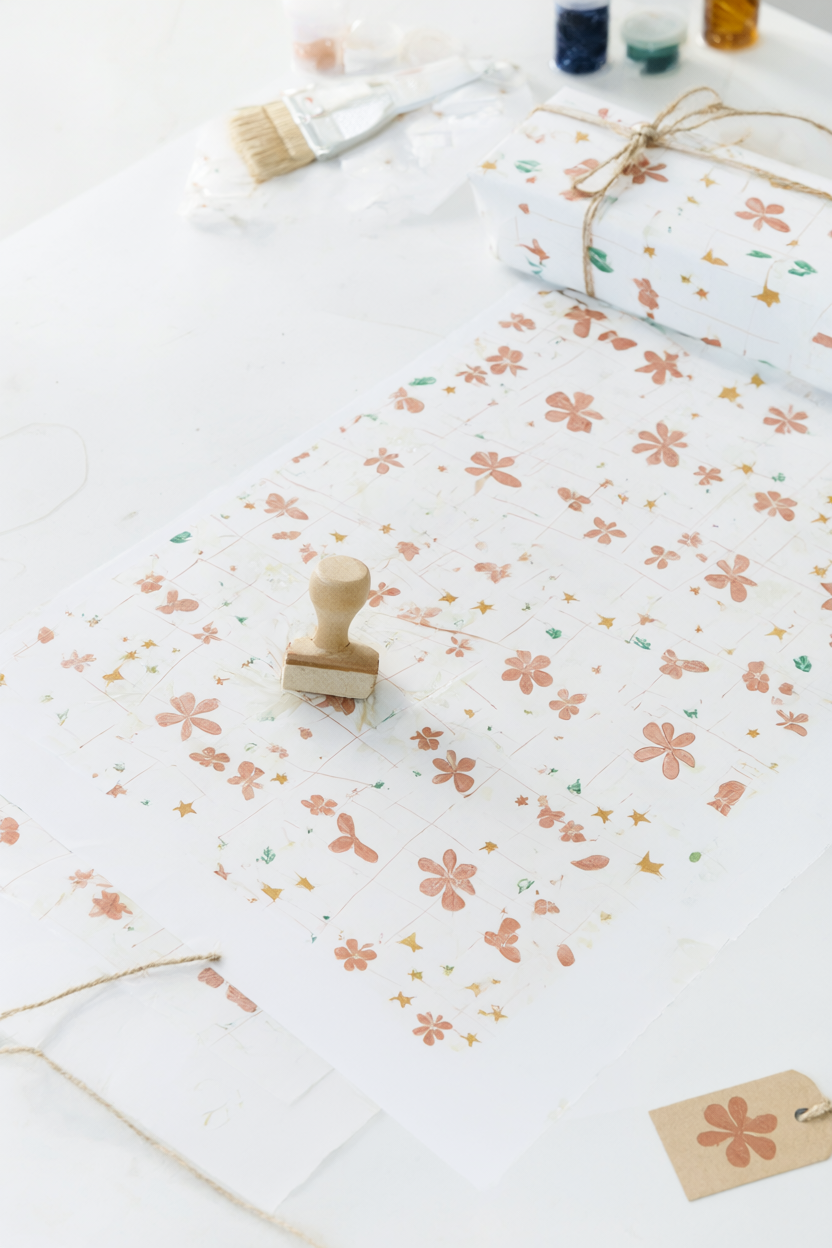
- Re-coat the stamp every 2-3 prints, blotting once on scrap paper each time. Wipe the stamp on scrap paper if paint starts drying in the glue lines.
- Stamp the wrapping paper in a grid, alternating terracotta, mustard and forest green and turning the stamp 90 degrees every other row for a woven look. Leave 2 inches of plain paper at the edges for folding.
- Stamp the gift tags with a single motif, then let the paper and tags dry flat for 15-20 minutes before wrapping.
- Wrap the gift, tie on jute twine and add a matching tag.
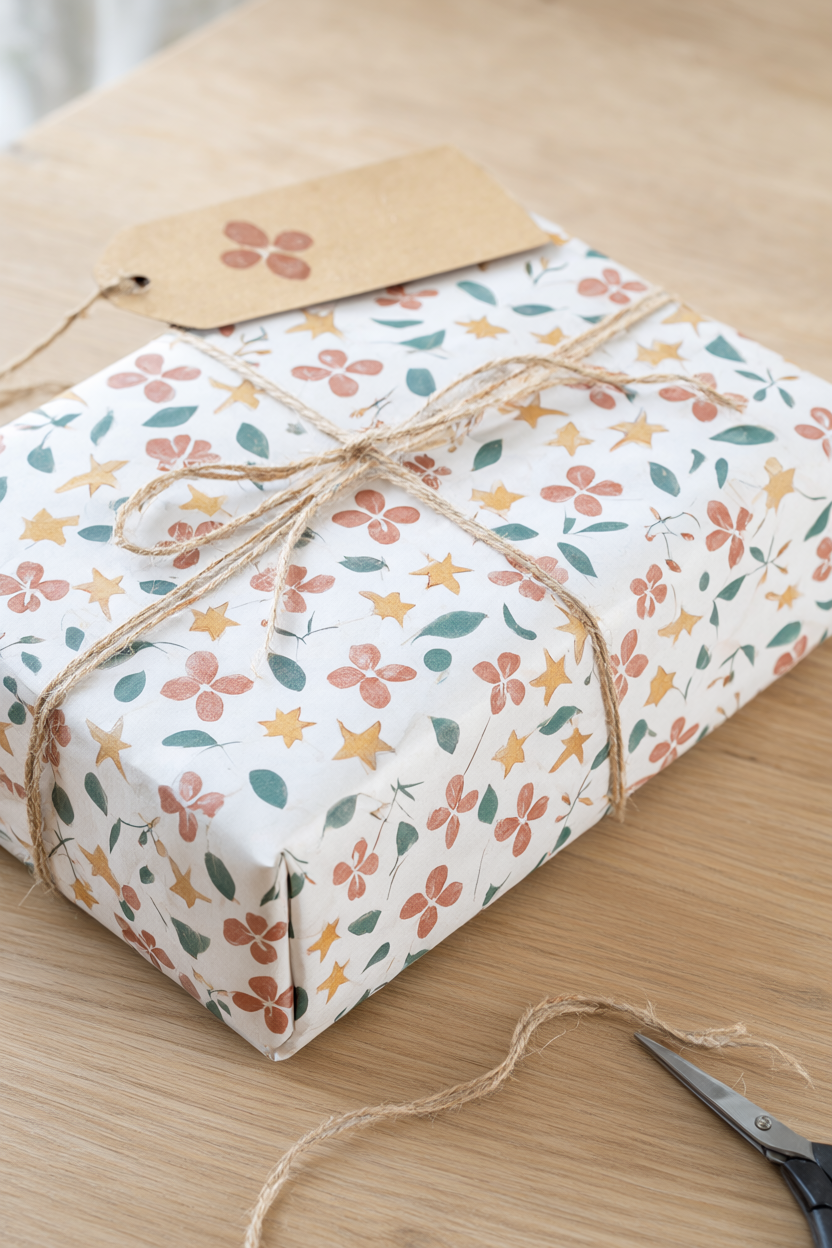
- Store the stamps glue-side up so the raised lines stay crisp for next time.
Make It Your Own
Color palette. Swap in blush, gold and cream for a softer, wedding-ready look, or classic red and forest green for Christmas. Use the same three stamps and keep the grid spacing the same; only the paint colors change.
Shapes. Trace a cookie cutter or a real leaf instead of drawing freehand, or carve a single-letter monogram stamp for the center of each package. Bigger shapes print more clearly than small, fussy ones.
Use it beyond paper. Stamp linen tea towels or canvas pouches with fabric paint, then heat-set with an iron following the bottle’s instructions. Wash them inside out to keep the prints looking sharp.
Beginner Mistakes (and Easy Fixes)
- Using too much paint: the print blobs together and loses the pattern. Fix: thin coat on the stamp, blot once on scrap paper, re-coat every 2-3 prints.
- Drawing thin, delicate lines: hot glue spreads as it lands, so fine lines print as mush. Fix: bold shapes with lines at least 1/8 inch apart.
- Pressing and wiggling the stamp: the design slides and smears. Fix: press straight down, count two seconds, lift straight up.
Your Free Printable
The free PDF is two pages. Page 1 — What You’ll Need: a 10-item checklist covering the cereal box, glue gun and sticks, paints, foam brush, wrapping paper, tags, pencil, scissors, scrap paper and twine. Page 2 — Step by Step: 11 short steps from cutting the cardboard stamps and tracing them in hot glue to stamping the paper and tying on the tag. Print it, tick off the supplies, and keep it on the table while you work.
Questions You Might Have
Does a hot glue stamp really work?
Yes. Cooled hot glue lines are slightly rubbery and hold acrylic paint or stamp ink, so they print like a rubber stamp. Bold shapes with thick lines print best.
What paint should I use?
Acrylic craft paint works on paper and dries in about 15 minutes. For fabric, use fabric paint and heat-set it with an iron following the bottle’s instructions.
How many prints can one stamp make?
Dozens, if you re-coat every few prints and wipe the stamp when paint dries in the lines. Cardboard stamps last a full wrapping season but soften if soaked.
Save This for Later
Pin the tutorial so the next rainy afternoon has a project ready to go.
One cereal box, one glue gun and an hour at the table is all it takes to make wrapping paper worth keeping. Start with a single test print, and let the grid grow from there. Keep the stamps in a small box, glue-side up, and the whole kit is ready for the next gift.