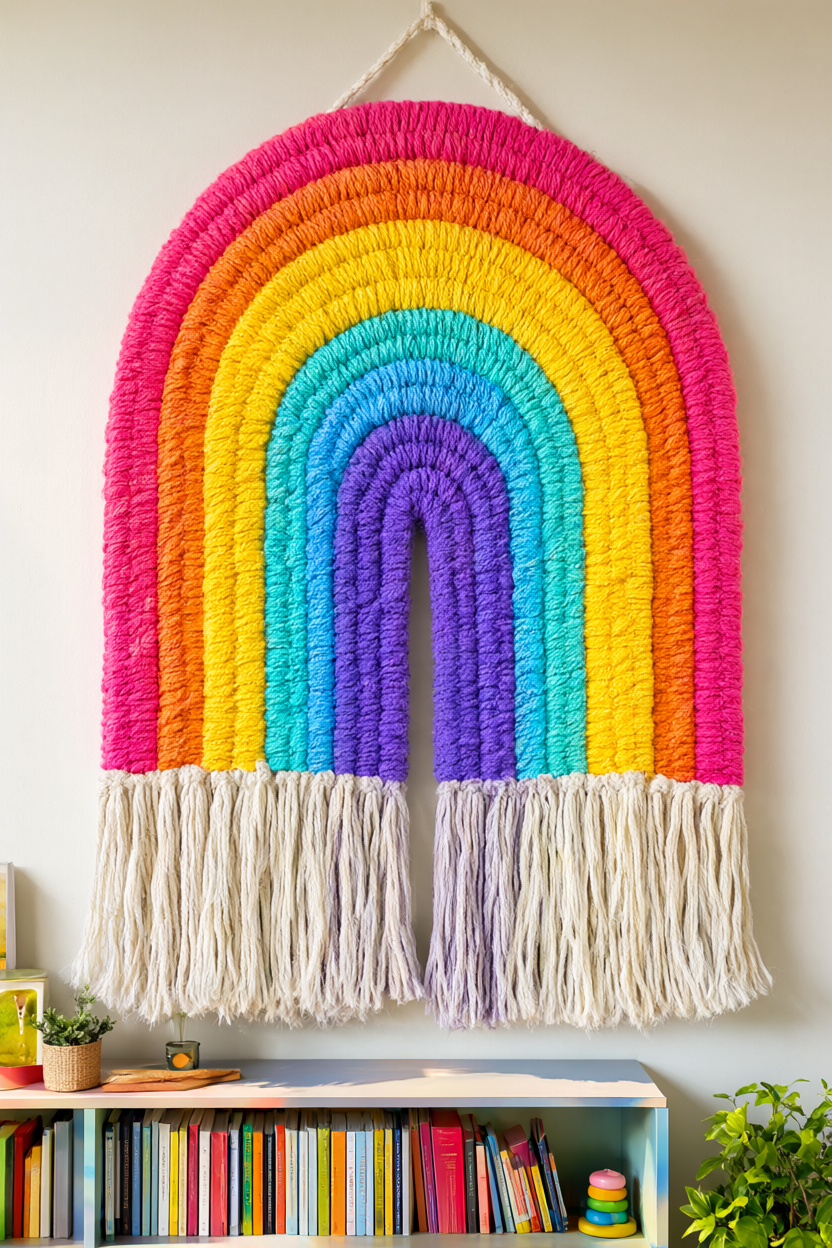
Turn four lengths of cotton rope into a bold yarn rainbow wall hanging, with hot pink, golden yellow, turquoise, and violet arches above fluffy natural fringe. The arches join with hot glue, so there is no sewing or macrame knotting; allow 90–120 minutes of hands-on time plus 15 minutes of final cooling, about 105–135 minutes altogether. A free printable supply list is included, with a second page of short project actions to keep beside your materials.
At a Glance
- Difficulty: Beginner; adults should handle wire cutting and hot glue.
- Hands-on time: 90–120 minutes.
- Drying or curing time: None; allow 15 minutes for final cooling.
- Cost: Approximately $45–$70 if buying all materials and tools new at US craft-store prices. This is a planning estimate, not a checked retailer quote.
Already have scissors, a ruler, masking tape, and a comb? Those household supplies, along with any suitable yarn and glue gun you own, can reduce the outlay substantially. The finished rainbow is approximately 8 inches wide.
What You’ll Need
- 10 mm twisted cotton rope, approximately 5 feet; choose rope that unravels into fringe, rather than braided cord.
- Worsted-weight yarn, approximately 15 yards each in hot pink, golden yellow, turquoise, and violet.
- 18-gauge bendable craft wire, approximately 4 feet.
- Masking tape, approximately 3 feet.
- One low-temperature hot glue gun and four compatible small hot glue sticks.
- One heat-resistant silicone work mat.
- One pair of scissors suitable for cotton rope.
- One ruler or measuring tape.
- One pair of wire cutters and one pair of needle-nose pliers.
- One wide-tooth comb.
- Cotton hanging cord, 12 inches.
- One wooden craft stick for pressing glued joins safely.
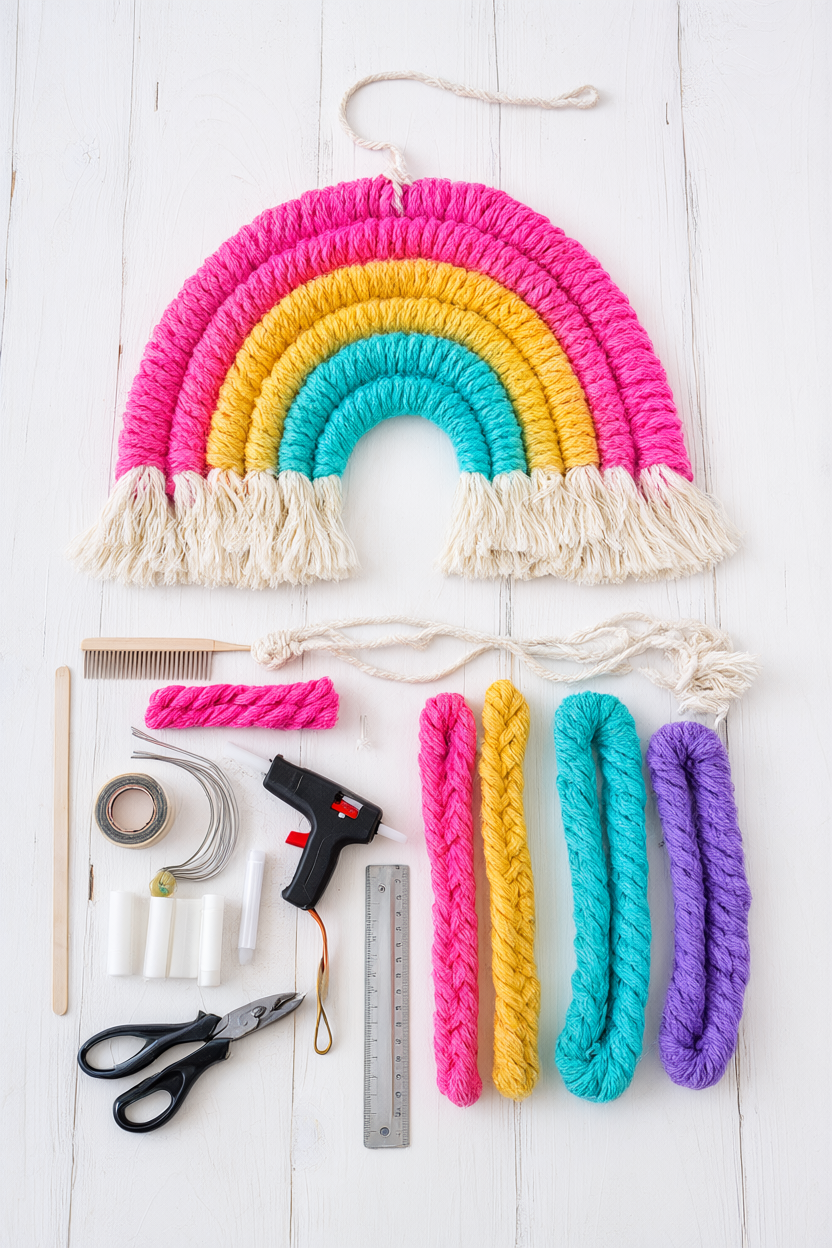
Keep the four rope lengths and their matching wires in order as you work. The longest rope becomes the hot pink outer arch, followed inward by golden yellow, turquoise, and violet. That sequence gives each band its own solid color and leaves the uncolored cotton ends free for fringe.
Step-by-Step Instructions
- Measure and cut the rope. Cut four lengths: 16, 14¾, 13½, and 12¼ inches. Temporarily tape each cut end so the strands stay together while you handle them. Measure 2 inches inward from both ends of every length; these sections remain unwrapped and become the fringe.
- Prepare the wire. With wire cutters, cut lengths of 12, 10¾, 9½, and 8¼ inches. Use the pliers to fold each wire tip back about ¼ inch, then squeeze the fold flat. Use wire cutters rather than scissors, and keep the cut wire ends away from children.
- Attach each wire. Center the matching wire length along its rope, leaving approximately 2¼ inches of rope uncovered at both ends. Secure it with narrow masking-tape bands at each end and at the midpoint. Cover the folded tips completely so the yarn will wrap over taped wire rather than exposed ends.
- Wrap in color. Start on the longest rope with hot pink yarn, 2 inches from one end. Lay a short yarn tail along the rope and trap it beneath the first turns. Continue wrapping closely until the rope, wire, and tape disappear beneath the yarn; use golden yellow, turquoise, and violet on the progressively shorter lengths. Push neighboring turns together as you go so the color looks continuous.
- Secure the yarn ends. Stop wrapping 2 inches before the opposite rope end. Tie the yarn securely around the rope, place a tiny dot of hot glue over the knot on the back, and trim the tail. Work over the heat-resistant mat and keep fingers away from both the glue and the nozzle; low-temperature glue still needs careful handling.
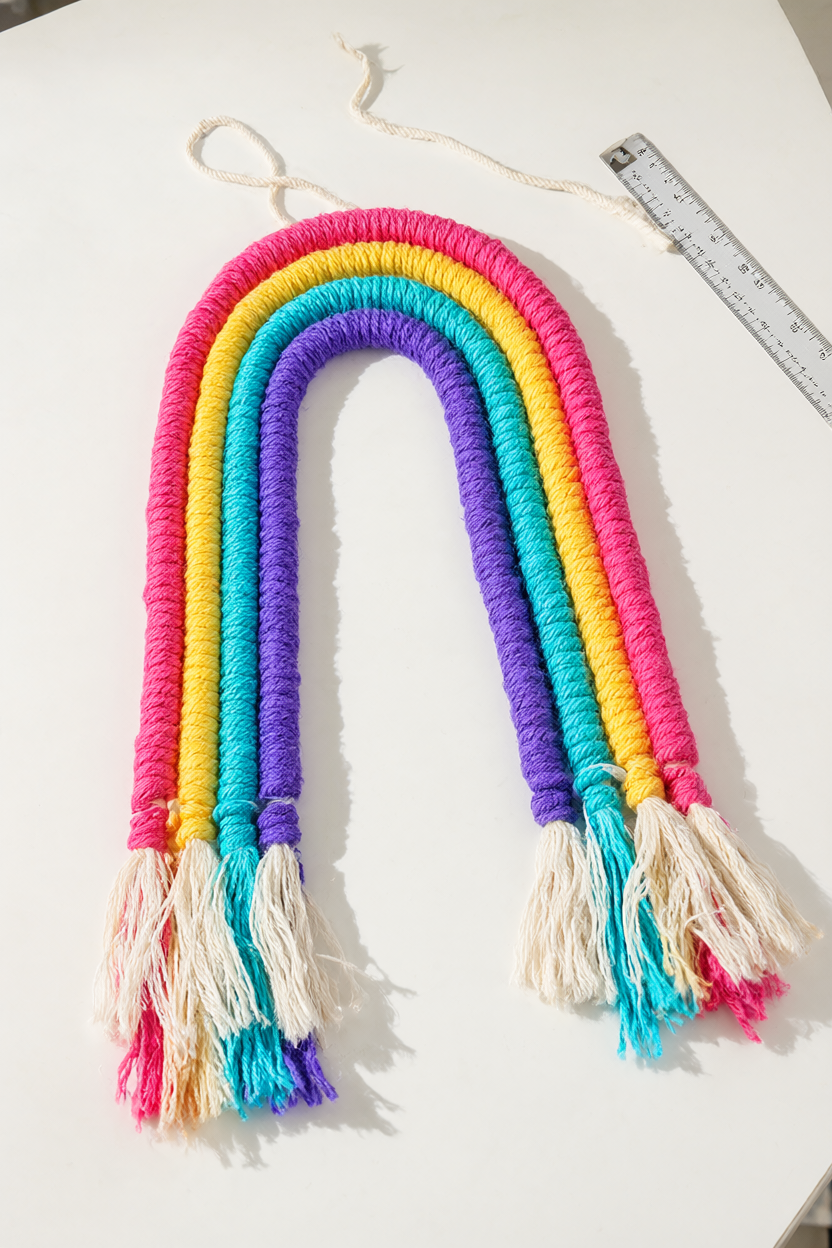
At this stage, the wrapped sections should look closely packed, with no rope or tape peeking between the turns. Check each length before shaping it. Closing a gap now is easier than trying to rearrange the yarn after the arches are glued together.
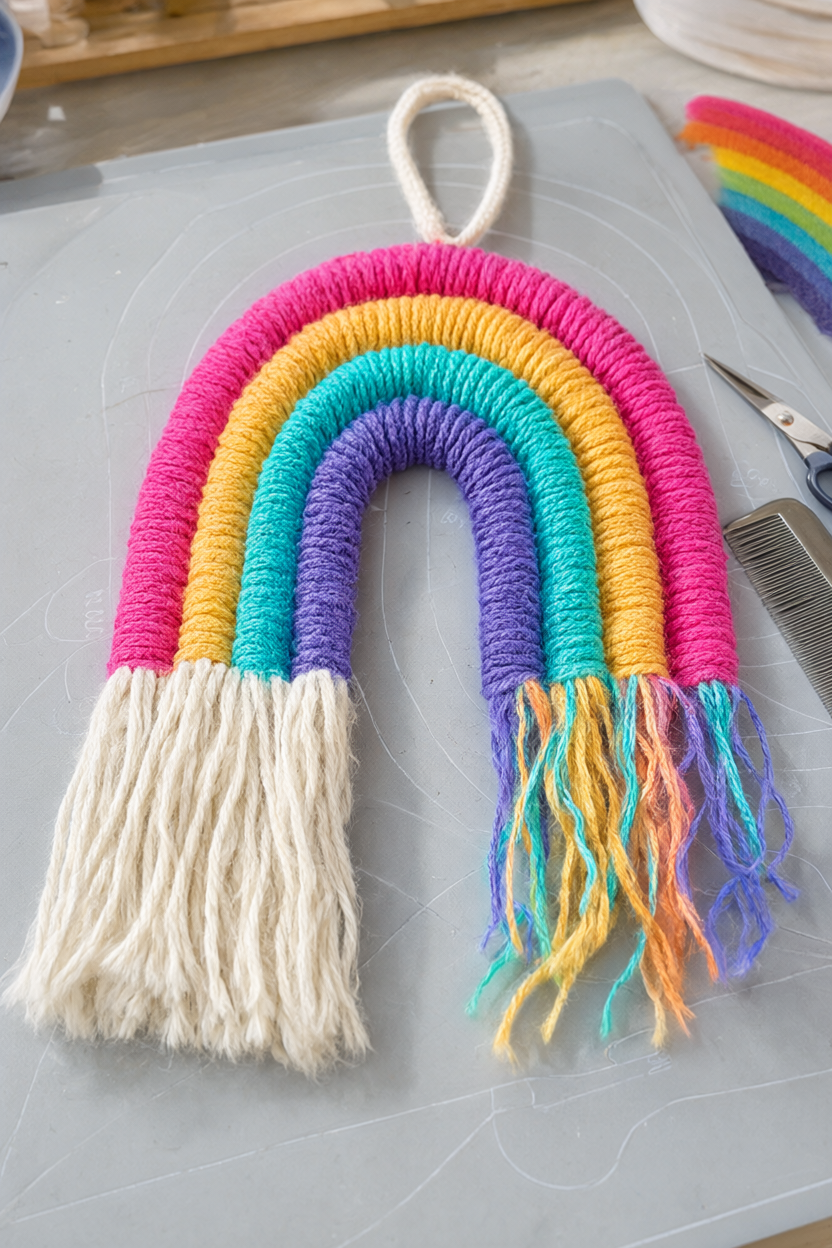
- Shape the rainbow. Bend the wrapped ropes into upside-down U shapes and nest them with the longest outside. Adjust the wire curves until neighboring arches touch naturally. Line up all the wrapped ends along one horizontal baseline; the bare rope below that line will form the fringe. Aim for an overall width of approximately 8 inches.
- Add the loop and join the arches. Tie the hanging cord around the midpoint of the outer arch, keeping its knot at the back. Knot the two cord ends together to make a hanging loop. Apply small beads of hot glue along the touching sides of neighboring arches, working in short sections. Press each join with the wooden craft stick until set, keeping fingers clear of the hot glue.
- Finish the fringe. Remove the temporary tape from the rope tips and untwist the exposed cotton by hand. Comb gently from the tips upward, then trim the fringe evenly to about 2 inches. Let the finished rainbow cool flat for 15 minutes, and check every glued join before hanging it. Keep the decoration and its cord out of children’s reach.
Make It Your Own
Try a sunset palette. Swap the bold colors for coral, peach, mustard, and burgundy. Keep each arch a solid color so the four bands stay clear against the fluffy cotton fringe.
Go taller and narrower. Use the same rope lengths, but give the arches slightly straighter sides as you shape the wire. Adjust neighboring curves together so they still meet naturally before adding glue.
Choose a cheerful destination. Use the rainbow to brighten a reading nook or give it as a housewarming gift. Wherever it hangs, keep the cord and decoration out of children’s reach.
Beginner Mistakes (and Easy Fixes)
- Rope shows between the wraps. Push the yarn turns together as you work. Rewrap any visible gaps before gluing so the finished bands have an even, solid-color appearance.
- Arches separate or spring apart. Reshape the wire until neighboring sides touch naturally. Glue short sections and hold each with the wooden stick until set, rather than relying on glue to pull mismatched curves together.
- Fringe looks tangled or uneven. Untwist the cotton by hand first, then comb gently from the tips upward. Wait until the arches are assembled to make the final trim.
Your Free Printable
The two-page PDF keeps the supplies and project sequence together. Page 1 contains the complete materials and tools checklist with quantities. Page 2 contains fifteen short actions covering cutting, wrapping, shaping, assembly, fringe, and cooling.
Questions You Might Have
Can I use braided rope?
Twisted cotton rope is best for this version because it unravels into fringe. Braided cord will not produce the same finish, so check the rope construction before starting your cuts.
Do I need the wire?
Yes. For this construction, the wire helps the arches hold their shape without a backing. Center it on the rope and cover the folded tips completely with masking tape before wrapping.
Is this washable?
No. Dust the rainbow gently with a soft brush and keep it dry. Soaking can distort the yarn and weaken the glued joins.
Save This for Later
Save this yarn rainbow wall hanging tutorial for a craft session when you have time to wrap, shape, and finish all four colorful arches.
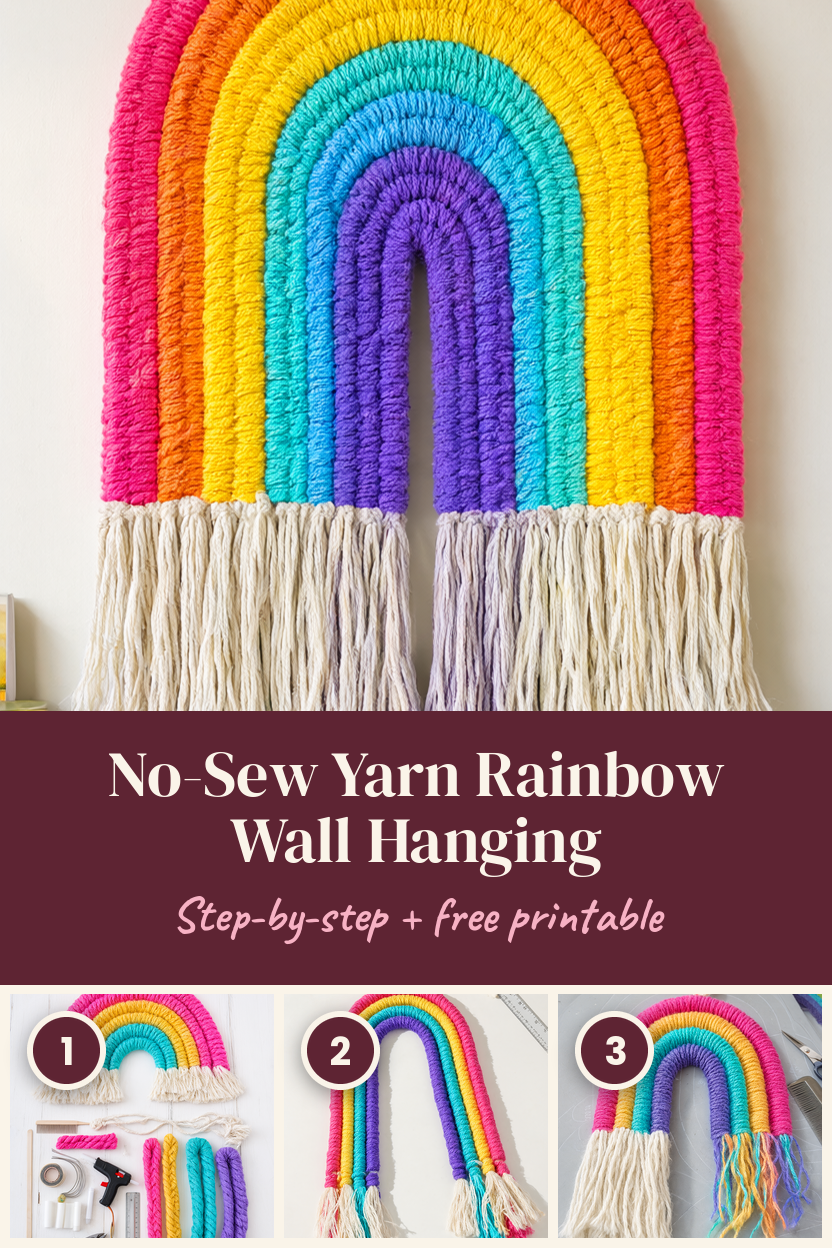
Close yarn wraps, gently shaped curves, and a final fringe trim give this small rainbow its tidy finish. Take the full cooling time, check the joins, and choose a spot where the bright bands and soft cotton fringe can stand out.