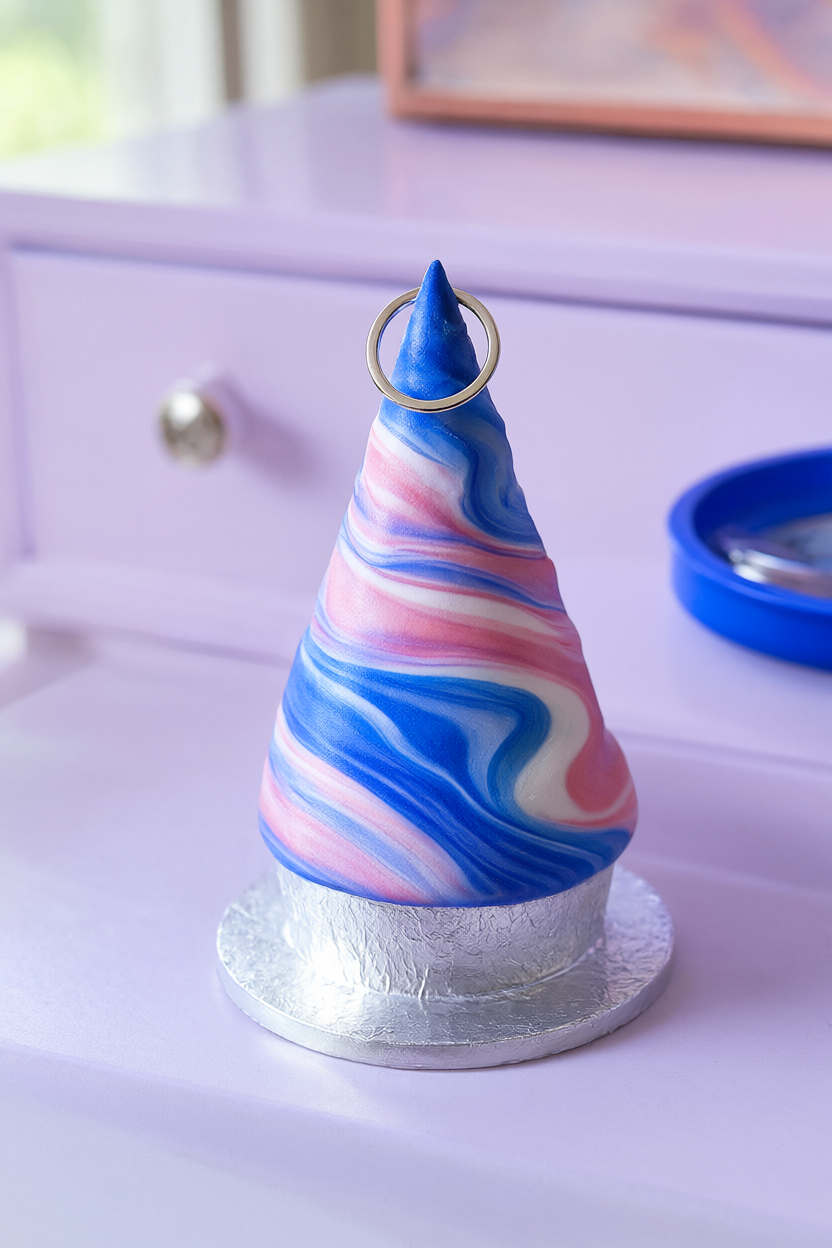
Make a little marbled ring cone with cobalt blue, blush pink, and white ribbons, using a permanent foil core to support its neat, tapered shape. This beginner project takes about 30–45 minutes of hands-on making, plus the clay label’s baking time and 30–60 minutes of cooling; allow roughly 1½–3 hours overall. A free printable supply list and step checklist are included, so you can keep the practical details beside your work tile.
At a Glance
- Difficulty: Beginner, with adult supervision for the craft blade and oven.
- Hands-on time: About 30–45 minutes.
- Baking and cooling: Follow the clay label for baking; allow 30–60 minutes for cooling and roughly 1½–3 hours overall.
- Cost: Rough US planning estimate: $35–$65 if buying all clay, basic craft tools, tray, thermometer, parchment, foil, and mitts new, excluding the oven. With household equipment already available, expect roughly $10–$18 for three clay packs, with leftovers for more projects.
What You’ll Need
- Polymer clay: 20 g white, 5 g cobalt blue, and 5 g blush pink.
- One 12-inch square of aluminum foil for the permanent core.
- Two 8-inch squares of parchment paper for rolling, plus parchment to line the baking tray.
- A smooth glass or ceramic work tile and an acrylic clay roller; a smooth drinking glass can replace the roller.
- A ruler and a craft blade, with adult supervision for the blade.
- A baking tray, conventional oven, oven thermometer, timer, and oven mitts.
- One clean ring for checking the fit; remove it before baking.
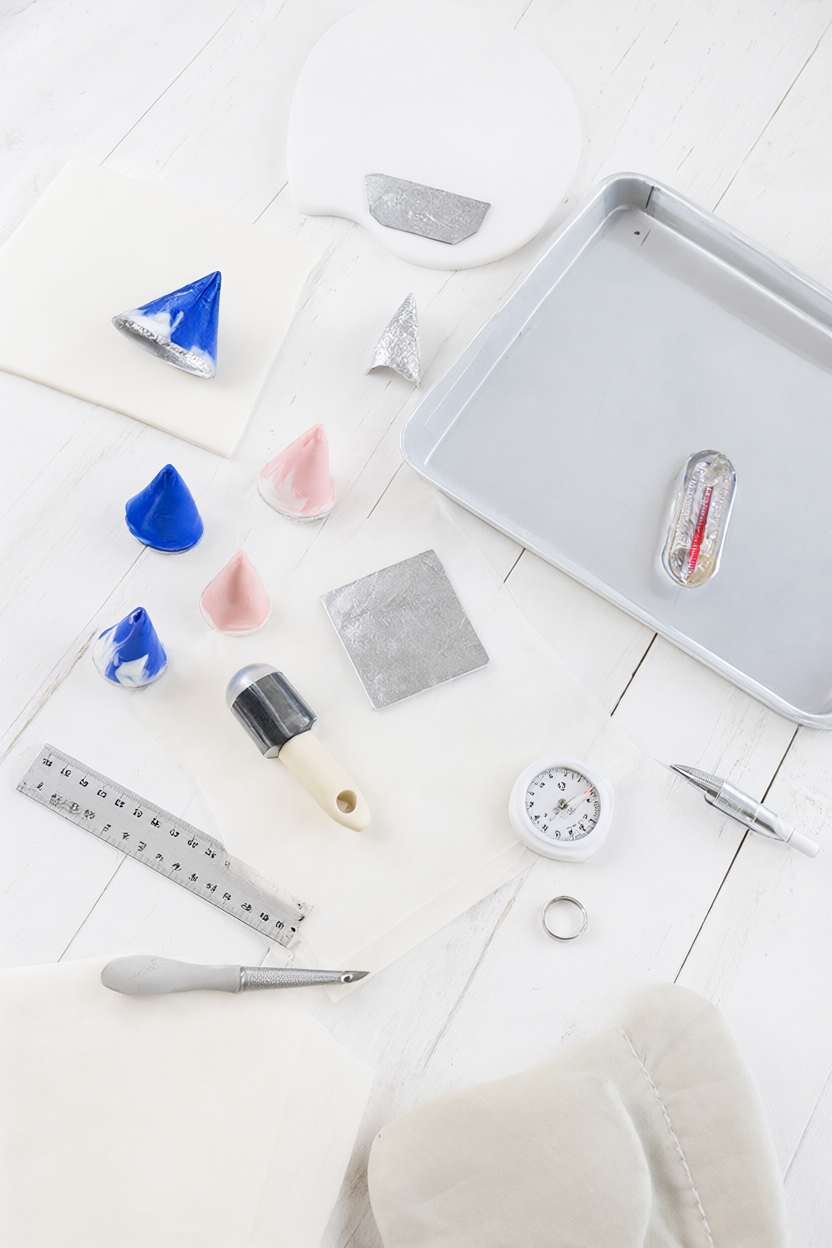
Step-by-Step Instructions
- Prepare the workspace and oven. Read the polymer clay package before starting, including its temperature and baking schedule for the clay thickness. Set out the smooth glass or ceramic tile, tools, and parchment, then preheat a conventional oven to the package temperature and check it with an oven thermometer. Keep the craft blade for adult use or adult supervision; the oven and hot tray also need adult handling.
- Build the permanent foil core. Compress one 12-inch square of aluminum foil into a firm cone approximately 1¾ inches tall. Shape a flat bottom and a taper that will sit inside the finished 2-inch-tall, 1-inch-wide holder. Press the foil tightly so it does not feel loose or squash easily, and stand it on the tile to check that it stays upright before covering it.
- Condition the three clay colors. Use 20 g white, 5 g cobalt blue, and 5 g blush pink polymer clay. Work each color separately until it feels pliable enough to roll, then form the colors into ropes. Keeping the portions separate at this stage helps preserve the clear white, blue, and pink that will become the marble ribbons.
- Create the marble sheet. Bring the ropes together and twist only a few times, then fold the bundle just once. Roll it between the two parchment squares into a sheet about ⅛ inch thick, checking with the ruler. Stop while distinct colored ribbons remain: repeated folding is what turns a bright marble pattern into a muddy blend.
- Wrap the core. Lift the marbled sheet from the parchment and wrap it around the compressed foil cone. Bring the joining edges toward each other while leaving the foil underside exposed; the core stays permanently inside the finished piece. At this point, check that the sheet covers the taper and sides before trimming away the extra clay.
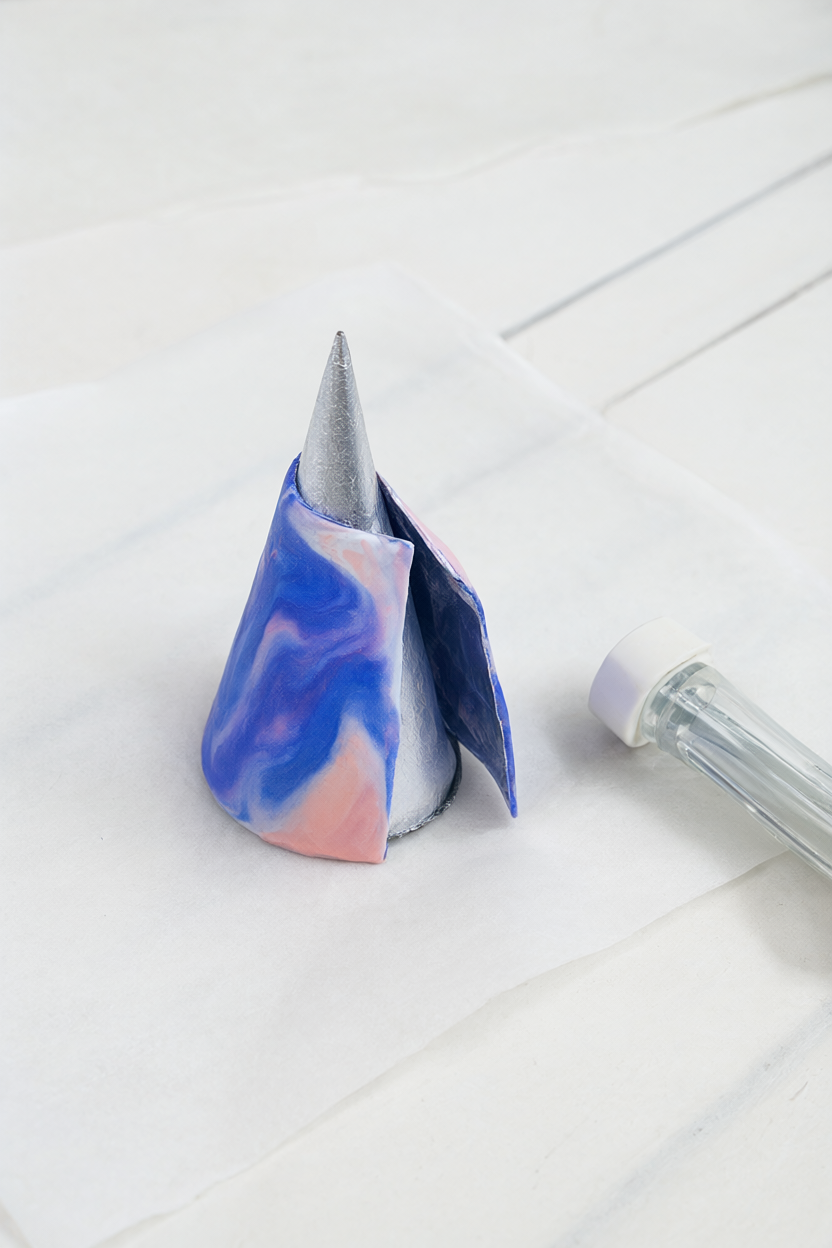
- Finish the seam, base, and ring fit. Under adult supervision, use the craft blade to trim excess overlap, then gently smooth the joining seam. Level the bottom against the work tile so the cone stands upright without leaning or wobbling. The finished shape should be approximately 2 inches tall and 1 inch wide at the base; lower a clean ring over the tip to check that it rests securely on the taper above the base, adjust if needed, then remove the ring.
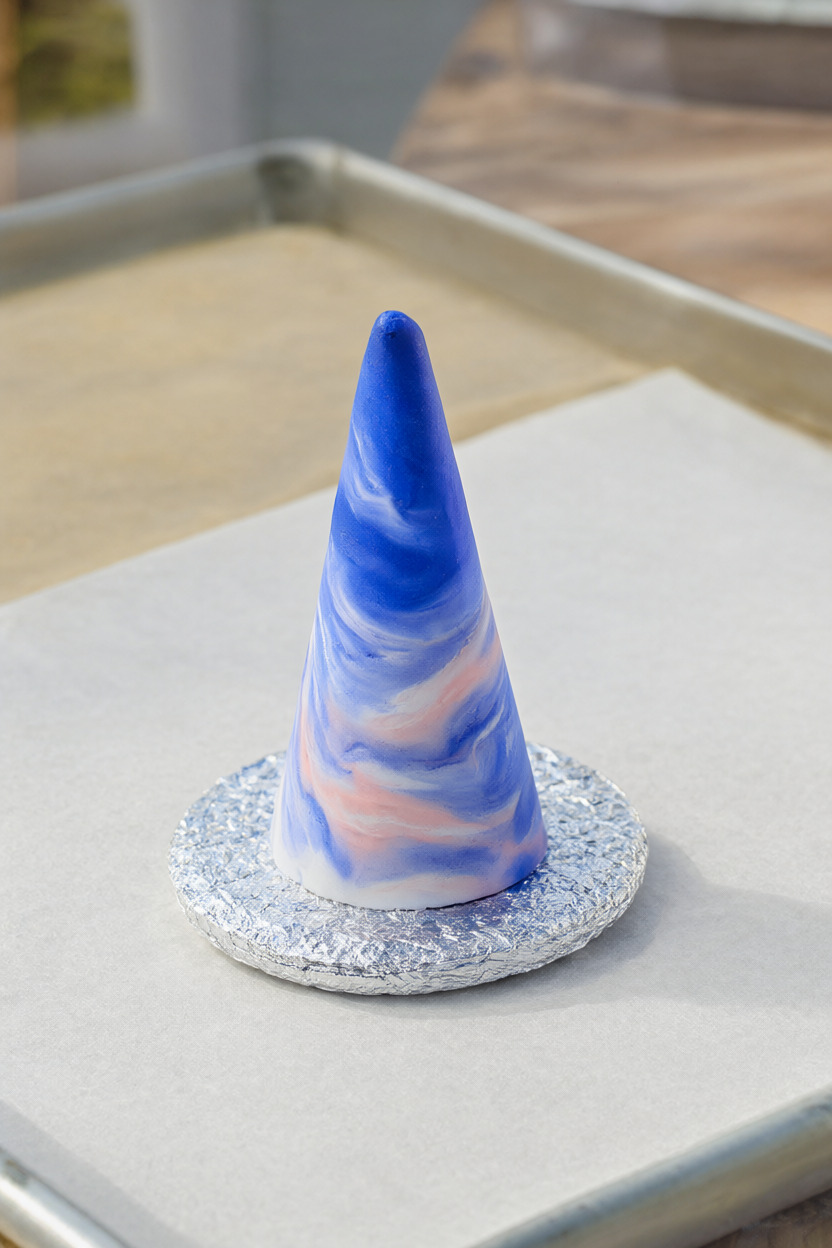
- Bake according to the clay package. Place the cone upright on a parchment-lined baking tray. Bake at the package temperature for the time specified for the thickest clay section, using a timer and the oven thermometer rather than guessing. Do not count the foil core as solid clay, microwave the piece, or exceed the recommended temperature; the label determines the baking schedule.
- Cool completely before using. An adult should remove the tray with oven mitts and leave the cone on the tray until completely cool. Allow around 30–60 minutes for cooling as part of the overall project estimate, and wait longer if it is still warm. Leave the foil core permanently inside, then keep the finished holder on a dry dresser or bedside table before adding rings.
Make It Your Own
A cooler marble palette. Swap the cobalt and blush for emerald green and lavender, keeping white in the mix. Let the colors stay in distinct ribbons rather than folding until everything becomes one shade; the same restrained marbling approach applies.
A compact nightstand cone. Make the cone about 1½ inches tall while retaining a 1-inch base. That shorter shape gives you another proportion to try, but still check your own ring on the taper before baking rather than assuming it will fit.
A coordinated pair. Make two separate cones with reversed color proportions as a gift for a couple. Keep the shapes individual, with one showing more blue and the other more pink, so they look related while each has its own swirls.
Beginner Mistakes (and Easy Fixes)
- Muddy colors: Repeated folding blends the colors together. Twist only a few times and stop while distinct ribbons remain; more mixing will not bring the separate colors back.
- A leaning or wobbly cone: Loose foil or an uneven bottom causes instability. Compress the core firmly and level the base before baking, checking it upright on the tile.
- A soft or brittle result: Guessing the temperature or baking time can undercure or scorch clay. Check the oven thermometer and follow the exact package instructions for the clay thickness.
Your Free Printable
The two-page PDF keeps the supplies and sequence together. Page 1: Complete materials and tools checklist for one marbled ring cone. Page 2: Twelve short actions covering preparation, marbling, shaping, baking, and cooling.
Questions You Might Have
Can I use air-dry clay instead?
Not with these instructions: it needs a different construction and drying schedule, and ordinary air-dry clay does not marble like colored polymer clay. Keep this version to polymer clay so the foil-core construction and label-directed baking instructions stay together.
Does it need a glaze?
No. Properly baked polymer clay can remain uncoated; this version has a natural matte or softly satin finish. The marbled colors supply the decoration, so a glaze is not part of this materials list or process.
Will it fit every ring?
Ring sizes vary. Test your own ring on the taper before baking and adjust the shape so the ring rests securely above the base. Remove the ring after checking the fit, and add it again only once the baked cone is completely cool.
Save This for Later
Save the pin image below so you can return to the measurements, marbling steps, and printable when you are ready to make your cone.
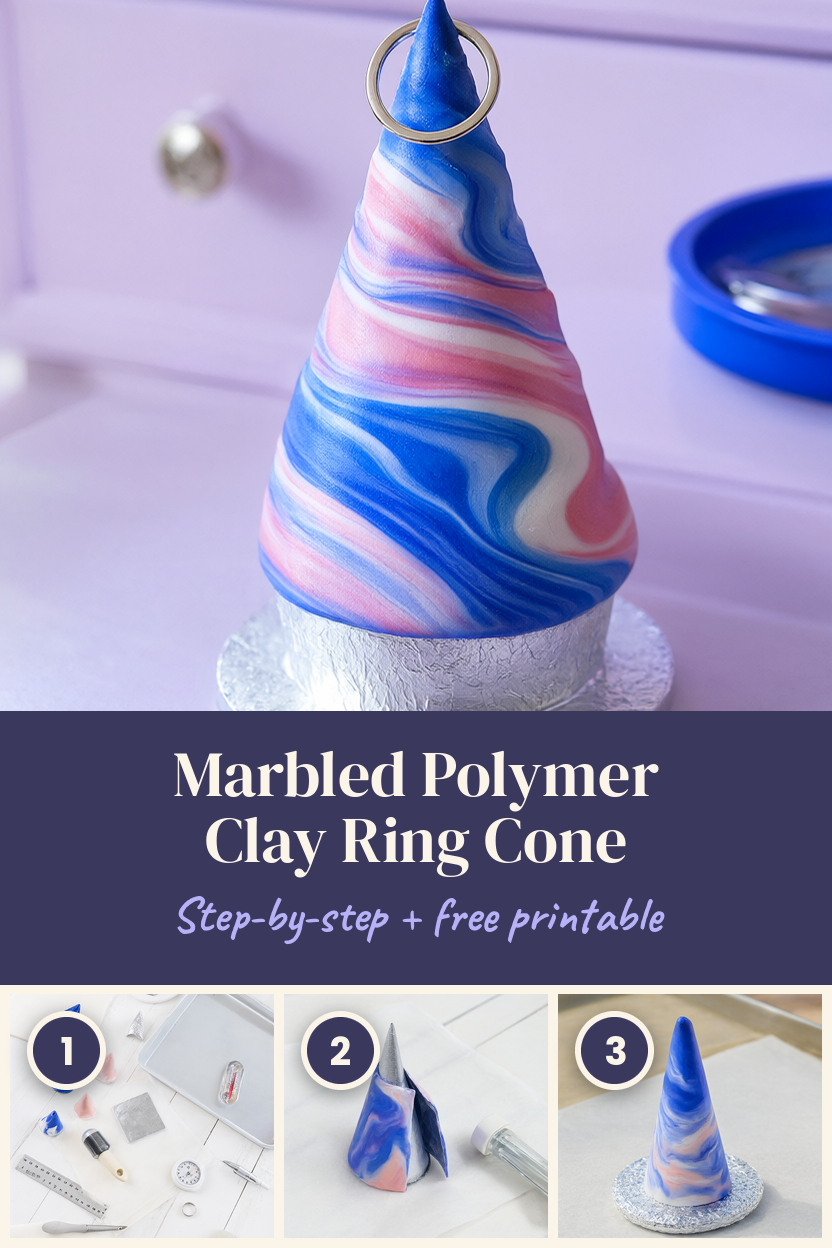
A few clear ribbons of color and a level base give this tiny holder its character. Once it has cooled completely, set it on a dry dresser or bedside table and slip your ring onto the taper.