These paper snowflakes look like something from a craft fair, but they start as plain copy paper cut into thin strips. Each six-point ornament takes about 25 minutes of hands-on work once you have rolled a few coils, plus 1-2 hours of drying flat on wax paper. It is a beginner-friendly project with no drawing and no special skills, and a free printable supply list is included so you can gather everything before you sit down.
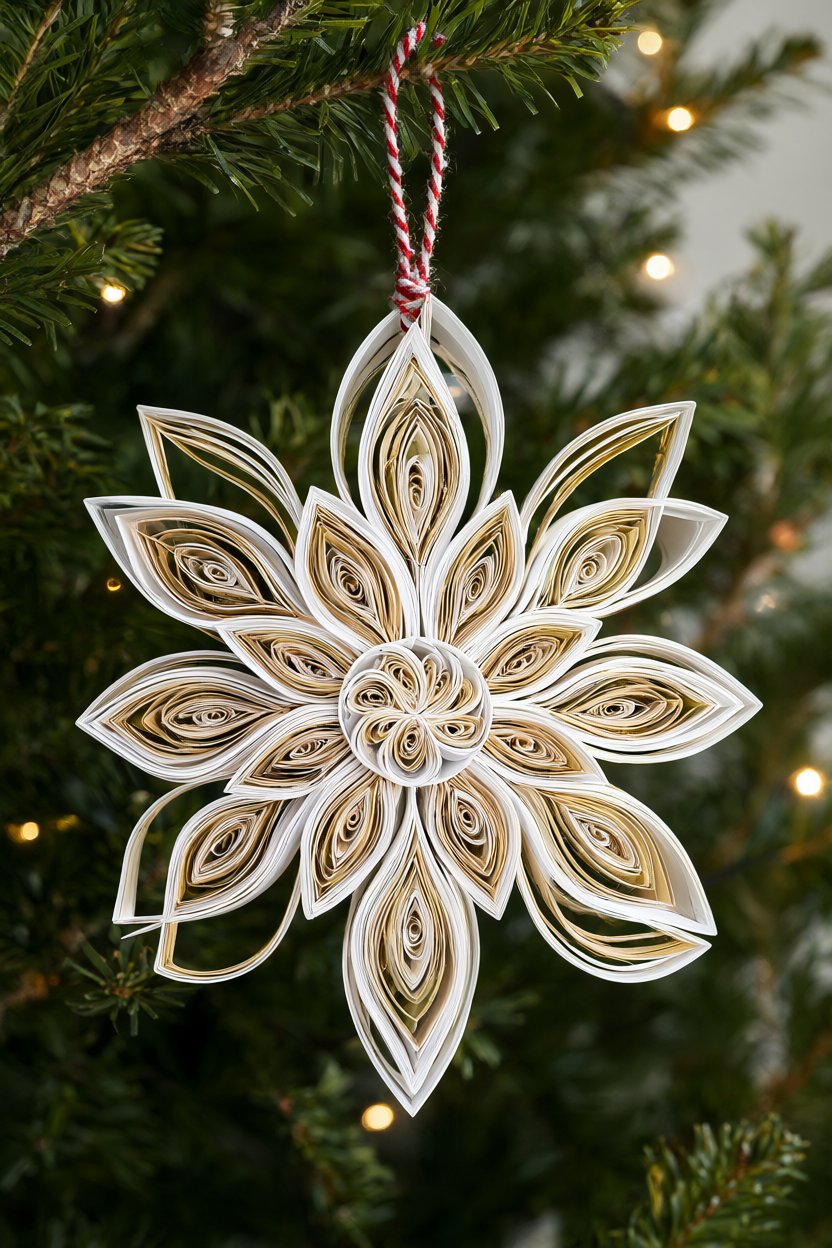
At a Glance
- Difficulty: Easy — beginner friendly, with no drawing or special skills needed.
- Hands-on time: About 25 minutes per snowflake, roughly 2.5 hours for a set of six.
- Drying time: 1-2 hours flat, or overnight for a firm set.
- Cost: Under $5 if you use paper, glue and toothpicks already at home; roughly $10-12 if you buy a slotted quilling tool, glue, twine and glitter new.
What You’ll Need
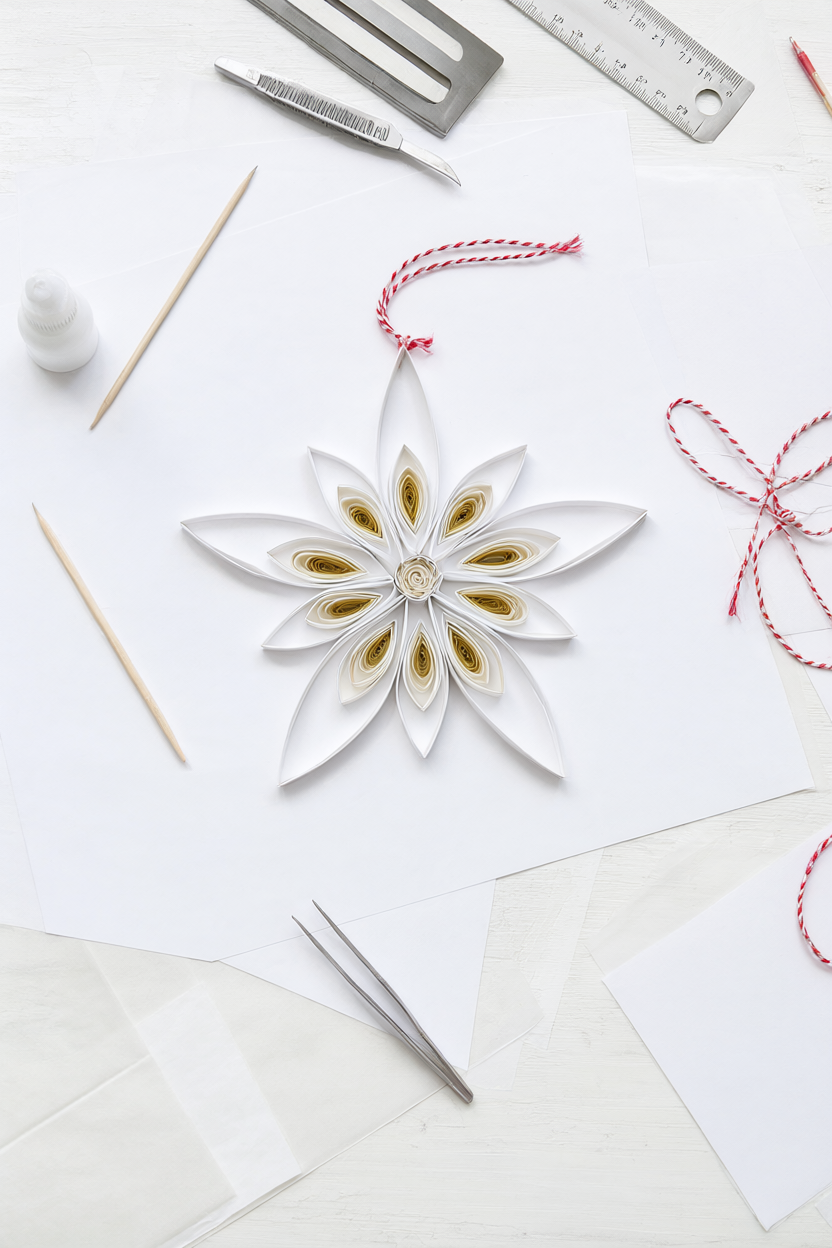
Everything here is small and easy to find, and most of it is probably in a drawer already. The strips are only 5 mm wide, so sharp tools and good light matter more than fancy supplies. A small tray or saucer keeps finished coils from rolling onto the floor.
- 6 sheets copy paper or light (160 gsm) cardstock — 1 sheet makes about 2 snowflakes
- Craft knife and metal ruler, or a paper trimmer
- Slotted quilling tool or a wooden toothpick
- 1 small bottle white craft glue (tacky glue)
- Tweezers
- Wax paper or parchment paper, about 30 x 30 cm
- 6 toothpicks for applying glue
- Thin ribbon or baker’s twine, 6 x 15 cm pieces
- Small paintbrush (optional, for glue)
- Fine glitter (optional)
Step-by-Step Instructions
The order matters more than the speed. Roll all the coils first, shape them, then build — the paper stays crisp when your hands are not rushing.
- Cut strips: with a craft knife and metal ruler (or a paper trimmer), cut 5 mm (1/4 in) wide strips from the long side of each sheet. Each six-point snowflake needs about 10-14 strips. Keep your fingers behind the ruler, cut away from your body, and keep the paper well back from the table edge.
- Roll a strip tightly around a toothpick or slotted quilling tool, starting at one end and keeping even tension, then let it relax into a loose coil. If it springs open unevenly, roll it again with slightly more tension.
- Glue the loose end with a tiny dab of white glue and hold for a few seconds; make 1 tight coil for the centre, 6 loose coils for the arms and 6 loose coils for the inner ring. Give each coil a moment to set before you move it.
- Pinch the 6 arm coils into teardrops (pinch one side) and the 6 inner coils into marquise/eye shapes (pinch both ends). Pinch gently and keep the rounded part full so the petals stay crisp.
- Lay the shapes on wax paper in a six-point star: teardrops pointing outward, marquise petals between them, tight coil in the centre. Nudge until even and symmetrical — tweezers help with the smallest pieces, and a quick look from above shows any gaps.
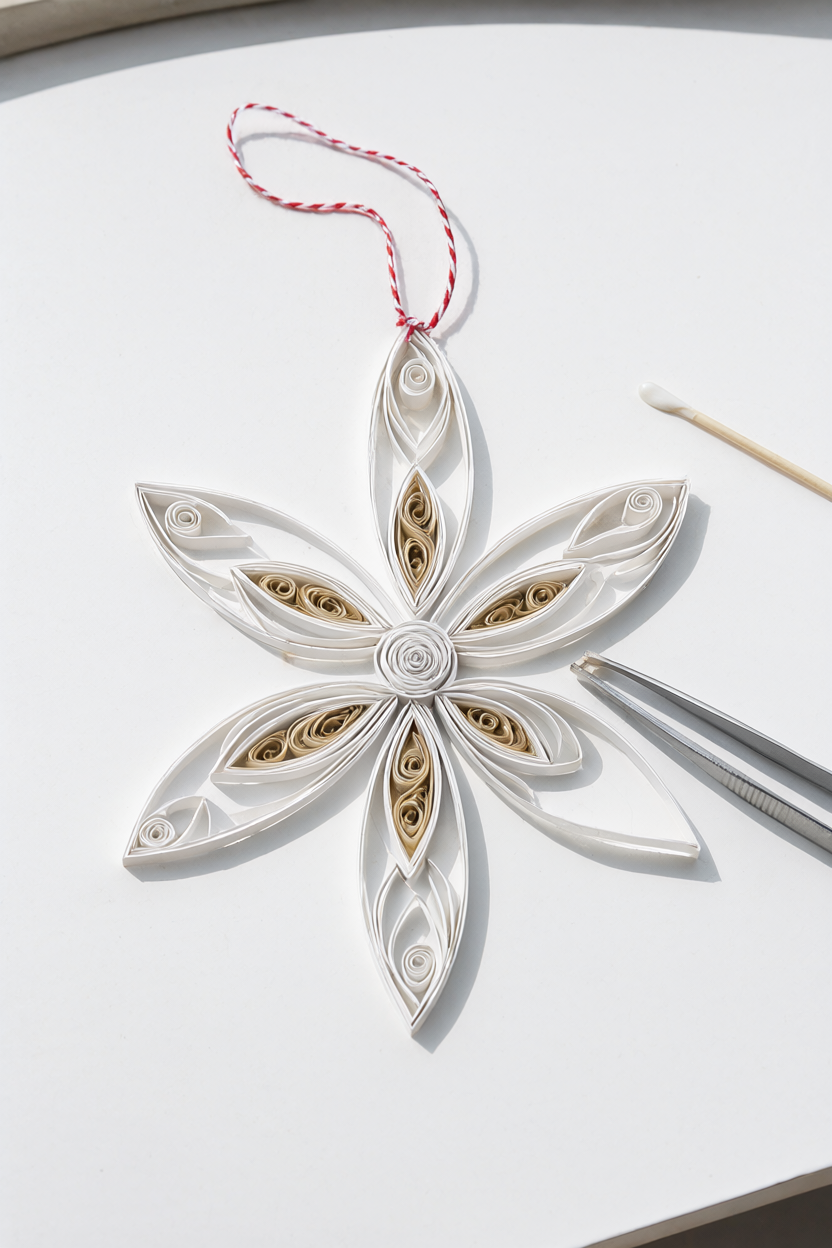
- Glue only where the shapes touch, dabbing glue with a toothpick; press each join 10-20 seconds. Do not lift the snowflake. A dot the size of a pinhead is plenty — more glue only makes the paper warp.
- Dry flat on the wax paper for 1-2 hours until rigid, then glue a small twine loop behind the top point and dry completely (overnight is safest). Test a point gently before hanging — if it bends, it needs more time.
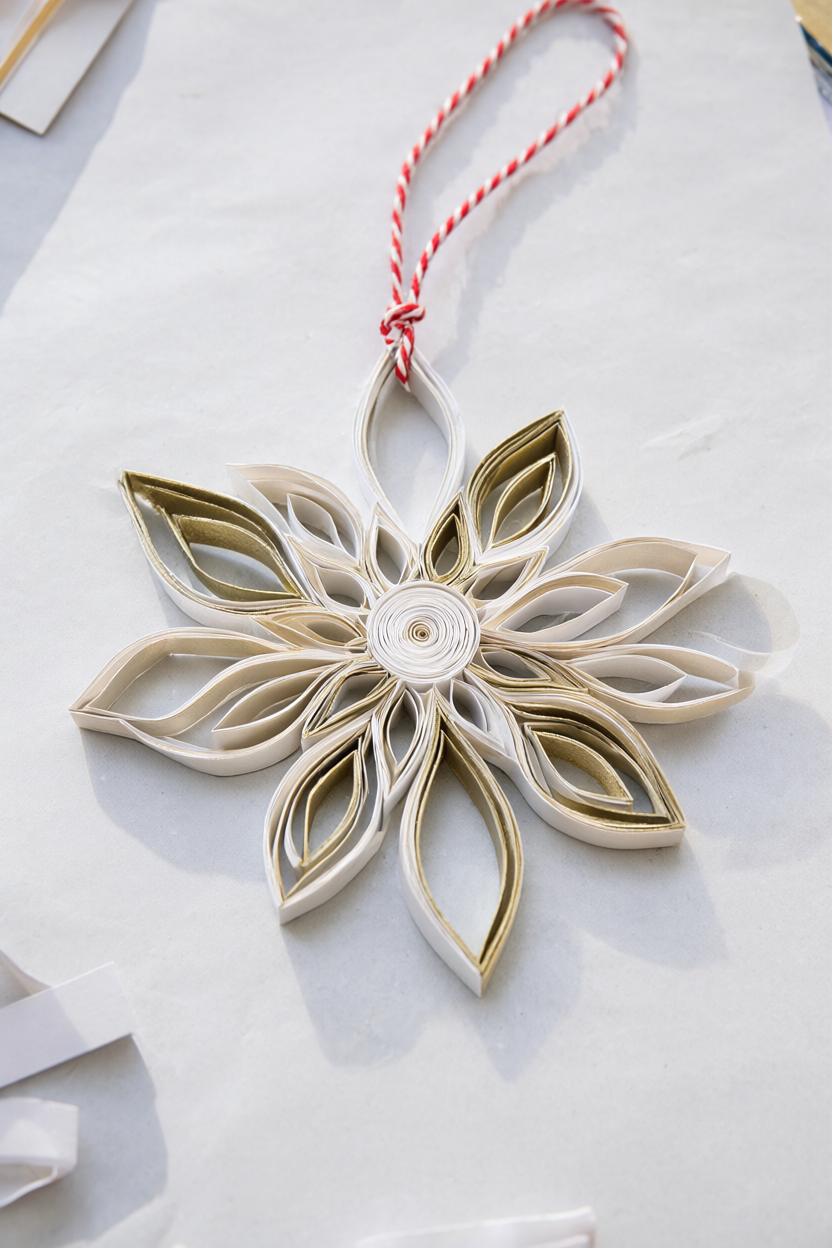
- Optional finish: brush the tips lightly with glue and dip in fine glitter, or paint a thin line of glue along the edges and sprinkle glitter on just the rims; shake off excess and dry. Work over a sheet of paper so the glitter can go back in the jar.
Make It Your Own
Colour scheme. White, pearl and gold reads classic on a tree, while blush pink and mint feel modern and a little playful. For a vintage look, cut the strips from an old book page — the faded print gives every coil a soft, storybook texture.
Shape. A five-point star is the simplest change and looks lovely lined up on a wall. For a layered ornament, make a small snowflake and glue it offset on top of a large one so the points peek out, or keep one flat and glue it to a blank card as a gift tag.
Use or gift. Thread several snowflakes onto twine for a garland that sways with the tree lights, or pack a set of three in a small box with tissue paper — a handmade gift that costs very little and looks considered.
Beginner Mistakes (and Easy Fixes)
- Strips cut unevenly make lopsided coils — fix: use a paper trimmer or line the ruler up carefully and cut one strip at a time.
- Too much glue warps the paper and leaves shiny stains — fix: apply glue with a toothpick, a dot only where pieces touch.
- Building or drying the snowflake in your hand or hanging it wet makes it warp — fix: assemble and dry it flat on wax paper, then hang it only when rigid.
Your Free Printable
The free printable is two pages and ready to print at home. Page 1 is a “What You’ll Need” checklist with all 10 materials and tools, so you can tick items off as you find them. Page 2 is an 8-step “Step by Step” sheet with the short assembly steps in order, handy to keep on the table while your hands are busy.
Questions You Might Have
How long does one take?
About 20-25 minutes once you have rolled a few coils; drying adds 1-2 hours, or overnight before hanging.
Can I use printer paper instead of quilling paper?
Yes — ordinary copy paper cut into 5 mm strips works well. Heavier cardstock holds its shape longer but is harder to roll.
Will it last until next Christmas?
Yes, if it is fully dry and stored flat in a box with tissue paper, away from damp.
Save This for Later
If you would rather try this on a quiet afternoon, save the pin below so the steps are easy to find again.
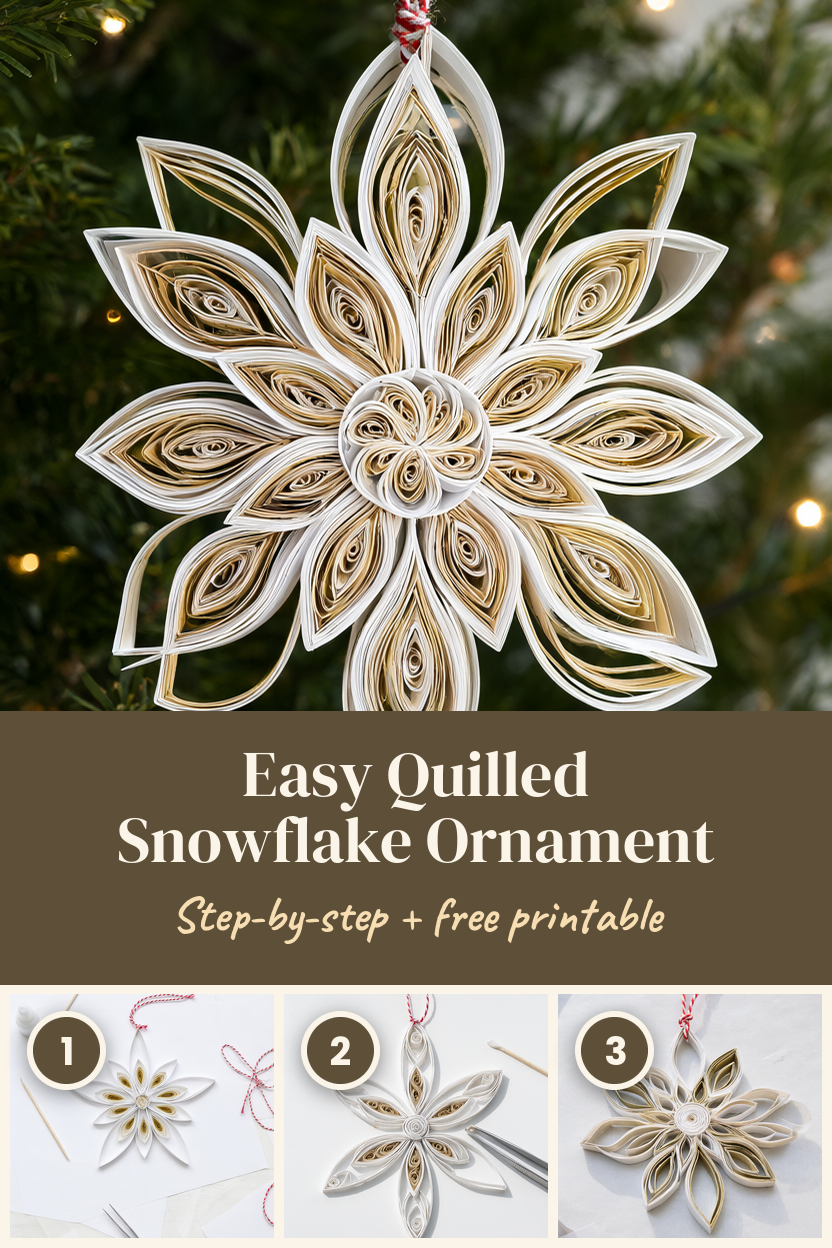
Paper, glue and a little patience are the whole supply list for a snowflake that looks delicate but holds its shape all season. Start with one, and a set of six will follow before you know it.