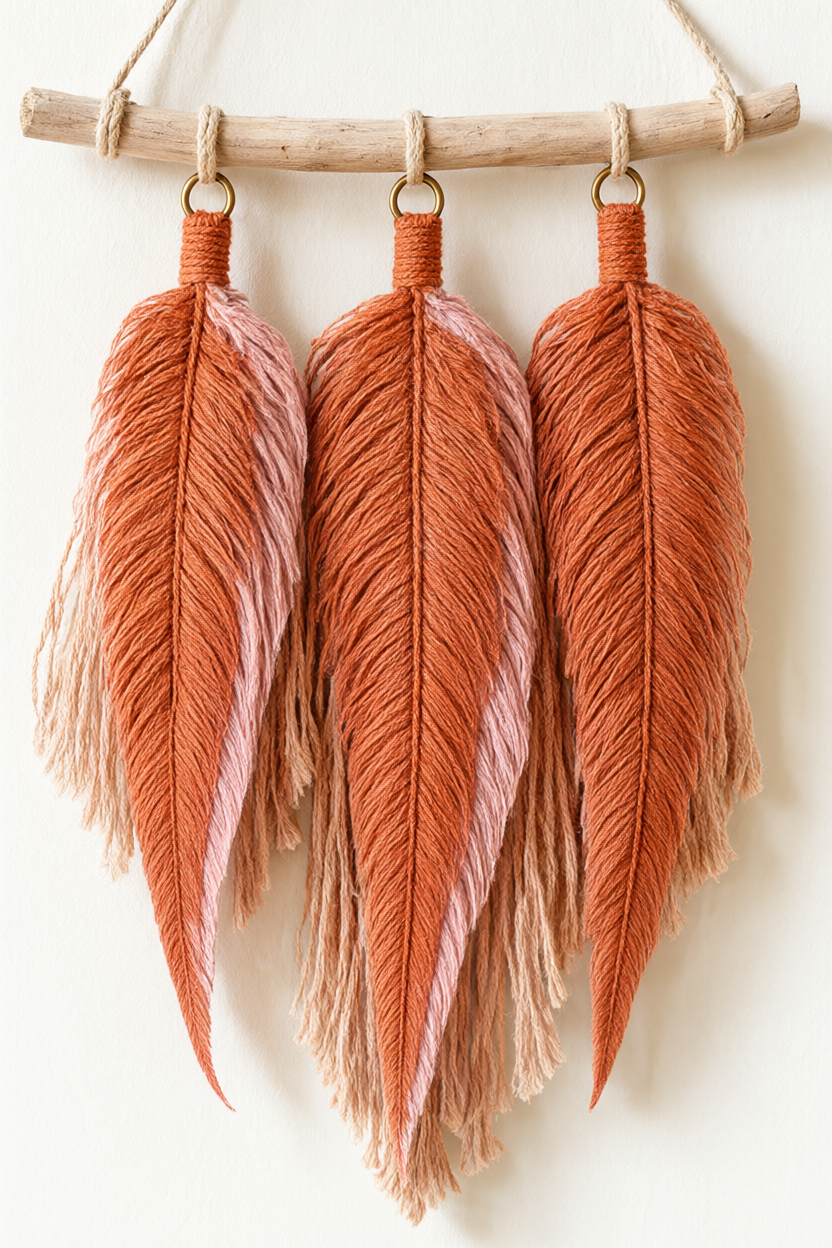
You’re going to turn three bundles of cotton cord into a soft, three-feather wall hanging — terracotta feathers with a blush pink stripe along one edge, gathered at small brass rings and hung from a piece of driftwood. The ombre stripe comes from grouping your blush cords along one edge before you fold, so the colour falls naturally as the fringe is combed and trimmed. Give it about an hour of hands-on time, plus an optional 30 minutes of drying, and keep the free printable supply list and step checklist beside you while you work.
At a Glance
- Difficulty: Beginner. You only need three simple moves — a fold, a lark’s head and a wrap.
- Hands-on time: About 1 hour for the full three-feather set.
- Drying time: 30 minutes if you mist the fringe with fabric stiffener or hairspray; skip it for a soft finish.
- Cost: About $22–28 for the two-colour set, or $15–20 in a single colour. The stick is free if you forage one.
What You’ll Need
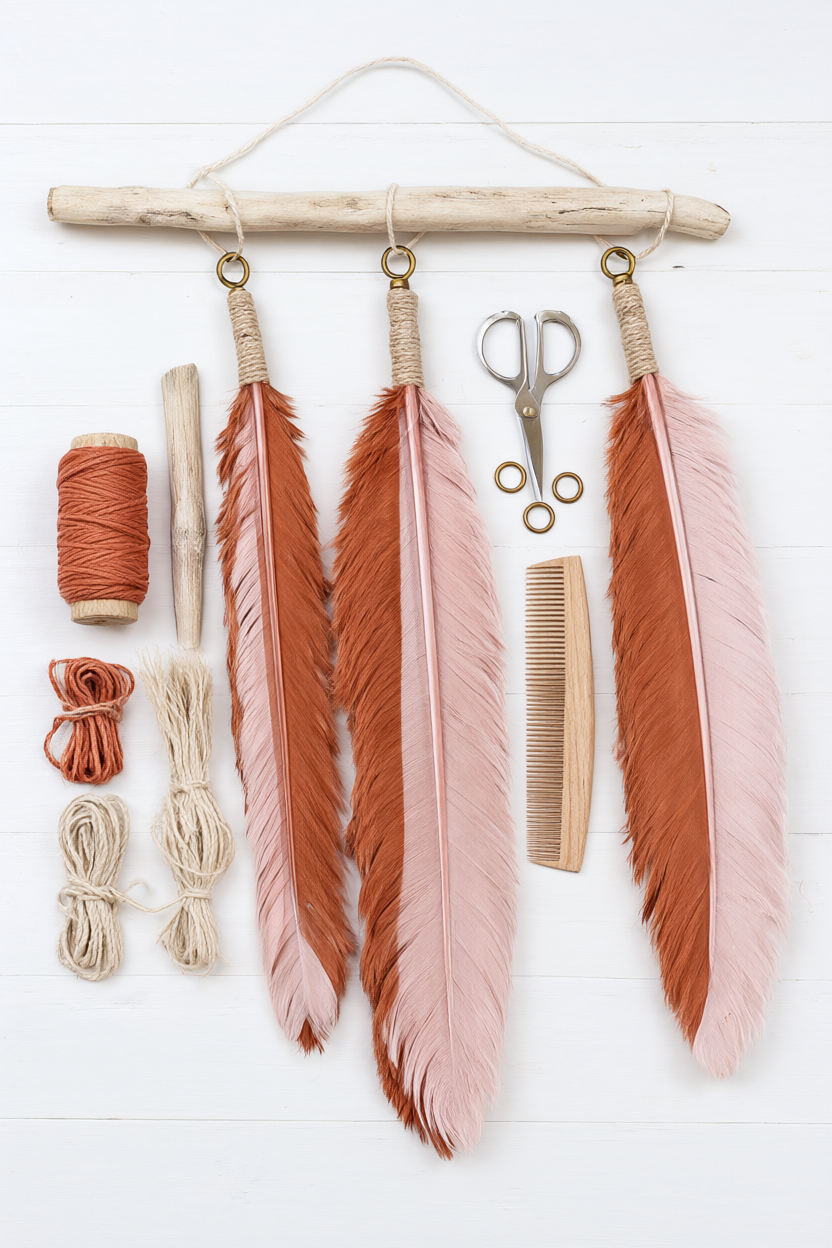
You need very little for this one, and most of it is reusable. A 50 m spool of 4 mm cotton cord covers the terracotta bundles with plenty to spare, and the stick can come from a beach walk or be swapped for a dowel.
- 4 mm cotton macrame cord, about 25 m terracotta
- 4 mm cotton macrame cord, about 10 m blush pink
- 3 brass rings, 30 mm
- 1 driftwood stick or dowel, 35–40 cm
- Cotton twine, about 1 m
- Sharp scissors
- Wide-tooth comb
- Fabric stiffener or hairspray (optional)
- Clear-drying fabric glue (optional)
Step-by-Step Instructions
- Cut 14 cords at 92 cm, 12 at 72 cm and 10 at 56 cm; these make feathers about 40, 30 and 22 cm long. For the stripe, make three or four cords in each bundle blush pink and keep those cords together in one block — that block becomes the colour band along one edge.
- Line up the longest bundle with the top ends even and the blush block at one edge, then fold the bundle in half. Push the folded loop through a brass ring, pass the tail ends through the loop and pull down so the bundle hangs from the ring.
- Hold a 1.5 m cord against the bundle just below the ring with its middle forming a small loop at the bottom. Wrap one end tightly around the bundle and the loop 10–12 times downward, thread that end through the loop, pull the other end so the loop slides under the wraps, then trim and dab with fabric glue.
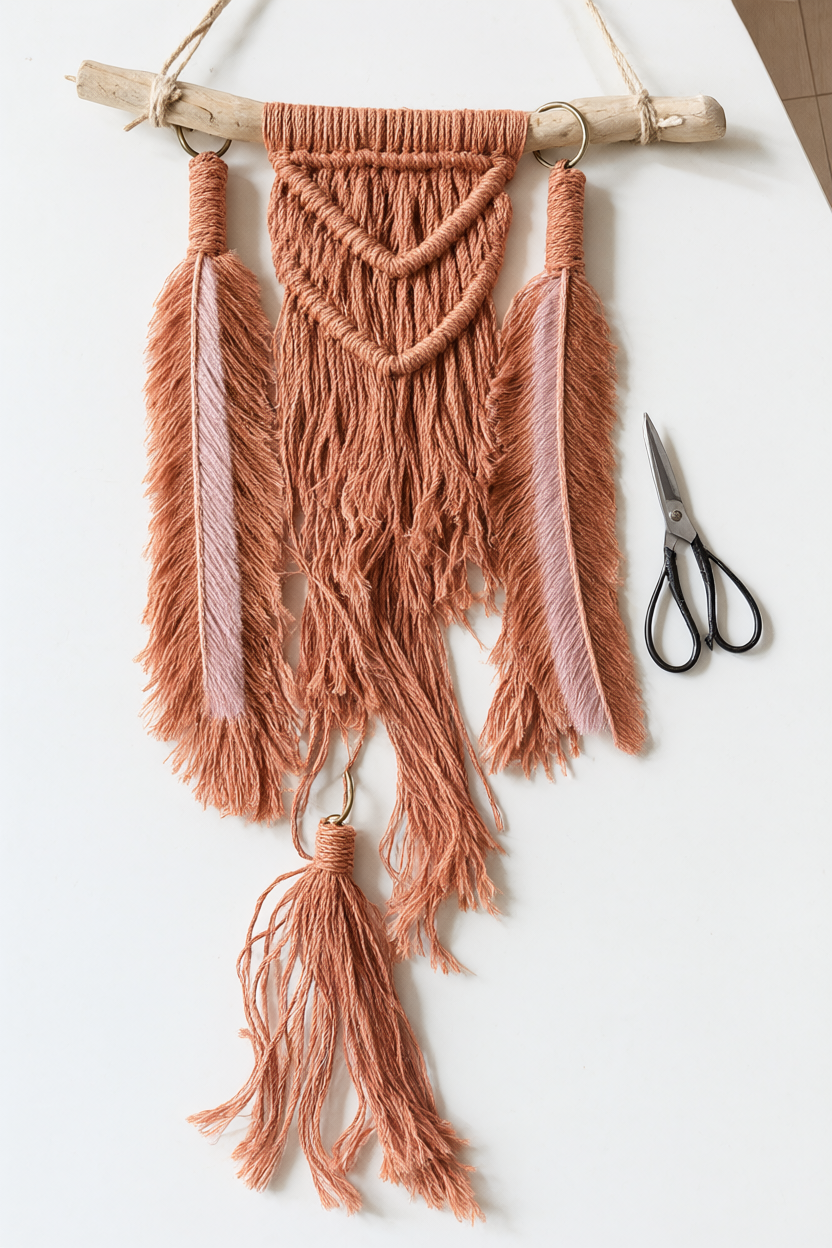
- Repeat with the other two bundles, keeping the blush cords on the same side of each feather so the three stripes line up when the piece hangs.
- Hang a feather from a hook and comb the cords straight, working from the ends upward in small sections. Combing separates the plies and makes the fringe fluffy — this is the step that turns a bundle of string into something that reads as a feather.
- Trim the bottom into a long soft point, cutting a shallow diagonal up from each side toward the centre in small snips and checking the shape as you go. Keep your fingers below the blades and use sharp scissors for clean ends.
- Mist the fringe lightly with fabric stiffener or hairspray in a ventilated spot and let it dry for 30 minutes if you want a crisper feather. Skip this step for a soft brushed look, and never spray toward your face.
- Tie a 20 cm loop of twine through each brass ring and knot it around the stick, spacing the feathers 8 cm apart with the longest in the middle. Check the blush stripes before tightening each knot.
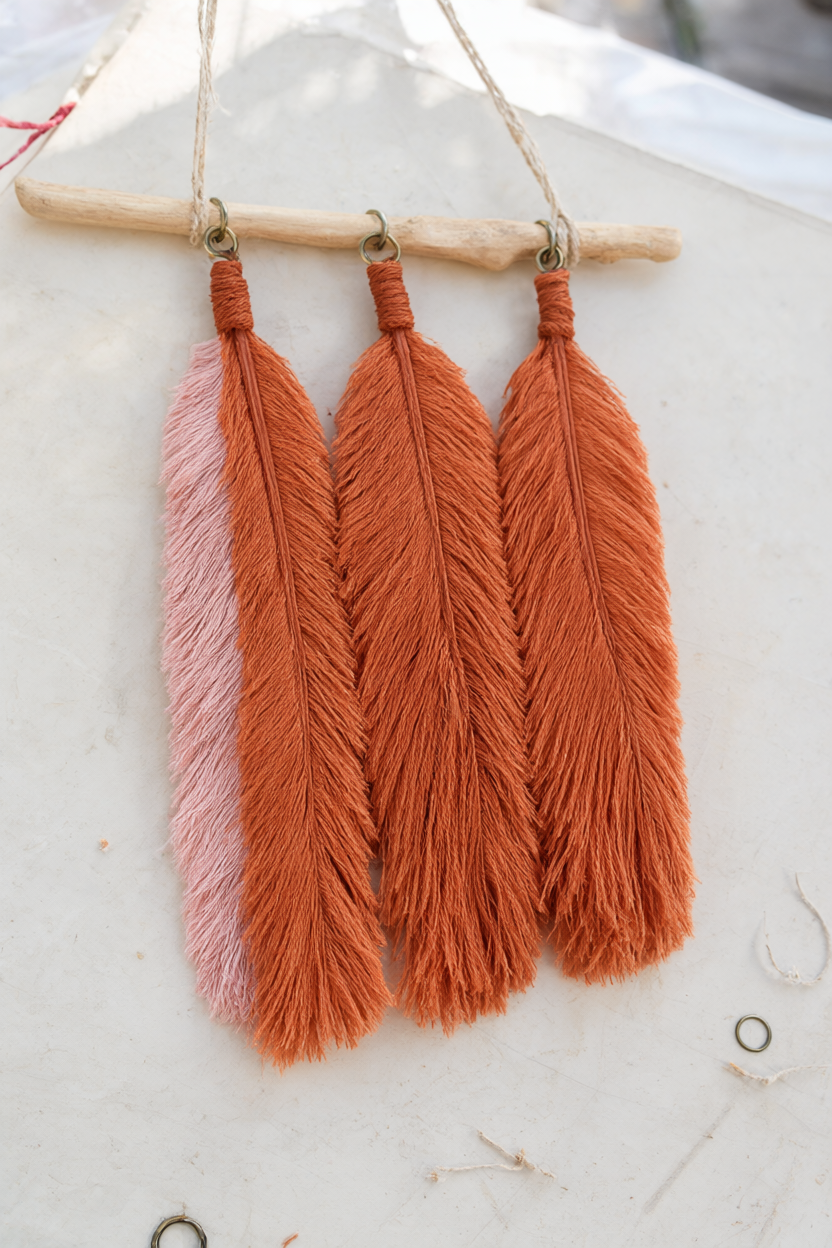
- Tie a twine hanger to both ends of the stick, trim any loose cord tails and hang the piece level on a wall hook. Fluff the fringe with your fingers and step back to check the taper.
Make It Your Own
Colour: Swap terracotta and blush for sage, olive and cream, or make all three feathers ivory for a quiet Scandinavian look. Keep one tight block of the accent colour on the edge and the stripe still reads clearly.
Size and use: Make five 15–20 cm feathers for a nursery mobile, or single mini feathers as handmade gift toppers. Shorter cords take fewer wraps and less combing, so a mini feather is a 15-minute project.
Mount: Hang the rings from one leather cord at staggered heights instead of a stick for a narrow, renter-friendly version. It needs a single wall hook and sits neatly beside a bookcase or in a hallway.
Beginner Mistakes (and Easy Fixes)
- Cutting each cord at the finished feather length — folding halves it, so cut twice the length plus 10–12 cm for the neck and trim.
- Wrapping the neck loosely and leaving the end loose — wrap 10–12 tight turns, lock the end under the loop and add a dab of glue.
- Trimming the tip in one big cut — snip small diagonals from both sides while it hangs, because trimmed cord cannot be added back.
Your Free Printable
The printable runs to two pages on ordinary letter paper and is designed to sit on your work table. Page 1: What You’ll Need — a 9-item checklist for the cord, rings, stick, twine and tools. Page 2: Step by Step — 10 short steps from cutting cords to levelling the hanging. Print it once and tick each box as you go.
Questions You Might Have
How much cord will I actually use?
About 32 m for the three-feather set, with the longest feather using about 13 m. One 50 m spool covers a single-colour version with room to spare.
Can I use yarn instead of macrame cord?
Yes, but smooth cotton yarn gives a softer, fluffier feather that droops more. 4 mm cotton cord holds the crisp tapered shape best.
How do I keep the fringe from fraying?
Sharp scissors and a light mist of fabric stiffener or hairspray slow fraying. The cut ends still soften over time, which suits the feather look.
Save This for Later
Pin this tutorial to your craft board so it’s waiting when you have an hour and a spare stick.
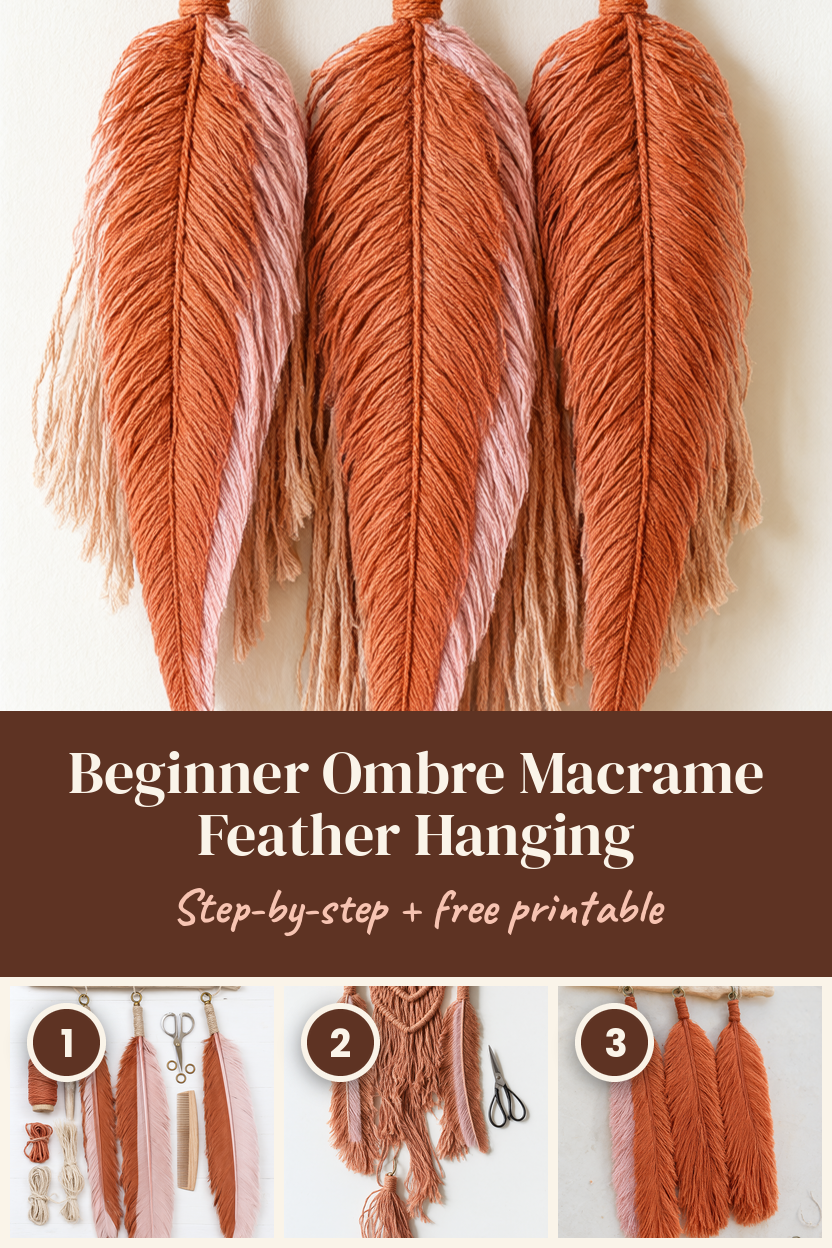
Once the first feather is wrapped, the other two move quickly, and the finished piece can be on the wall the same afternoon.