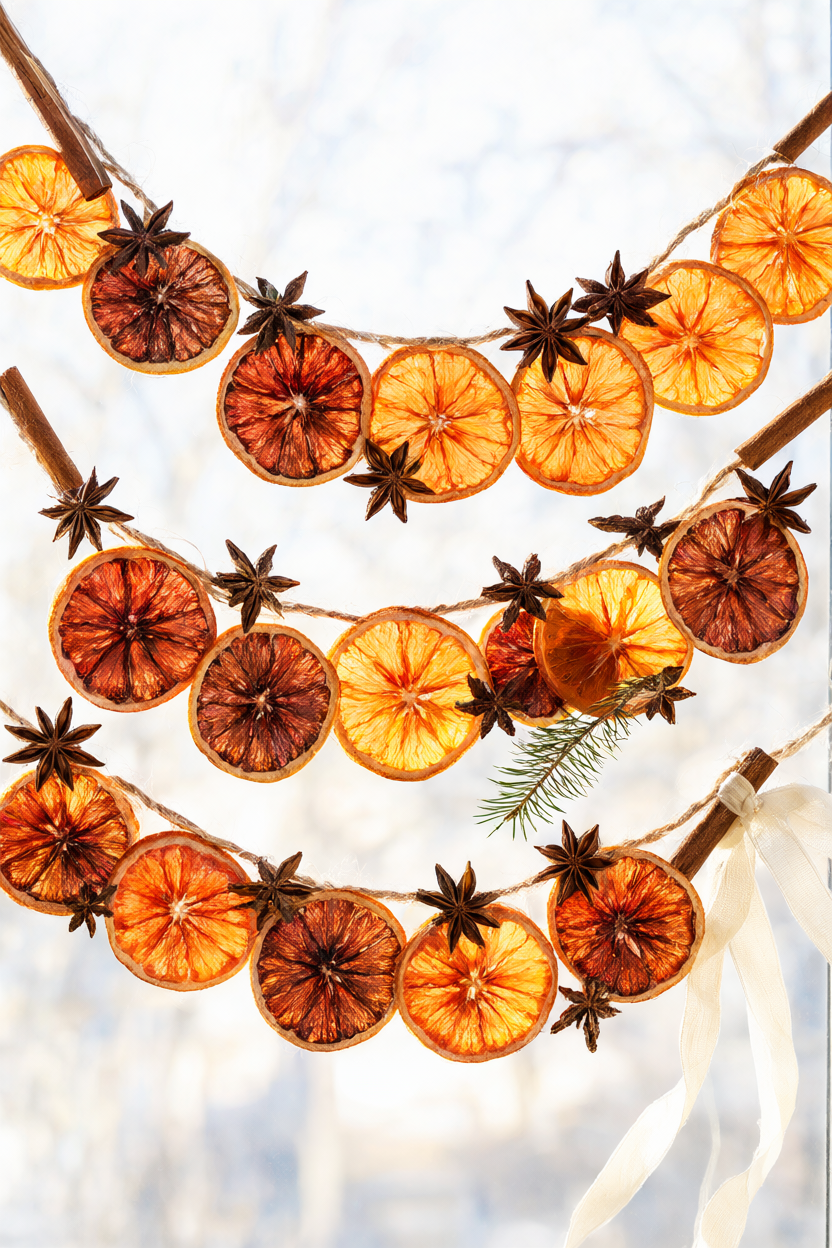
Make a five-foot dried orange garland that glows amber in a winter window and leaves the room smelling of warm citrus every time you walk past. This is the beginner version: no dehydrator, no special tools, just a sharp knife, a low oven, and a little patience while the slices dry. Hands-on time is about 40 minutes, drying takes 2 to 3 hours, and a free printable supply list is included below so you can gather everything in one trip.
At a Glance
- Difficulty: Beginner — no dehydrator and no special equipment.
- Hands-on time: About 40 minutes.
- Drying time: 2 to 3 hours in a 200°F oven, plus 20 minutes of cooling.
- Cost: About $10 to $14 for two oranges, a bag of star anise, and a roll of jute twine bought new. Most people already have the knife, baking sheets, parchment, and cooling rack. Cinnamon sticks are optional and add about $3 to $4.
What You’ll Need
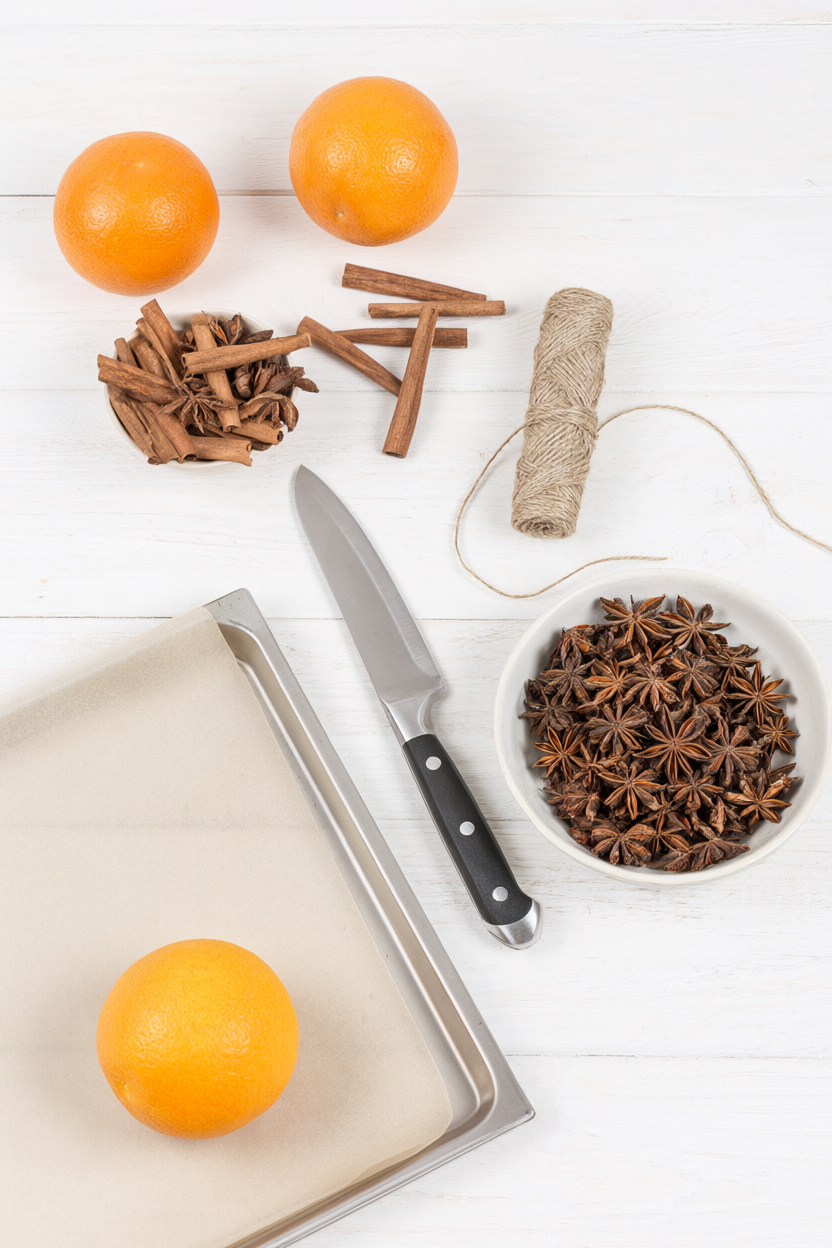
Everything on this list comes from a grocery store or a craft shop. Buy whole star anise pods rather than ground spice — the whole pods are what make the garland look so pretty — and choose natural jute twine, which has a soft, rustic colour that suits the amber slices. An oven thermometer is worth digging out too, since a dial that runs 25 degrees hot can brown the slices before they dry.
- 2 large navel oranges (about 1 lb)
- 1/2 cup whole star anise pods (about 30)
- 6 cinnamon sticks (optional)
- 4 yards natural jute twine
- 2 baking sheets
- Parchment paper
- Paper towels
- Cooling rack
- Sharp chef’s knife and cutting board
- Large-eye tapestry needle
- Scissors
- Oven (200°F / 93°C) and oven mitts
Step-by-Step Instructions
The whole project comes down to three things: slices that dry until they are firm and leathery, a steady rhythm on the twine, and a dry spot to hang the finished garland. Work through the steps in order and the rest is simple. The slices should feel like stiff leather, not crisp chips; a slice that bends without cracking is ready.
- Heat the oven to 200°F (93°C) and line two baking sheets with parchment paper.
- Wash and dry the oranges, cut off both ends, and slice into 1/4-inch rounds with a sharp chef’s knife; remove any seeds. Keep your fingers curled back and let the knife do the work.
- Pat the slices dry on both sides with paper towels — drier slices brown less and finish faster.
- Arrange the slices in a single layer on the trays and bake for 2 to 3 hours, flipping every 30 minutes and swapping the tray positions halfway, until the slices are firm, leathery, and no longer sticky. Use oven mitts every time you reach in.
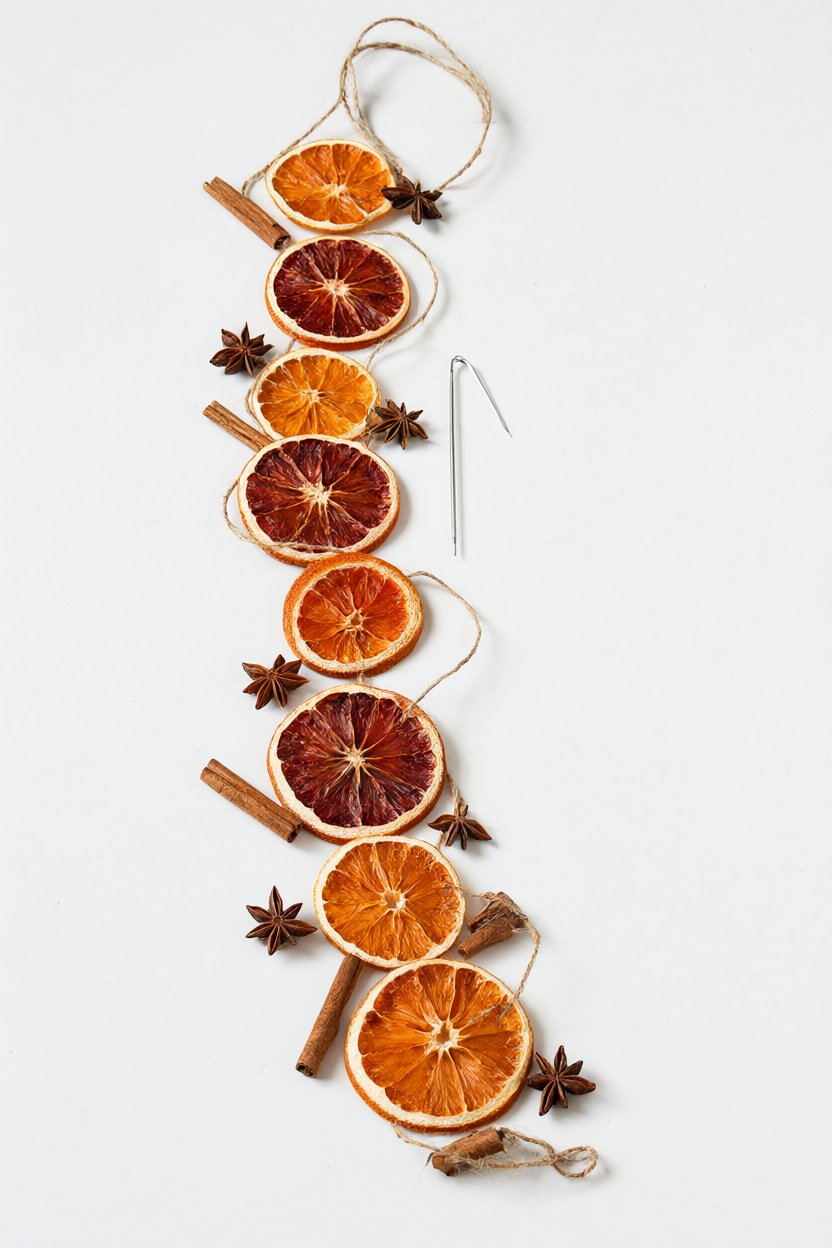
- Cool the slices completely on a wire rack, about 20 minutes; they firm up as they cool. If any slices are still soft, return them to the oven for 20 minutes.
- Cut 4 yards of jute twine, tie a 2-inch loop at one end, and thread the other end through a large-eye tapestry needle.
- Slide on a star anise pod, then an orange slice, and repeat, leaving about 1 inch of twine between each piece.
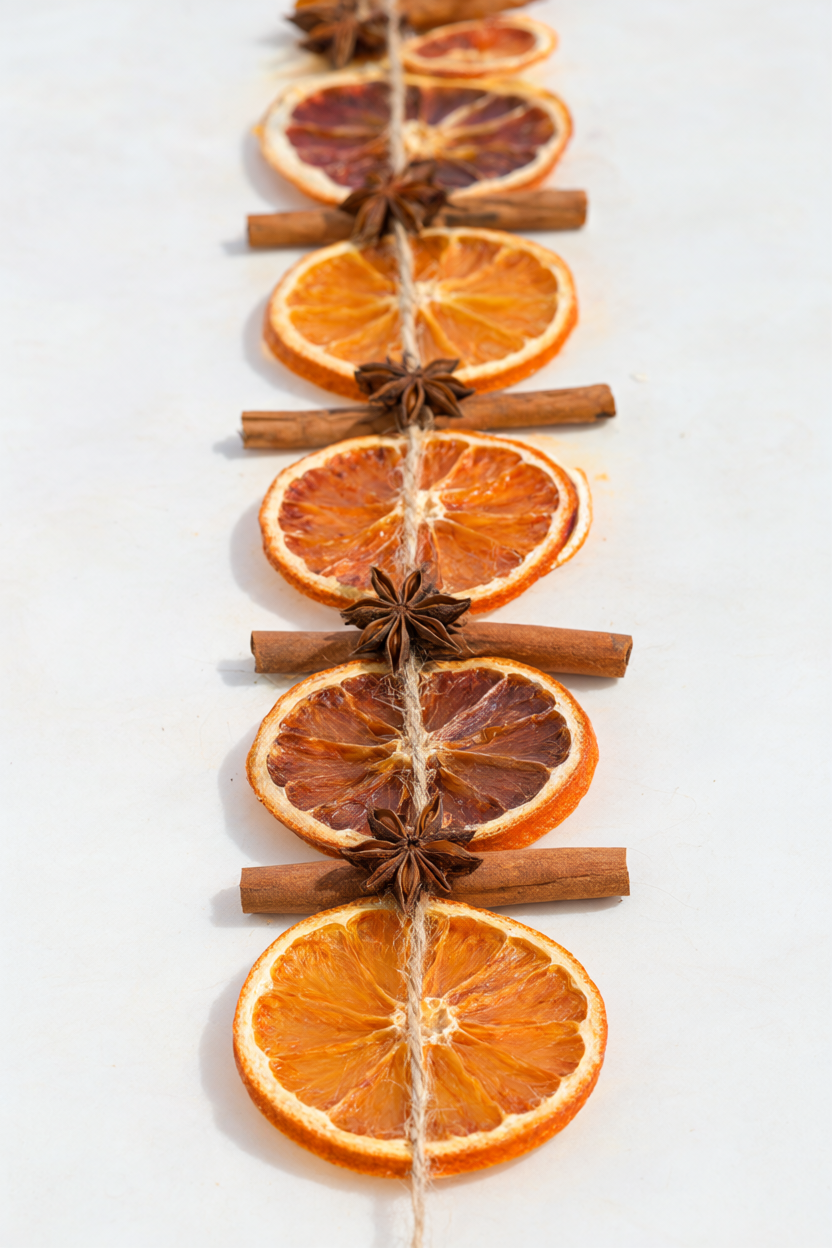
- Add a cinnamon stick every third slice if using; when the garland is the length you want, remove the needle, tie a 2-inch loop, and trim the tail.
- Hang the garland in a dry spot away from steam, radiators, and open flames; store it flat in an airtight box between seasons.
Make It Your Own
Two-tone: Use one navel orange and one blood orange for a garland with amber and ruby slices side by side. The darker slices look almost like stained glass when the light comes through them, and the contrast makes the star anise pop. String them alternately for a balanced mix.
Beaded boho: Add 12 mm wooden beads between the slices instead of cinnamon sticks. The round beads soften the look and give the garland a relaxed, handmade feel that suits a bedroom or a reading nook. Space the beads the same way you would the cinnamon sticks.
Single-slice ornaments: Make one ornament from a single orange slice, one star anise, a twine loop, and a small kraft tag. They take a minute each to assemble and are lovely tied onto gift bags or a tree. Write a name on the tag for a handmade place card.
Beginner Mistakes (and Easy Fixes)
- Uneven slices: Thick slices stay soft and can mold. Use a sharp knife and a 1/4-inch guide so every round dries at the same rate.
- Oven too hot: The edges brown and turn bitter. Stay at 200°F and flip every 30 minutes for even, translucent slices.
- Storing too early: Soft spots mold in the box. Dry until leathery and let the slices cool completely first.
Your Free Printable
The free printable is two pages. Page 1 is What You’ll Need — a 12-item checklist covering the oranges, star anise, optional cinnamon, twine, and every tool, so you can shop in one pass. Page 2 is Step by Step — 12 short steps from slicing and oven-drying to stringing, hanging, and storing. Print it, tick the boxes, and keep it on the counter while you work. Keep it with your decorations so next year is even quicker.
Questions You Might Have
Do I need a dehydrator?
No. A 200°F oven dries 1/4-inch slices in 2 to 3 hours. A dehydrator set to 135°F takes 6 to 10 hours, so the oven is the faster route for a small batch.
How thin should the slices be?
About 1/4 inch. Thinner slices curl and brown at the edges; thicker slices stay soft in the middle and take much longer to dry.
How long does the garland last?
One season or more indoors in a dry spot. Keep it away from steam and flames, and store it flat in an airtight box between seasons so the slices do not crumble.
Save This for Later
Pin the garland now and you will have the full supply list and every step ready when you need them.
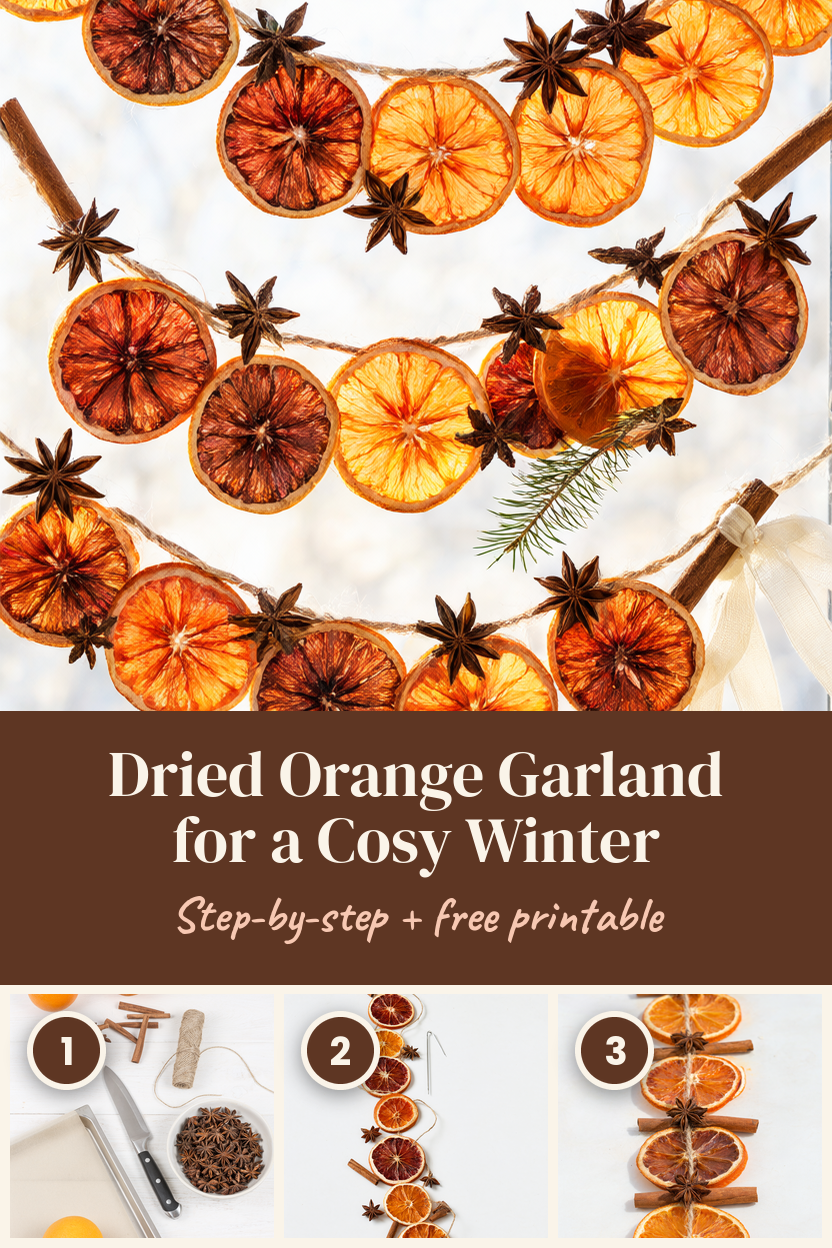
String one garland this week and you will notice the difference the moment the afternoon light hits those amber slices. Keep the printable close, take your time with the drying, and enjoy a little handmade warmth in the window. Once you have made one, you will spot orange slices everywhere and want to dry a second batch.