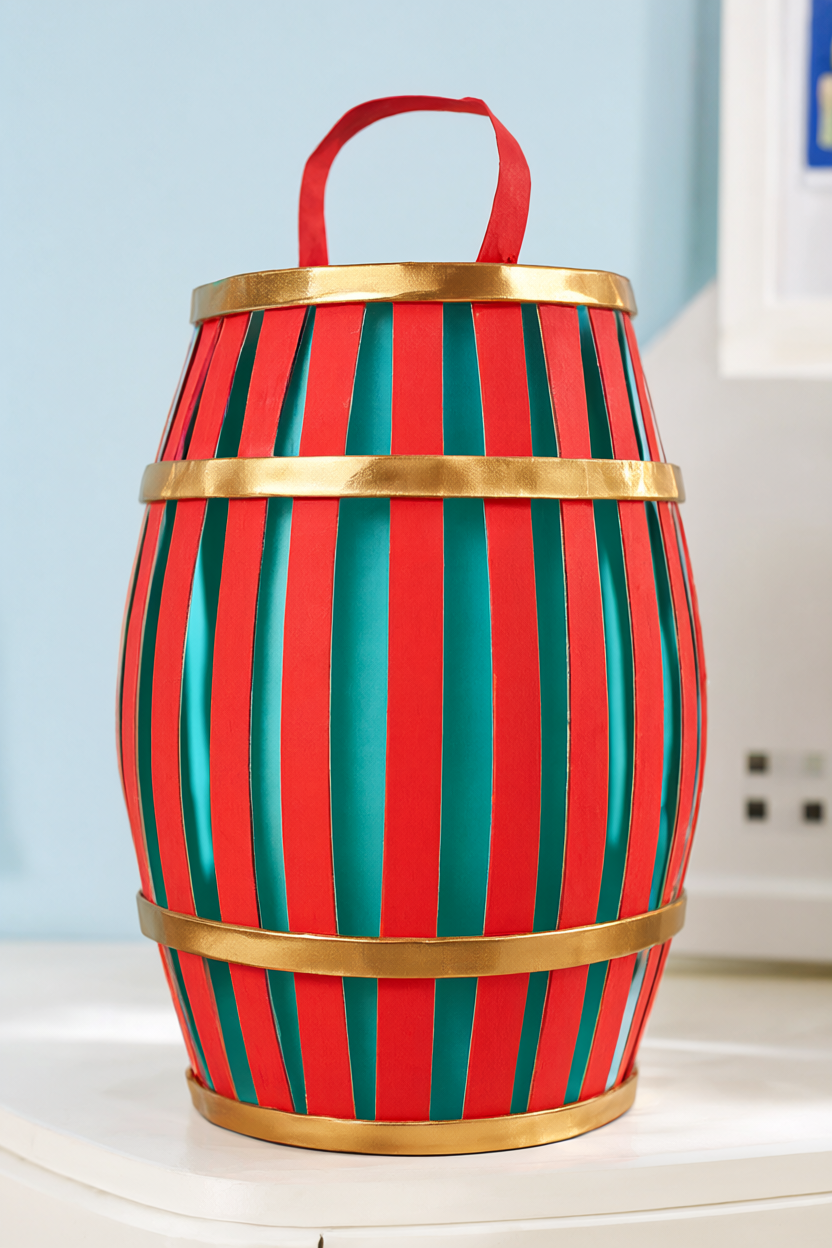
Turn red paper, teal cardstock, and a little gold tape into a jewel-tone cut-paper lantern with a rounded barrel shape and a bright peek of teal between the slits. This unlit shelf decoration uses scissors and tape, takes about 30 minutes of hands-on time with no drying time, and includes a free printable supply list and assembly checklist.
At a Glance
- Difficulty: Beginner; supervise children when using scissors.
- Hands-on time: About 30 minutes for one lantern.
- Drying or curing time: None; construction uses double-sided craft tape.
- Cost: Roughly $15–25 for new paper packs, both tapes, scissors, ruler, pencil, and eraser at budget-store prices; about $1–3 in supplies consumed per lantern. Most households already have the basic tools and may have suitable colored paper.
What You’ll Need
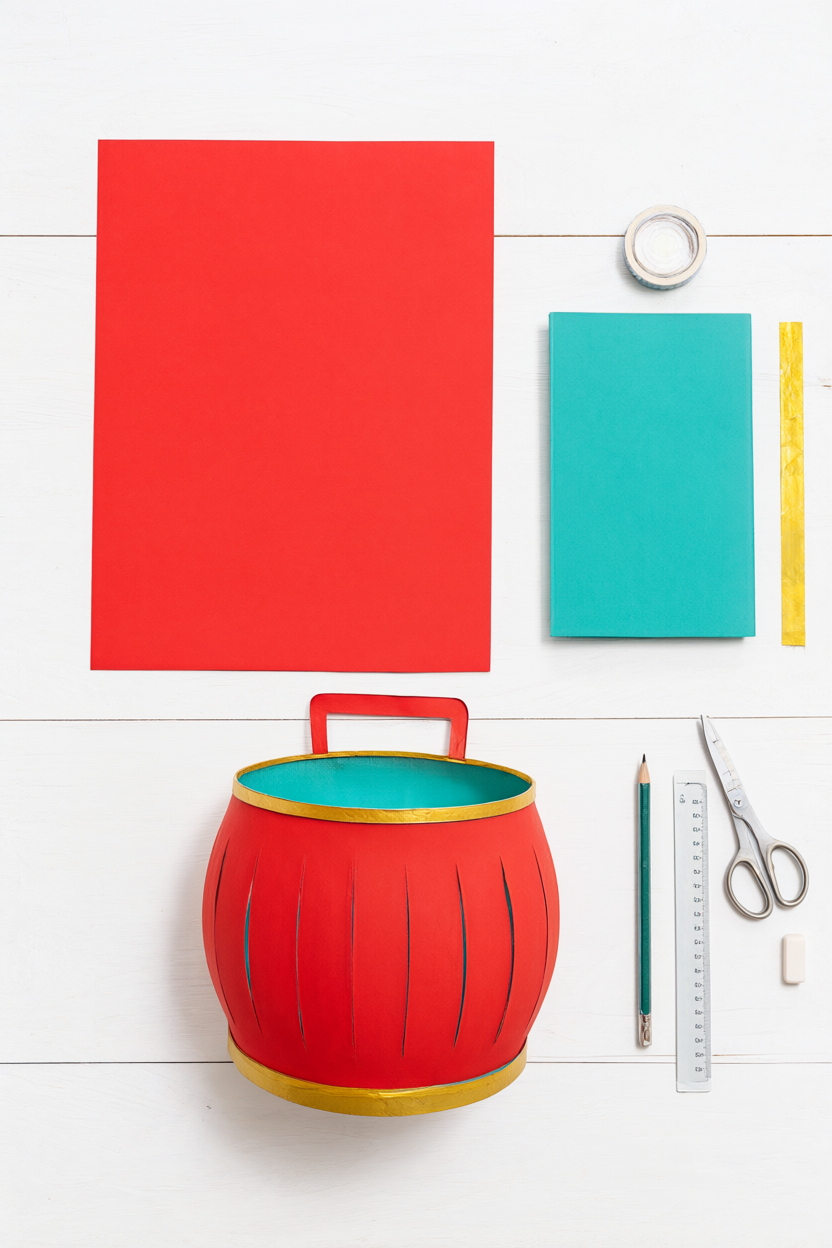
The two papers have different jobs: lightweight red paper bends into the outer barrel, while teal cardstock holds the inner cylinder upright. Keep the gold tape narrow so it adds a neat rim without covering much of the red shell.
- 1 red lightweight paper sheet, 8.5 × 11 inches.
- 1 teal cardstock sheet, 8.5 × 11 inches.
- 24 inches of metallic gold adhesive tape, 1/4 inch wide.
- 36 inches of double-sided craft tape, 1/4 inch wide.
- Scissors; supervise children during cutting.
- Ruler marked in inches.
- Pencil.
- Eraser.
Step-by-Step Instructions
Keep the red handle strip separate as you work, and leave the gold tape until the handle is attached. The inner cylinder sets the finished body height at 6 inches; the taller outer sheet supplies the extra paper that bows outward.
- Prepare the paper pieces. Cut a 1 × 11-inch strip from one long edge of the red sheet and set it aside for the handle. The remaining red rectangle should measure 7.5 × 11 inches. Trim the teal cardstock to 6 × 11 inches, keeping the full 11-inch length for wrapping the cylinder.
- Fold and mark the red shell. Fold the 7.5 × 11-inch red rectangle lengthwise, bringing its two 11-inch edges together. With the fold below and the open edges above, draw a stop line 1 inch below those open edges. Mark cutting positions every 1/2 inch along the fold, leaving margins at both short ends so the shell stays connected.
- Cut the slits. Cut from the folded edge toward the stop line at each marked position. Stop on the line every time: do not cut through the open edges or remove the intact end margins. Unfold the sheet and gently erase the pencil marks. You should have connected strips between two intact 1-inch bands; supervise children with the scissors.
- Make the teal cylinder. Roll the teal rectangle into a cylinder 6 inches tall, overlapping its 6-inch edges by 1/2 inch. Secure the overlap with double-sided tape and press firmly along the seam. Keep the top and bottom edges level so the tube stands straight and the red bands will have even rims to meet.
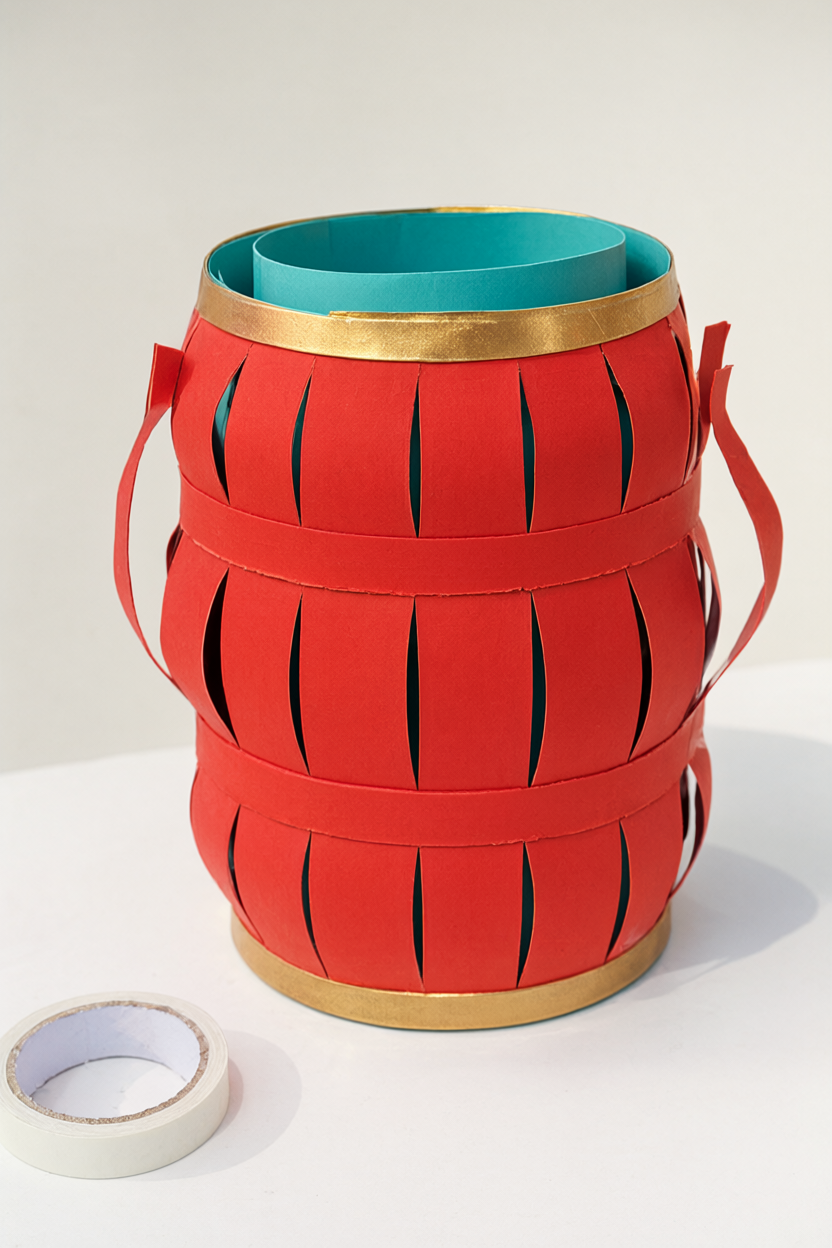
- Attach the upper red band. Place double-sided tape around the outside of the cylinder near its top and bottom rims. Wrap the red paper around it, attaching its upper intact band flush with the top rim. Overlap the short ends of the red sheet by 1/2 inch and secure that overlap at the intact bands. Keep the lower band free from the bottom tape until it is aligned.
- Shape the barrel. Bring the red lower band up flush with the cylinder’s bottom rim and press it onto the tape. Because the red shell is taller than the teal cylinder, its middle crease will bow outward. Gently guide any inward-folding strips outward so the teal shows between them. Check the bottom seam before pressing the lower band firmly into place.
- Add the handle and gold rims. Arch the 1 × 11-inch red strip over the opening and tape 1 inch of each end inside the cylinder on opposite sides. Wrap metallic gold tape around both outside rims, overlapping each tape end slightly. Press the tape down around each rim, keeping the narrow gold bands aligned with the edges.
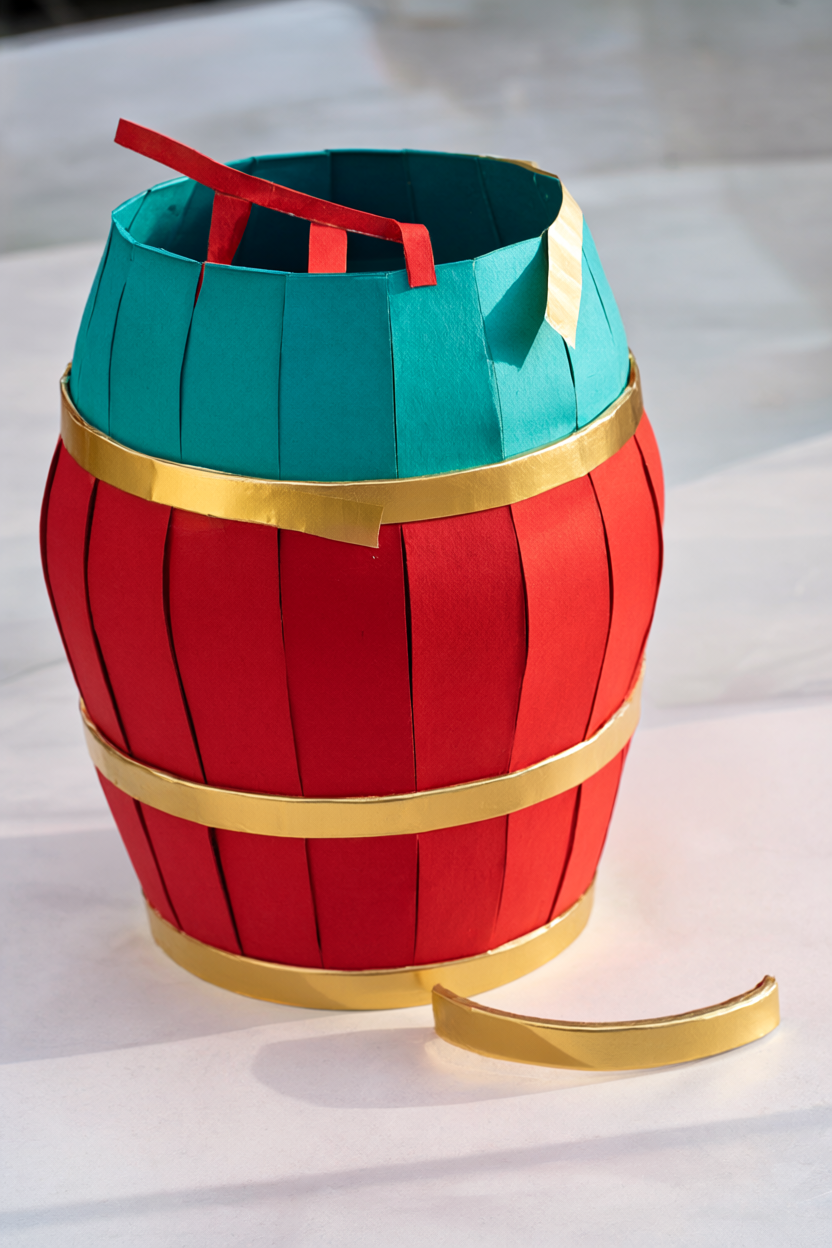
- Check and display. Press every taped joint, including the cylinder seam, red bands, handle ends, and gold tape overlaps. Stand the lantern on a dry indoor shelf or table with the barrel upright. This is an unlit paper decoration: keep it away from flames, hot bulbs, heaters, and water. Do not use it as a carrying basket.
Make It Your Own
Cobalt, coral, and silver. Use cobalt blue paper over a coral inner cylinder, then finish with silver rims. Keep the same paper dimensions and assembly order; the coral will show through the spaces between the blue strips.
A shorter lantern. Use a 6 × 11-inch outer shell with a 4.5 × 11-inch inner cylinder. The shorter cylinder gives this version its lower profile while the taller shell still has room to bow outward.
A birthday centerpiece. Make three matching lanterns for a birthday table. Allow about 75–90 minutes total, and keep the group unlit and away from heat, flames, and water.
Beginner Mistakes (and Easy Fixes)
- Cutting through the open edge. This turns the connected shell into loose strips. Stop each cut at the marked line and leave both 1-inch bands intact; those bands are the parts that attach to the cylinder.
- Using heavy cardstock outside. A stiff outer shell resists the rounded barrel shape. Use lightweight paper for the slitted red layer and reserve cardstock for the teal inner cylinder.
- Attaching both red bands before aligning them. This can twist the lantern. Secure the top first, then align the bottom seam and press the lower band into place so the shell sits evenly around the tube.
Your Free Printable
The free two-page PDF keeps the supply list and measured assembly sequence together. Page 1: Complete materials and tools checklist for one lantern. Page 2: Measured cutting, assembly, finishing, and safe display checklist.
Questions You Might Have
Can I use construction paper?
Yes, lightweight construction paper works for the outer shell; trim it to the stated dimensions first. The outer paper needs to bend outward, so keep the cardstock for the inner cylinder.
Does it need glue or a cutting machine?
No. Scissors and double-sided craft tape handle all construction. The gold adhesive tape provides the rim finish, and there is no glue drying time to add to the project.
Can I flatten it for storage?
The taped inner cylinder holds its shape, so store the lantern upright in a box rather than crushing it flat. Keep the handle arched above the opening instead of pressing it down against the paper strips.
Save This for Later
Save this pin so the jewel-tone color combination, measured steps, and free printable are easy to find for your next paper-craft session.
A red barrel, a glimpse of teal, and two slim gold rims give this little shelf decoration its cheerful finish. Give the taped joints one last press, then let the lantern bring its color to a dry indoor spot.