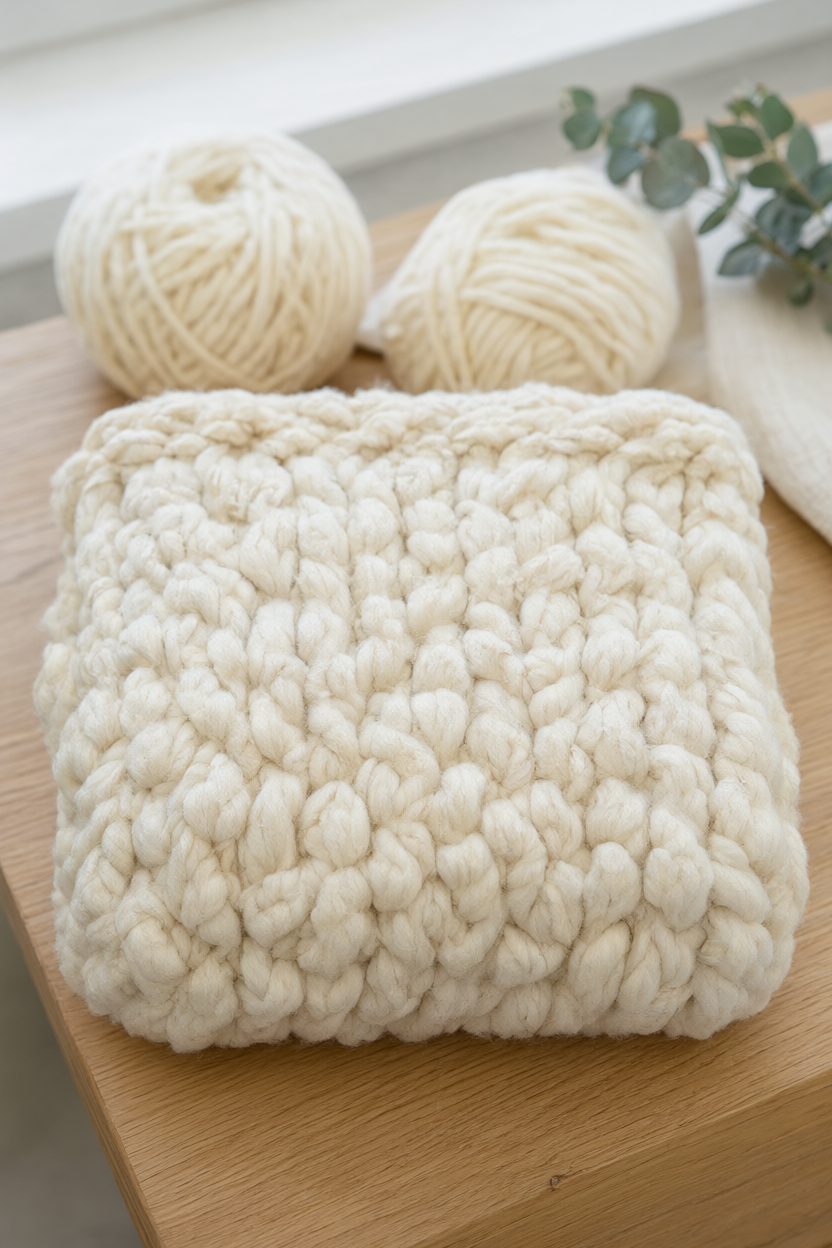
You can make a soft, chunky arm-knit blanket with nothing but your own arms and six skeins of jumbo chenille yarn. Plan on three to four hours of hands-on time for your first 40 x 50 in throw, with no drying or curing time at the end. A free printable supply list and step checklist is included so you can keep your place without scrolling.
At a Glance
- Difficulty: Beginner. There are no needles; the first rows feel awkward, so practice the cast-on once.
- Hands-on time: 3-4 hours for a first 40 x 50 in blanket, or 2-3 hours if you have arm knitted before.
- Drying or curing time: None. Once the blanket is bound off and the ends are woven in, it is ready to use.
- Cost level: Moderate. The six skeins of jumbo chenille are the main expense, and budget-friendly substitutions work well.
What You’ll Need
- 6 skeins jumbo chenille yarn, size 7, about 28 yd (26 m) each — 168 yd total for a 40 x 50 in throw
- Scissors
- Measuring tape
- 2 large safety pins or stitch holders
- 1 large-eye blunt tapestry needle
- 1 size 15 mm crochet hook (optional, for rescuing dropped stitches)
- 1 gift tag and 1 yd ribbon (optional, for gifting)
Step-by-Step Instructions
- Work on a clean table or floor with room to move; you will join a new skein when one runs out. Make a slip knot with a 12 in tail, slide it onto your right wrist, and tighten it just enough that it will not slip off. Safety note: keep the wrist loop snug but never tight enough to press on your skin, and keep loose loops away from pets and small children. If you need to pause mid-row, slide the live loops onto the 2 large safety pins or stitch holders so they do not unravel.
- Cast on 10 stitches: hold the working yarn in your left hand, reach your right hand through the wrist loop, grab the working yarn, pull a new loop through, and place it on your left arm. Repeat until 10 loose loops sit on your left arm. Keep the loops generous; a loop that barely fits over your hand will fight you later.
- Knit across: hold the working yarn behind the arm holding the stitches, reach through the first stitch with your free hand, pull a loop of working yarn through, and place it on the free arm. Work all 10 stitches onto the free arm, then knit the next row back the other way, alternating arms.
- Knit 3 more rows, then measure the width. It should be about 40 in; if it is much wider or narrower, unravel and cast on 8 or 12 stitches instead, keeping the loops loose enough to slide over your hands.
- Continue knitting rows until the blanket is about 50 in long or you have about 3 yd of yarn left. To add a skein, tie the new end to the old end with a tight double knot, trim the tails to about 3 in, and keep knitting. Safety note: check the join before you continue and give it a firm tug so it cannot work loose later.
- Bind off: knit 2 stitches, lift the first loop over the second and off your arm, then knit 1 more and repeat across until 1 loop remains. Cut the yarn, pull the tail through the last loop, and tighten gently.
- Thread each tail onto the tapestry needle and weave it into the edge for about 3 in; trim. Gently stretch the blanket widthwise and lengthwise to even the stitches, then lay it flat.
- Care and gift: hand wash in cold water with a little mild soap, squeeze gently (never wring), roll in a towel to remove water, and dry flat. Add a gift tag with the washing instructions.
Why an Arm-Knit Blanket Works Right Now
Arm knitting removes the biggest barrier for new crafters: the needles. You use your arms as the needles, which means you can see and feel every stitch as you make it. That makes the learning curve short and the result polished. The fabric comes out loose, soft, and drapey.
It also makes a useful handmade gift. A chunky throw gets used every evening, and with no drying or curing time, you can finish it close to the holiday and hand it over with confidence.
Yarn Guide: Jumbo Chenille, Roving Wool, and Budget Swaps
Jumbo chenille, size 7, is the yarn this tutorial is built around. It is smooth, soft, and forgiving in the hand, which matters when you are learning to keep loops even. Each skein here is about 28 yd (26 m), and six skeins give you 168 yd total for a 40 x 50 in throw. Check the yardage on the label if you switch brands, because skein lengths vary.
Roving wool is the other common choice. It looks loftier and more rustic, but it can shed and felt with friction, so it is less forgiving for a first project and usually costs more. Chenille is the easier starting point.
For a budget-friendly substitution, look for any size 7 jumbo yarn with similar yardage per skein. Avoid anything stiff or scratchy. If you change the finished size, think in total yardage rather than skein count: a smaller lap blanket needs fewer skeins, a larger throw needs more.
Troubleshooting: Tension, Dropped Stitches, and Uneven Edges
Loose or tight tension is the most common first-blanket issue. Keep each new loop about the same size as the one it came from, and slide stitches gently rather than yanking. If the blanket fights you, shake it out and loosen the next row. If it feels floppy and wide, add a little resistance as you pull each loop through.
A dropped stitch looks alarming, but the loops are large and easy to recover. Slide the live loop back onto your arm, or use the optional 15 mm crochet hook to lift it back into place.
Uneven edges usually come from turning too quickly at the end of a row. Pause at the turn, give the working yarn a gentle tug, and start the new row with the same loop size as the last one. A gentle stretch widthwise and lengthwise at the end evens out small differences. Join knots can be hidden rather than cut: tie the new end to the old end with a tight double knot, trim the tails to about 3 in, and weave each tail into the edge so the knot sits inside the blanket.
Care, Storage, and Gifting Your Blanket
Chenille likes gentle handling. Hand wash in cold water with a little mild soap, squeeze gently, and never wring. Roll the blanket in a towel to remove extra water, then lay it flat and reshape the edges. Store it folded in a dry place rather than on a hook.
For gifting, add a gift tag with the washing instructions, then tie it on with 1 yd of ribbon. A tag and ribbon make it a finished present without extra wrapping.
Your Free Printable
The free PDF is two pages. Page 1 is a What You’ll Need checklist covering yarn quantity, tools, and the optional gift extras. Page 2 is a Step by Step checklist covering cast on, knit, join, bind off, finish, and care, so you can follow along without scrolling back through this tutorial.
Print it, set it beside your yarn, and take your time with the cast-on. Once the first rows click, the rest is repetitive work, and a few hours later you will have a throw to keep or give away.