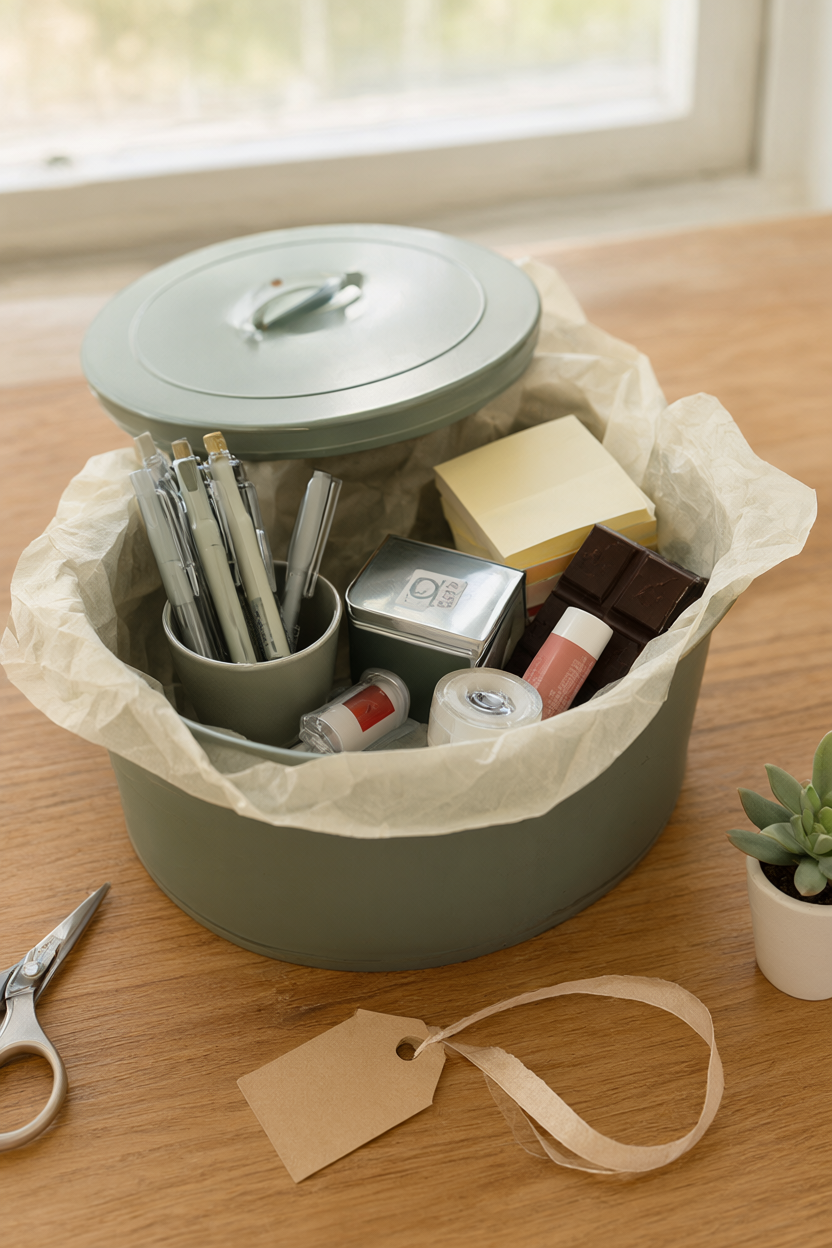
A teacher gift should be useful by Monday morning, not one more mug for the shelf. This DIY teacher gift hamper is a classroom restock bin, a tidy lidded box packed with the pens, sticky notes, wipes, tea and chocolate teachers genuinely run out of, and it takes about 30-40 minutes of hands-on time with nothing to dry or cure. It is a fun, low-stress afternoon project that looks far more expensive than it is, and there is a free printable supply list and packing checklist included below.
At a Glance
- Difficulty: Beginner, with no special tools or messy materials
- Hands-on time: 30-40 minutes
- Drying or curing time: none
- Cost level: Moderate, about the price of a nice box of chocolates, and less if you buy multi-packs
What You’ll Need
- 1 lidded plastic storage bin, 11-14 qt (about 12 x 8 x 6 in)
- 6-8 sheets of tissue paper
- 1 cardstock gift tag
- 1 fine-tip marker
- 2-3 gel pens
- 1 pack sticky notes
- 1 pack pencils or dry-erase markers
- 1 small notebook
- 1 pack unscented hand wipes or hand sanitizer
- 1 lip balm or hand cream, unscented
- 1 box tea bags or 4 single-serve cocoa packets
- 1 dark chocolate bar (nut-free if the school requires it)
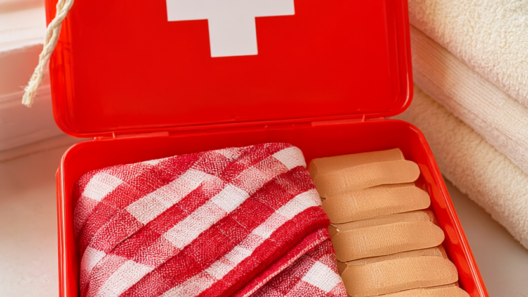
- 1 mini first-aid pack (adhesive bandages)
- 1 small potted succulent (optional)
- 1 yd ribbon
- Scissors and clear tape
You will also need a damp cloth for wiping out the bin, 2-3 paper cups or a small mesh pouch for standing the pens and small items upright, and a set of kitchen scales if you want to check the finished weight.
Step-by-Step Instructions
- Choose a clean lidded plastic storage bin about 12 x 8 x 6 inches (11-14 qt), or a sturdy lidded cardboard box. Check that the lid clicks shut and the handles are comfortable to hold when the bin is full, because a teacher will carry it from the car park to the classroom. It should hold everything with a little room to spare, so nothing is squashed against the lid.
- Wipe the inside with a damp cloth and dry it completely, corners included. Any dampness makes tissue paper tear and can leave tea and chocolate smelling musty. Line the bottom and two long sides with 6-8 sheets of tissue paper, letting the top edges overhang by about 2 inches so you can fold them over the contents at the end.
- Sort the gifts into three groups: desk supplies, care items and snacks. Put the heaviest items (tea, chocolate, wipes) on the bottom and the tallest items (notebook, pen cup, pencils or dry-erase markers) at the back. Working in groups keeps the bin balanced and stops the small things from disappearing into the middle, which also makes it easier for the teacher to see what is inside.
- Roll pens, lip balm and small packets into paper cups or a mesh pouch so they stay upright and do not rattle. Tuck flat items like sticky notes and bandages against the sides, where they act as padding. If you are including the succulent, stand it upright in a front corner with the pot snug against the side. Safety note: keep scissors and sharp packaging out of the packed bin, and have an adult open blister packs before packing.
- Fill the gaps with crumpled tissue, stopping about 1/2 inch below the rim so the lid closes without crushing anything. Shake the bin gently; nothing should shift or rattle. Weigh the filled bin and keep it under about 5 lb so it is comfortable to carry in one hand.
- Write the teacher’s name and a one-line thank-you on the cardstock tag. If you include food, add a small note listing the items and their best-by dates, so anyone with an allergy or dietary need can check without opening every wrapper. Keep the note loose inside the lid rather than taped to the food.
- Close the lid, wrap ribbon around the bin in both directions and tie a bow on top. Attach the tag, curl the ribbon ends with the edge of the scissors, and deliver within a few days so the chocolate and tea are fresh. Safety note: curl ribbon away from your face and keep it out of reach of young children.
Set the finished hamper somewhere cool and flat while you write the tag, and give the lid a gentle press to check that nothing is pushing it up. If the lid will not close easily, take out one item rather than forcing it, because crushed chocolate and bent sticky notes look tired before the gift is even opened.
Why Teachers Use This Hamper
Most teachers spend their own money on classroom basics, and by mid-term the pens, sticky notes and wipes are gone. Consumables beat clutter: a restock bin gets used up and then becomes useful storage, while ornaments and mugs tend to sit in a cupboard. Packing a hamper also lets you choose exactly what goes in, so you can match the teacher’s year group and keep everything practical.
What to Include and What to Leave Out
Choose allergy-safe treats and check the school’s gift policy before you buy anything. Unscented care items are the safer choice, because strong scents can bother a teacher or a classroom of children. Leave out candles and anything flammable, skip alcohol unless you know the recipient well, and avoid novelty items that will be thrown away. If the school discourages individual gifts, a shared grade-team hamper is usually welcome.
Variations to Try
A new-teacher starter bin can focus on basics: pens, sticky notes, a notebook and wipes. For a grade team, split one large hamper into smaller cups and label each one with a name. A classroom snack restock swaps the care items for crackers and cocoa, while a winter-break cozy hamper leans on tea, chocolate and a soft pair of socks.
Packing, Care and Delivery
Keep chocolate cool and out of direct sun, and deliver the hamper on a weekday morning rather than leaving it in a hot car. Label anything perishable with its best-by date, and let an adult handle scissors, tape and ribbon. If you are buying from a registry or the teacher asked for a receipt, tuck a gift receipt inside the card.
Your Free Printable
The free printable is two pages that match this tutorial, so you can print it and take it shopping. Page 1 is a 15-item checklist covering the bin, desk supplies, care items, treats and wrapping. Page 2 is an 11-step packing checklist that runs from lining the bin to attaching the tag. Print it at 100 percent on letter paper, and tick items off as you go.
Fill the bin, tie the bow and hand it over; that is the whole project. If you make one, change the supplies to suit the teacher you know, and keep the receipt for anything you might swap. A practical hamper that actually gets used up is the kindest kind of gift.