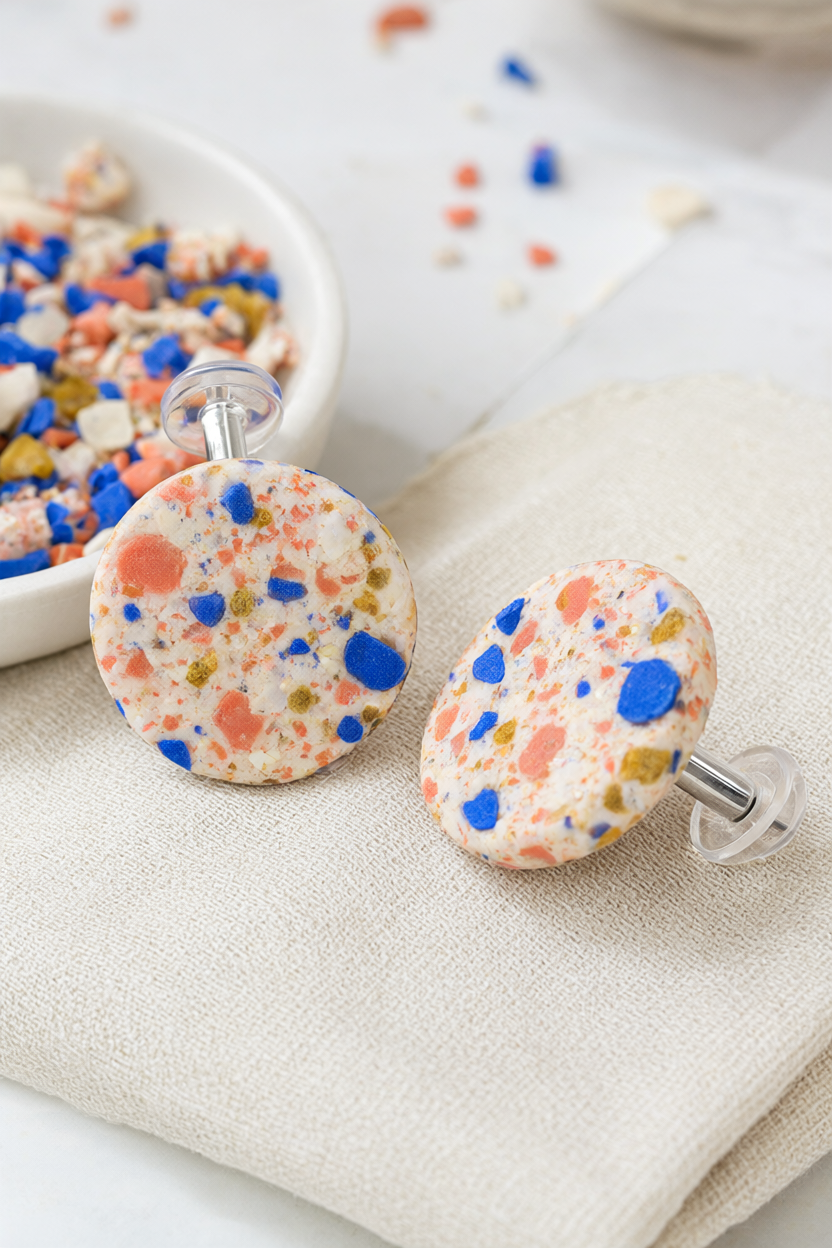
Make a pair of round 12 mm terrazzo studs that look like a boutique find, with a cream clay base packed with tiny coral, cobalt blue and mustard chips. This is a beginner project built on kitchen tools, and the materials work out to roughly $1 to $2 a pair. Plan on about 50 minutes of hands-on work, a 30-minute bake and 30 minutes of cooling, and grab the free printable supply list below so you can tick everything off as you go.
At a Glance
- Difficulty: Beginner. If you can roll dough and cut circles, you can make these.
- Hands-on time: About 50 minutes, from kneading the clay to adding the backs.
- Bake and cool: 30 minutes at 130 C (275 F), then 20 to 30 minutes cooling on the tray. Add extra drying time if you seal them with glaze.
- Cost: About $30 to $45 for everything new, which is enough for 10+ pairs, or roughly $1 to $2 per pair in materials. Most kitchens already have a rolling pin, knife, parchment, baking tray and chopsticks.
What You’ll Need
- 1 oz cream polymer clay (base colour)
- Scraps in coral, cobalt blue and mustard, 2-3 g each
- Acrylic roller or rolling pin
- Two chopsticks as 3 mm thickness guides
- Clay blade or craft knife
- 12 mm round cutter or small bottle cap
- Parchment paper and baking tray
- 6 pairs stainless steel earring posts with flat pads
- 6 pairs silicone earring backs
- 400-600 grit sandpaper (optional)
- Matte clay glaze or varnish (optional)
- Oven thermometer (recommended)
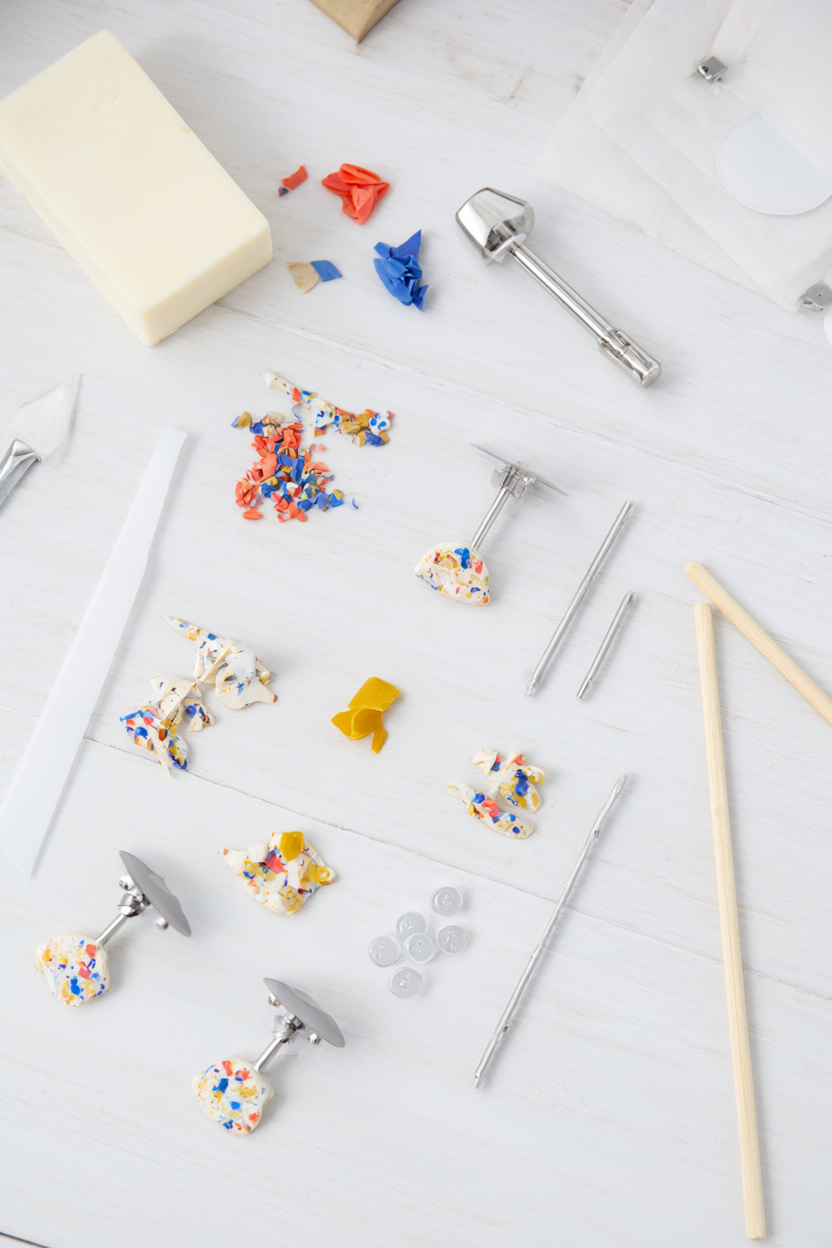
Step-by-Step Instructions
The order matters more than speed. Warm the clay first, keep the sheet level, and roll the chips just once so the colours stay crisp.
- Knead the 1 oz cream clay in your hands for 2 to 3 minutes until it feels soft and smooth, like warm cookie dough. If it feels crumbly, keep going, because warmth is what makes it pliable.
- Roll the clay into an even 3 mm sheet on parchment paper. Set two chopsticks on either side of the clay as guides so the roller stays level and the sheet comes out the same thickness all over.
- Chop the coral, cobalt blue and mustard scraps into 2 to 3 mm chips with the clay blade, keeping your fingers clear of the blade whenever you cut. Smaller chips give a finer terrazzo pattern, while bigger ones look bolder.
- Scatter the chips over the cream sheet, press each one down with your finger, then roll over the sheet once, very lightly, so the surface is level and the chips are locked in.
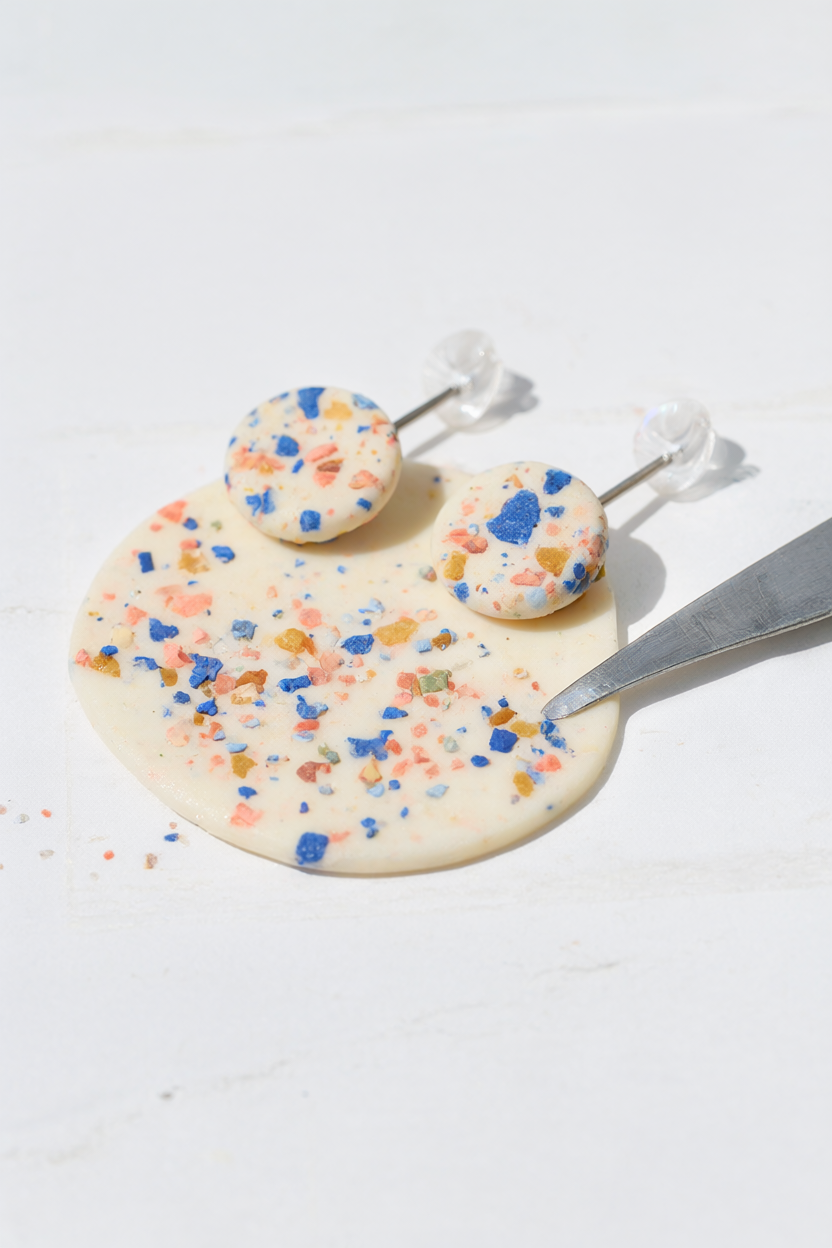
- Cut six 12 mm circles with the cutter. If the clay sticks, dip the cutter in water, wipe it dry, then lift each disc with the blade. Keep the extra clay covered while you work so it does not dry out.
- Press a stainless steel post pad firmly into the centre of the back of each disc, keeping the post straight, and press out any air pockets around it. A straight post matters here, because a bent one is hard to fix after baking.
- Lay the discs post-side up on a parchment-lined baking tray and bake at 130 C (275 F) for 30 minutes. Check the oven temperature with a thermometer first, keep the kitchen ventilated, and never push the heat higher than that.
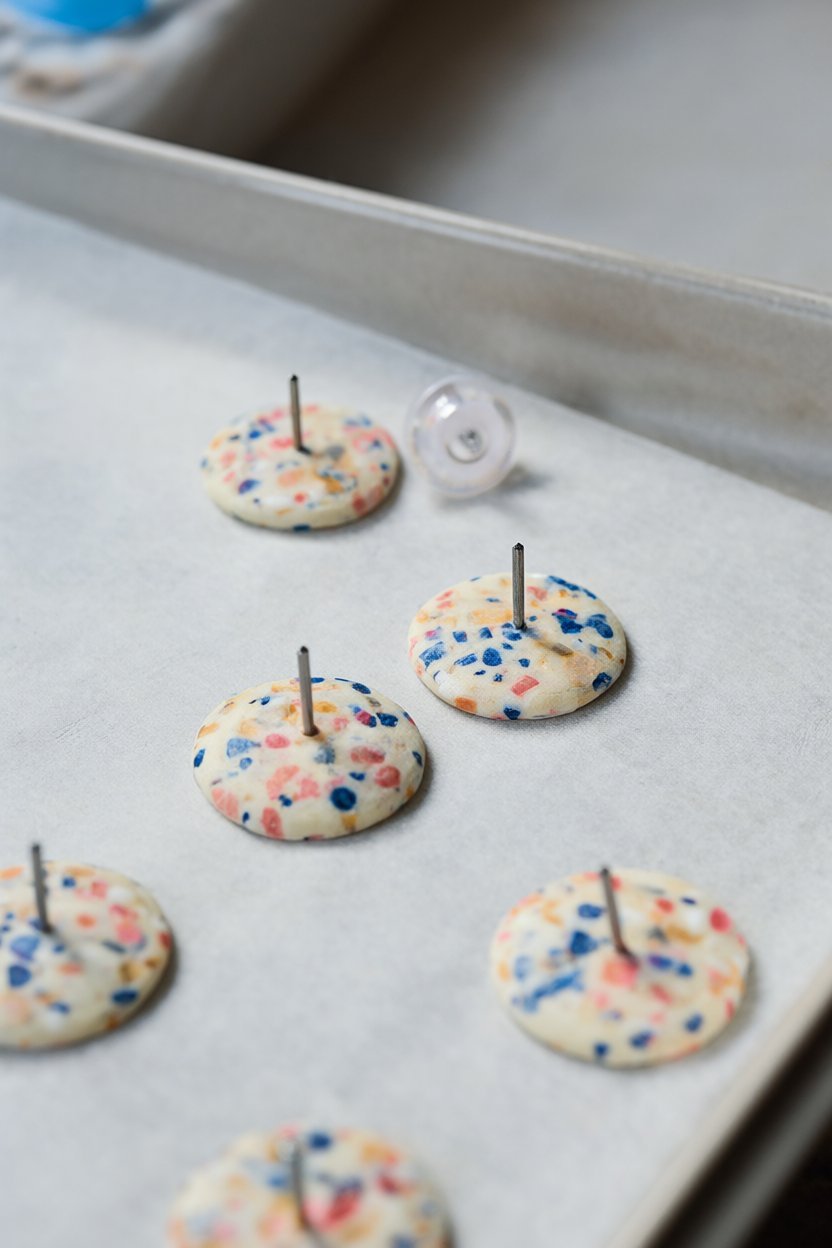
- Cool the earrings completely on the tray for 20 to 30 minutes. They are still slightly flexible while warm, so leave them alone until they feel firm, then sand the cut edges lightly with 400 to 600 grit paper if they need smoothing.
- For a sealed matte finish, brush on a thin coat of clay glaze and let it dry, then push a silicone back onto each post.
Make It Your Own
Colour scheme: swap the cream base for charcoal and use mint, peach and white chips for a softer, more modern terrazzo. The same chip sizes work, so the technique does not change.
Shape: cut hexagons, small hoops or a 20 mm pendant to match the studs. For hoops, punch a 5 mm hole with a straw before baking.
Gift idea: make three matching pairs and box them in a small tin with a hand-written care card. A set like that feels personal, and the materials cost stays low.
Beginner Mistakes (and Easy Fixes)
- Cold, crumbly clay cracks when rolled: knead it longer until it feels warm and smooth, and work in a warm room.
- Chips smear or lift at the cut: press every chip in before a single light roll, and do not over-roll or the colours muddy.
- Bent posts or bubbled earrings after baking: press the posts straight into 3 mm discs while the clay is soft, smooth out air pockets, and bake flat at 130 C (275 F) with a thermometer.
Your Free Printable
The printable is two pages. Page 1 is a What You’ll Need checklist with 12 items covering clay, scraps, tools, posts and backs. Page 2 is a Step by Step checklist with 10 short actions from kneading to adding the backs. Print it, keep it beside your work surface and tick each line off as you go.
Questions You Might Have
Can I use air-dry clay instead?
Yes, but it needs 24-48 hours to dry, the studs are more fragile, and posts should be glued on after drying with strong jewellery adhesive (allow 24 hours to cure).
Do I need a pasta machine or special jewellery tools?
No; a rolling pin, two chopsticks as guides, a craft knife and a small round cutter or bottle cap are enough.
Is it safe to bake polymer clay in a home oven?
Yes at 130 C (275 F) with the kitchen ventilated and the tray lined with parchment; never exceed the temperature, since overheating creates irritating fumes, and use a dedicated toaster oven if you make clay jewellery often.
Save This for Later
Pin this tutorial to your craft board so the supply list and the step photos are waiting when you sit down to make a pair.
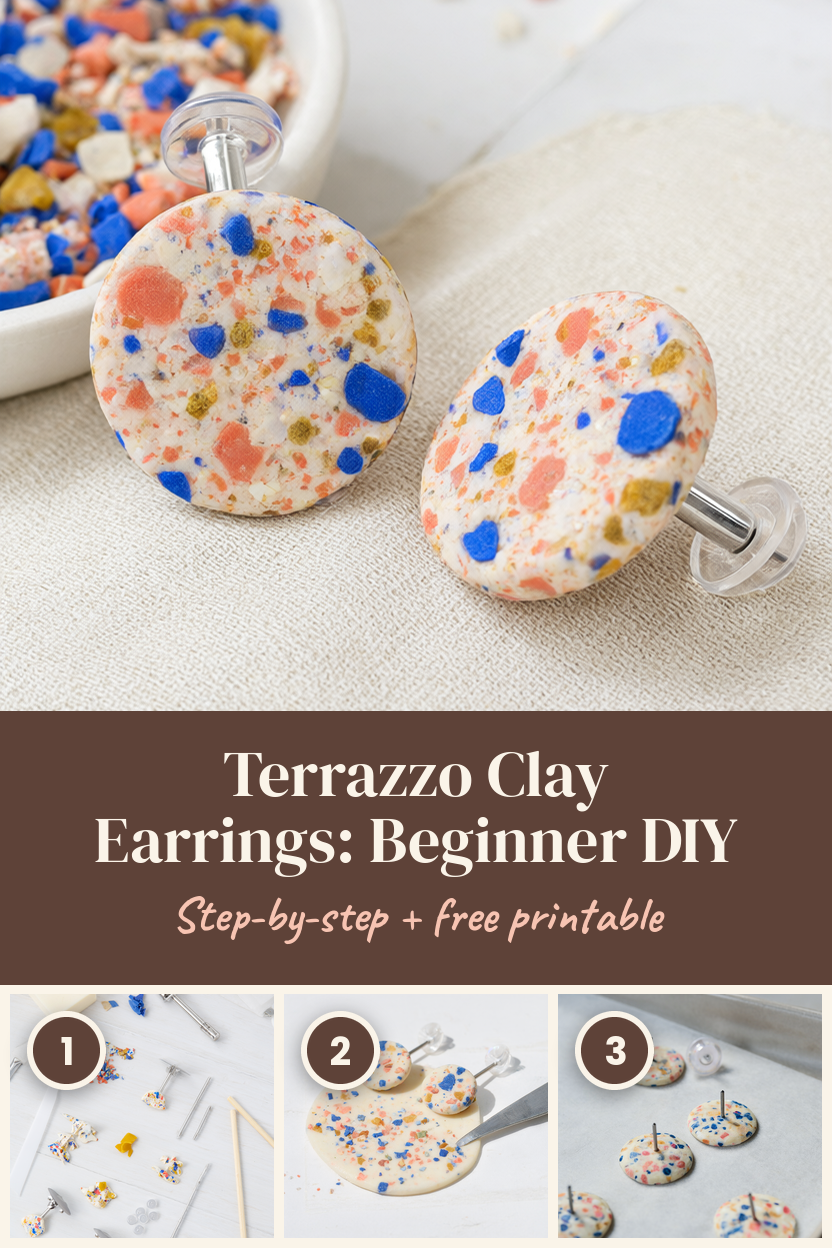
Terrazzo looks detailed, but the pattern comes from small chips and one light roll. Pick a palette you love, cut a few test circles, and the second pair will feel twice as quick. Happy making.