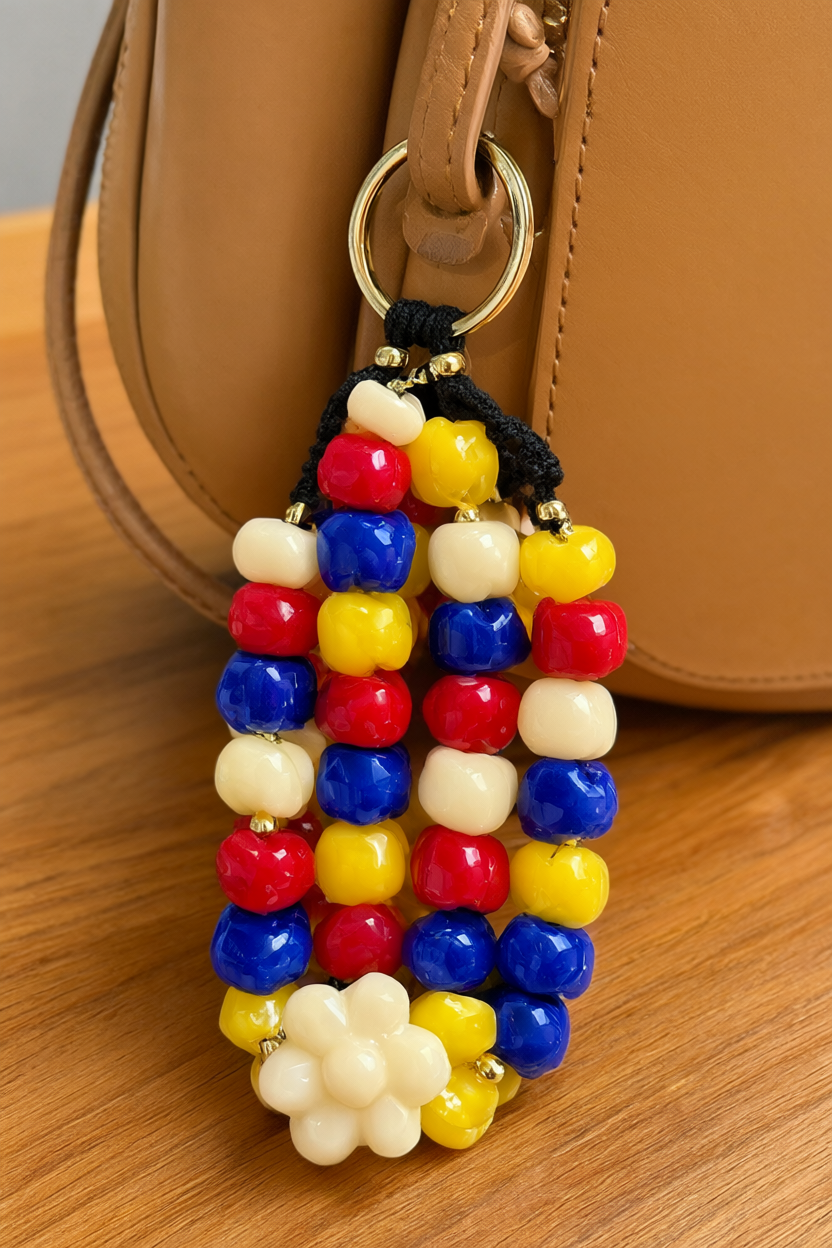
Make a chunky beaded bag charm in an afternoon: glossy 12 to 20 mm beads strung on black waxed cotton cord in a repeating cream, cherry red, butter yellow and cobalt blue colour-block pattern, finished with a gold key ring and one oversized cream flower bead at the bottom. The detail that makes it look store-bought is a small gold spacer between each colour block, so the colours read as deliberate stripes instead of a random scoop from the bead jar. Budget 20 to 25 minutes of hands-on work per charm plus 15 minutes for the glue to dry, and a free printable supply list and step-by-step checklist is included below.
At a Glance
- Difficulty: beginner, no jewellery-making experience needed
- Hands-on time: 20 to 25 minutes per charm
- Drying time: 15 minutes for the glued knot
- Cost: about $16 to $18 for the whole supply list, which makes three charms, so under $20 total
What You’ll Need
This is the exact shopping list from the printable, sized for three charms.
- One chunky bead mix, 12 to 20 mm beads with 2 to 3 mm holes
- Three large focal beads, 20 to 25 mm (flower, heart or star)
- Twelve small gold spacer beads, 6 mm, with 2 mm holes
- Three gold key rings or swivel clasps, 2.5 cm
- 3 m of black waxed cotton cord, 1 mm thick
- Scissors
- Clear-drying craft glue
- A small tray or bowl for sorting beads
- A ruler or tape measure
- Optional: tape to mark cord lengths
Step-by-Step Instructions
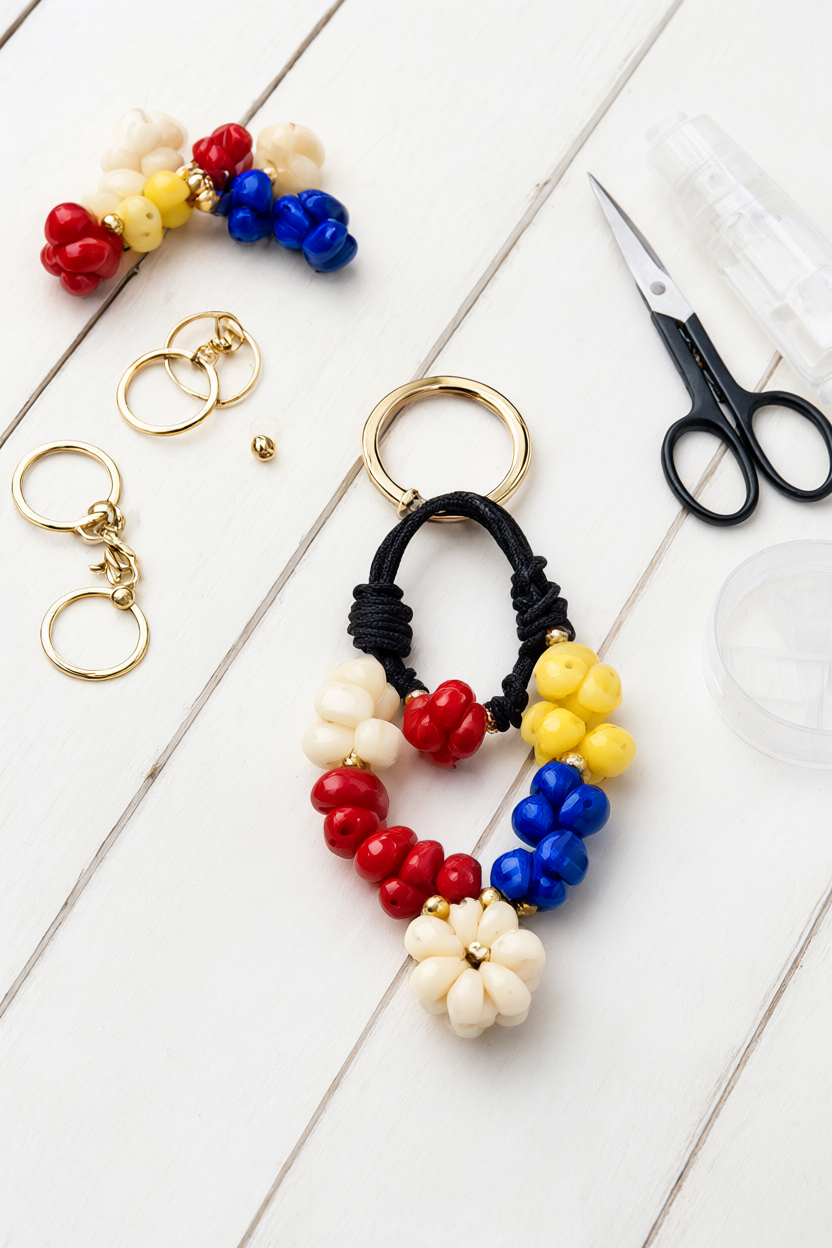
- Sort the bead mix into a repeating colour pattern on a tray: cream, cherry red, butter yellow, cobalt blue, with a small gold spacer between each block. Having the whole pattern laid out first means you can thread without stopping to hunt for the next bead.
- Test one bead before you string a single thing. Both strands of 1 mm cord have to pass through the hole together, so you want beads with 2 to 3 mm holes. If the cord sticks, set that bead aside or plan to use a single strand for it.
- Cut a 60 cm length of black waxed cotton cord for one charm.
- Fold the cord in half and push the folded loop through the gold key ring, then pull both loose ends through that loop and tighten it down snug against the ring. This is the loop that holds the whole charm.
- Thread both cord strands together through the beads in your planned order, adding one small gold spacer bead between each colour block. Keep the two cords flat and side by side so the beads sit straight.
- Slide on the oversized focal bead next, then two more beads from your pattern, until the beaded section measures about 12 cm and there is roughly 6 cm of cord left free.
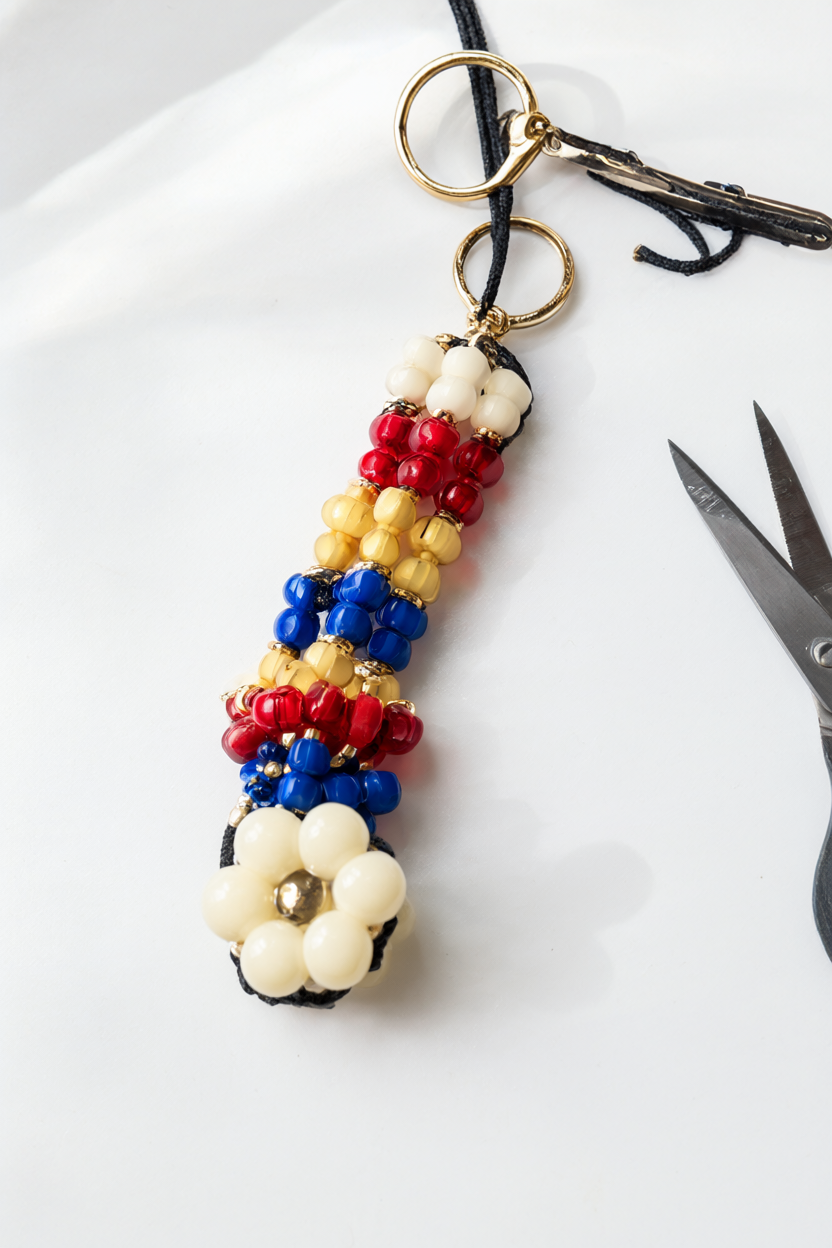
- Hold the charm up by the key ring and check the hang. It should fall straight and feel light on your fingers, and if it hangs crooked or the beads bunch up, slide a bead off or add one before you knot anything.
- Pull the two cord ends tight and tie them in a tight double knot right under the final bead, then tie a second double knot on top of it. Waxed cord is slippery, so the double knot is what stops the beads sliding loose.
- Trim the cord ends to about 2 cm and dab a small amount of clear glue on the knot. Let it dry for 15 minutes before you use the charm, and keep the glue off the beads themselves.
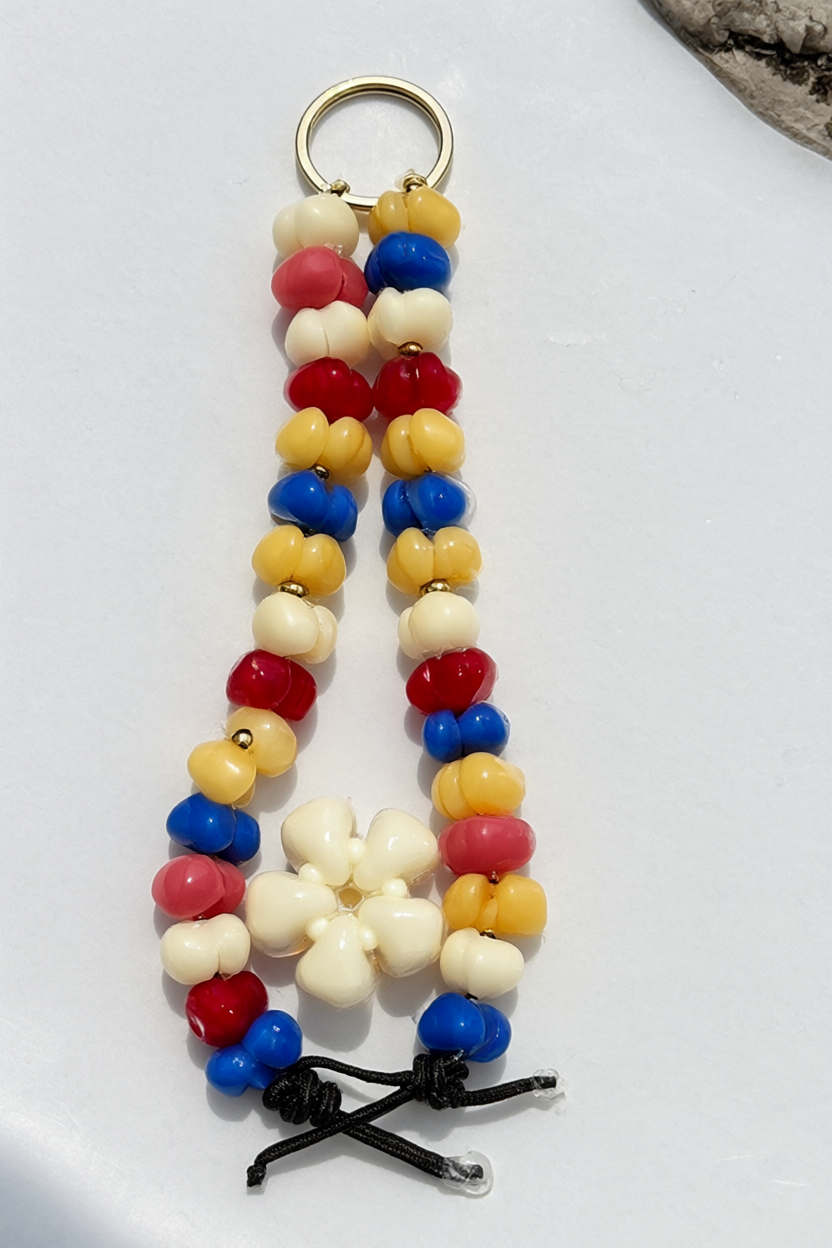
- Open the key ring and slip it onto a bag handle, zipper pull or tote strap, then close it. The beaded section should hang free and clear of the bag body, not drag against it.
- Repeat with the leftover beads to make two more charms, changing the focal bead or swapping one colour so the set looks deliberate rather than identical.
Make It Your Own
Beach palette: swap the cream and cherry red for sand, seafoam, shell pink and pearl white beads, then use a small shell or starfish focal bead. It reads as a summer bag charm without changing a single step.
Clasp swap: thread the cord through a swivel lobster clasp instead of a key ring, and the charm clips on and off a zipper in one second. It is the version to make for a bag you change often.
Mini keychain: use just five or six chunky beads on a 30 cm cord for a 10-minute keychain. It is the fastest way to use up the leftover beads from a full-size charm.
Beginner Mistakes (and Easy Fixes)
- Bead holes too small: two 1 mm cords need a 2 to 3 mm hole, so test one bead first and swap the mix, or use a single cord, if it sticks.
- Slippery knots: waxed cord can work loose, so always double-knot and seal the knot with a dab of clear glue.
- Overlong charm: too many beads makes it heavy and snaggy, so keep the beaded part to 10 to 12 cm and check the hang before knotting.
Your Free Printable
The printable is two pages and both are checklists you can tick off as you go. Page 1 is a What You’ll Need checklist: bead mix, three focal beads, gold spacers, key rings, 1 mm waxed cord, glue and basic tools. Page 2 is a Step by Step checklist with ten short steps from sorting the beads to the glued knot and the 15-minute dry.
Questions You Might Have
What beads are best for a bag charm?
Chunky acrylic, wood or glass beads, 12 to 20 mm, with 2 to 3 mm holes. They stay light on the strap and won’t pull the bag out of shape.
How do I attach a bag charm without a key ring?
Use a swivel lobster clasp or a small carabiner, because both attach to a handle or zipper pull without sewing.
Can kids make this?
Yes, from about age 8 with adult help. The stringing is easy, but scissors and small beads need supervision and an adult should handle the glue.
Save This for Later
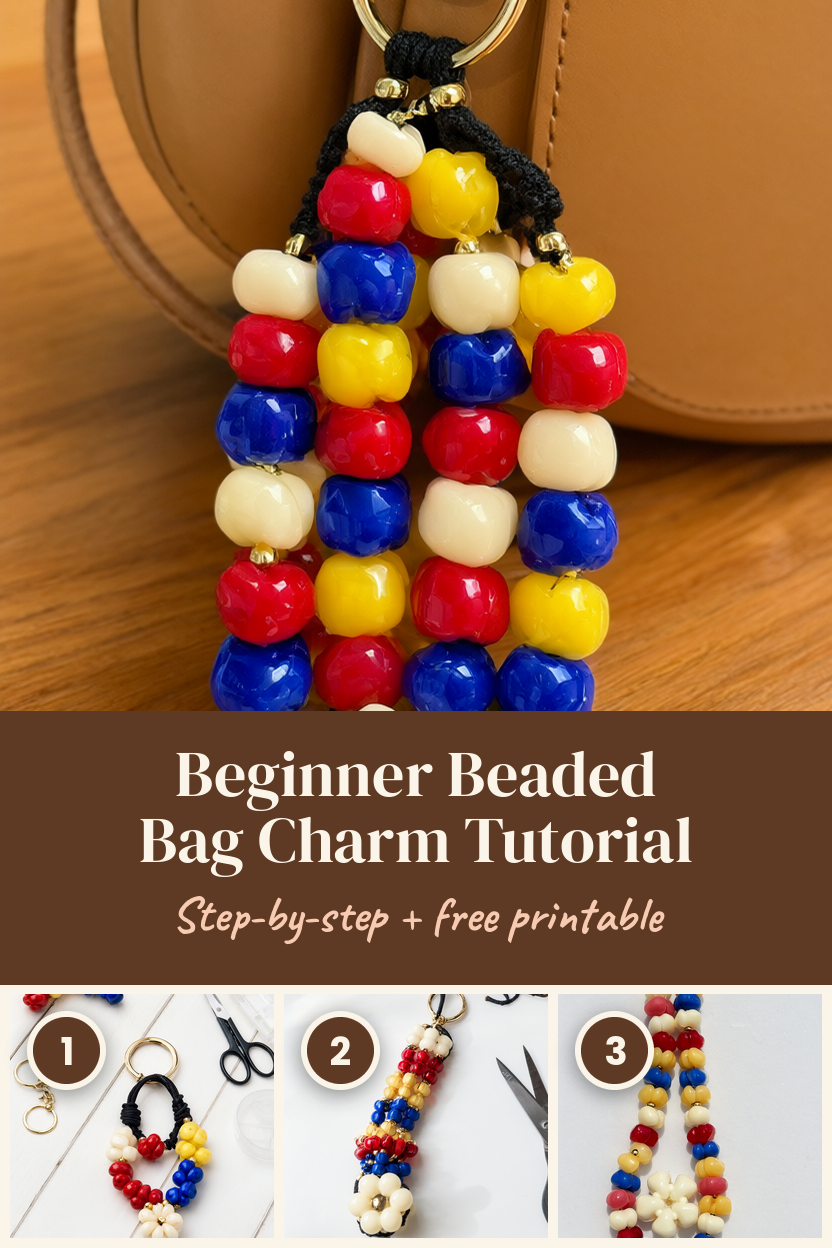
Pin the photo below so the bead list and the 12 cm measurement are easy to find the next time you are in a craft shop.
Make one, see how it hangs, then make the other two in a colour set you actually wear.