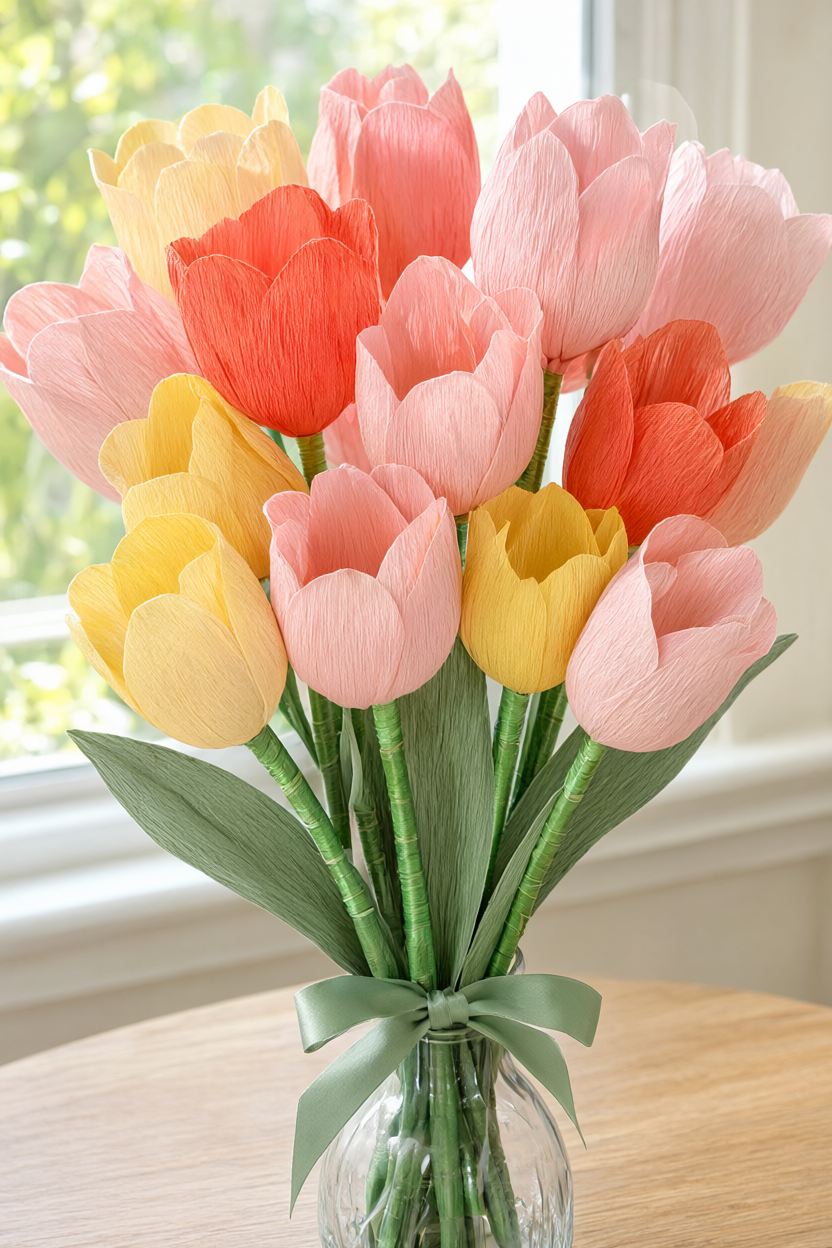
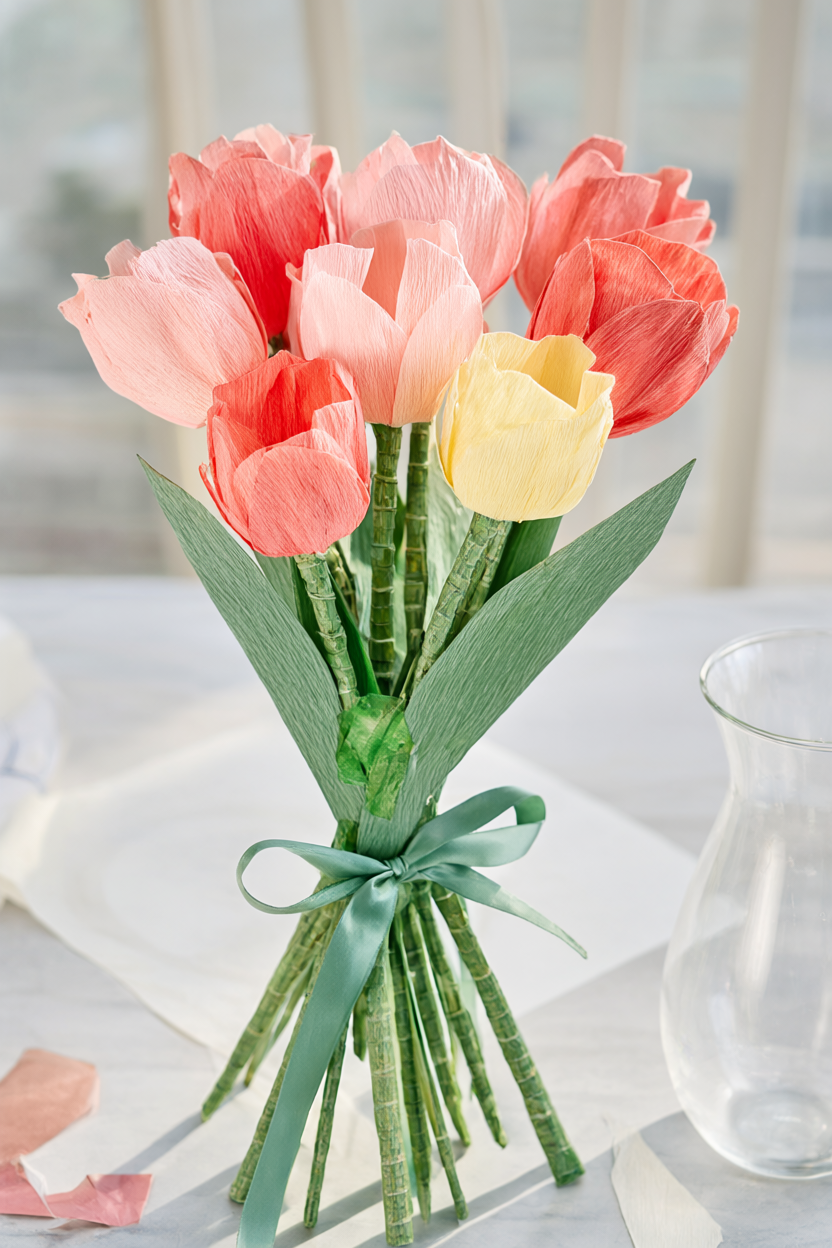
Nine crepe paper tulips, cupped petals in blush pink, coral and butter yellow, and a sage green ribbon to tie the bunch together — that is the whole project. The secret is paper with a little stretch: cut each petal the right way and it curves into a soft bowl that reads as a real tulip from across the table. Set aside about 1 hour 30 minutes of hands-on time for nine stems, and grab the free printable supply list below so you can tick everything off as you go.
At a Glance
Here is the honest picture before you cut a single petal.
- Difficulty: Beginner — if you can cut, twist and glue, you can make this.
- Hands-on time: About 1 hour 30 minutes for nine stems; the first two take the longest, then each one settles at about 8 minutes.
- Drying or curing time: None — the glue sets in about 10 minutes, so the bouquet can go straight into a vase the same day.
- Cost: About $18-25 if you buy everything new; about $12-15 if you use bamboo skewers instead of floral wire.
What You’ll Need
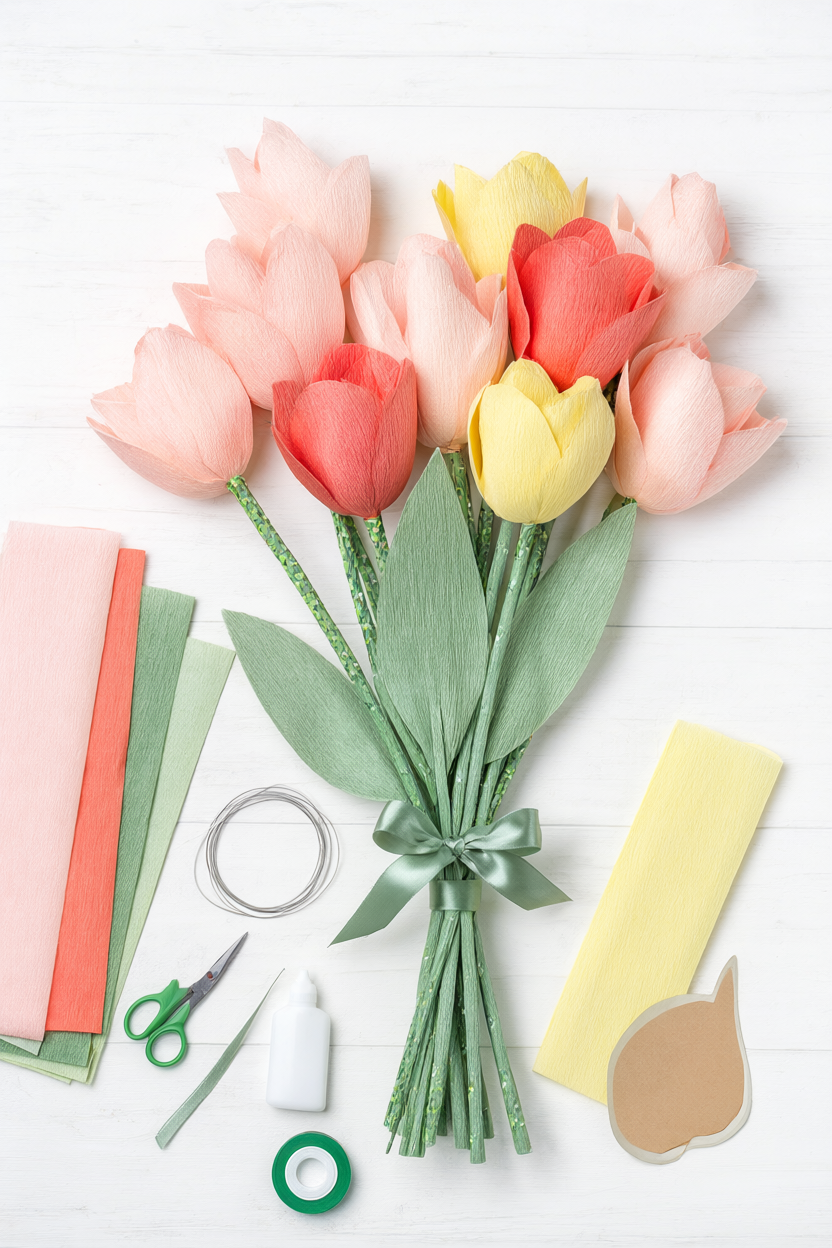
Everything on this list is ordinary craft-store stock. The paper is the only part worth choosing slowly — one to two sheets each of blush pink, coral and butter yellow is plenty for nine stems, plus two green sheets for the leaves. Set the wire, tape, glue and scissors out before you start, because once the cutting begins you will not want to stop.
- Crepe paper in blush pink, 1-2 sheets
- Crepe paper in coral, 1-2 sheets
- Crepe paper in butter yellow, 1-2 sheets
- Green crepe paper for leaves, 2 sheets
- 18-gauge floral wire, 9 pieces at 12 in
- Green floral tape, 1 roll
- Tacky glue or hot glue
- Scissors
- Ruler or cardstock petal template
- 1 yd ribbon for wrapping (optional)
- Small vase for arranging
Step-by-Step Instructions
One petal shape, repeated, is the whole bouquet, so the first ten minutes decide how the rest will go. Work at a table with room to lay the petals flat and keep the glue dots small. If you are using hot glue, keep your fingertips clear of the nozzle, and remember that trimmed wire ends are sharp — bend them back into the tape or drop them into the vase. Check the note about grain direction before the scissors come out.
- Cut a petal template from cardstock — about 3.5 in tall, rounded at the top and slightly tapered at the base. Trace and cut six petals per tulip, cutting so the paper’s side-to-side stretch runs across each petal’s width, not its length.
- Cup each petal by holding the rounded top edge between both thumbs and gently stretching it outward, then press the middle of the petal into a shallow bowl. Work along the stretchy direction so the paper doesn’t tear.
- Cut a 1.5 x 4 in strip of crepe paper, fold it in half twice lengthwise, and twist it into a tight 1 in bud. Glue the bud to the end of a 12 in wire and hold it for a few seconds.
- Glue the first ring of three petals around the bud, spacing them evenly and pinching their bases together. Add the second ring of three petals in the gaps, slightly higher, so the bloom stays closed and rounded.
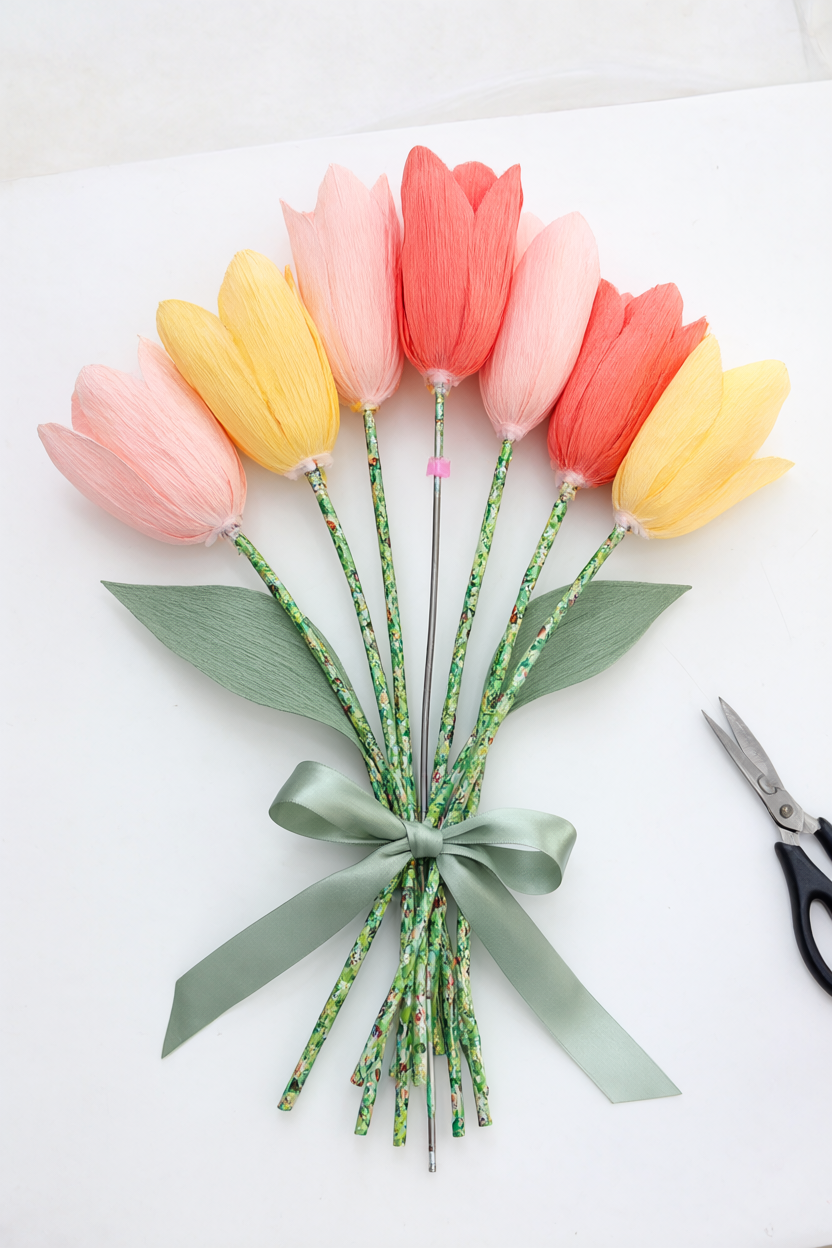
The first four steps make one bloom; the rest is taping, leaves and the rhythm of repeating it.
- Let the glue set for about 10 minutes, then squeeze the petal bases together and wrap green floral tape tightly around the base and down the stem, stretching the tape as you wrap so it sticks.
- Cut two leaves per stem, each about 1 x 5 in with a pointed tip. Tape one about 2 in below the flower and the second a little lower on the opposite side.
- Repeat to make nine tulips; after the first two, each stem takes about 8 minutes.
- Gather the stems, trim the wire ends to one length, bind with ribbon, stand the bouquet in a vase, and gently fan the blooms open or leave them as tight buds.
Make It Your Own
The nine-stem recipe is a starting point, not a rule. Change one thing at a time and the bouquet still works, which is half the fun of a paper flower you can make again and again.
Swap the palette. Cream, dusty rose and sage green make a wedding-style bouquet, while bright red and orange turn the same nine stems into a bold table centerpiece. The petal shape does not change at all — only the paper does, so you can make the same bouquet twice and get two completely different moods.
Open the blooms. Peel the petals outward before taping for open garden tulips, or keep them closed for chic single-stem gifts. Open petals catch the light and look fuller in a bunch; closed buds keep that tight, just-picked look.
Wrap it to give. Kraft paper and twine turn the bunch into a ready-to-give gift, or make mini three-stem bunches for place settings. The mini versions use far less paper and look charming lined up down a table.
Beginner Mistakes (and Easy Fixes)
Most first bouquets go wrong in the same three places, and each fix is quick.
- Cutting against the grain. Petals cut the wrong way tear or refuse to cup — check that the paper stretches across the petal’s width before the scissors move.
- Too much glue. Big blobs bleed through the paper; use small dots at the base and hold each petal for a few seconds.
- Thin wire and unstretched tape. Together they make lumpy, droopy stems — use 18-gauge wire and stretch the tape as you wrap.
Your Free Printable
It is two pages, and it covers exactly what you see here. Page 1 is the What You’ll Need checklist: crepe paper colors, floral wire, floral tape, glue, scissors, petal template, ribbon and vase. Page 2 is Step by Step: nine short actions from cutting and cupping petals to wrapping stems and arranging the bouquet. Print it, tick the boxes, and keep it beside you while you work.
Questions You Might Have
How long does a crepe paper bouquet last?
Years indoors if it stays out of direct sunlight and damp. Dust it gently with a soft brush and it keeps its color and shape.
Can I use tissue paper instead?
It works, but tissue tears easily and will not hold a cupped shape as well. Crepe paper’s stretch is what makes the petals look real.
Do I really need floral wire?
No. Bamboo skewers hold a standing bouquet, though wire lets you bend the stems and keeps the bouquet reusable.
Save This for Later
If this is the bouquet you want to make, pin it now so the supply list and steps are waiting when you sit down.
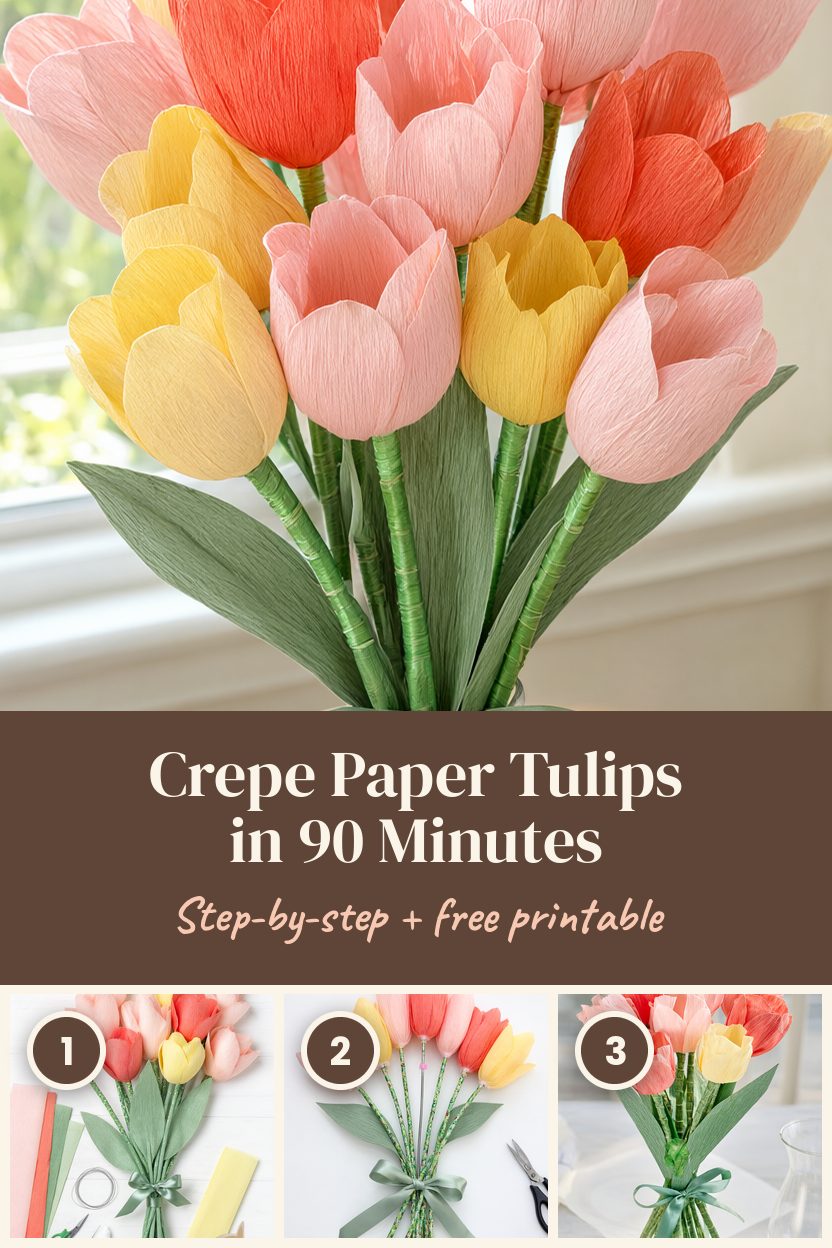
Start with one tulip. If the first petal cups the way it should and the bloom sits closed and rounded, the other eight are just repetition — put something good on and let the paper do the rest.