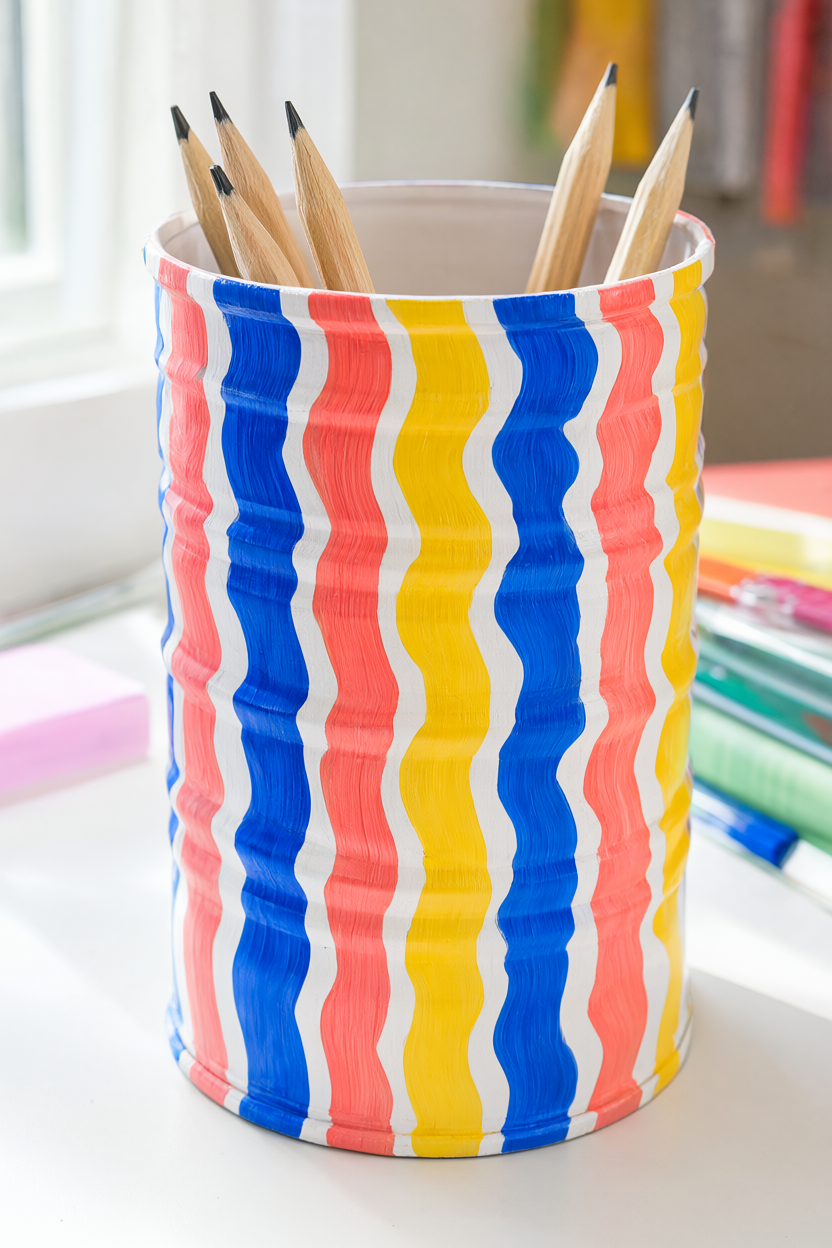
Turn a clean food can into a wavy-stripe pencil holder, with cobalt blue, coral pink, and sunshine yellow dancing across a white base. This recycled desk project takes approximately 45–60 minutes of hands-on work, plus drying and label-directed curing time, and includes a free printable supply list.
At a Glance
- Difficulty: Beginner; a small flat brush and a round brush handle the painting.
- Hands-on time: Approximately 45–60 minutes, spread around drying breaks.
- Drying and curing: Dry primer and paint between coats according to their labels; leave the finished holder at least overnight and follow the paint manufacturer’s handling and full-cure instructions.
- Cost: Approximately $30–$50 for new full-size packages of primer, four paint colors, brushes, sandpaper, and basic supplies; local prices vary. Only small amounts of primer and paint are consumed.
The finished holder is approximately 3 inches across and 4½ inches tall. Nine vertical waves repeat the three colors, while white gaps keep each stripe distinct against the can’s ridged surface.
What You’ll Need
- 1 clean food can with a smooth rim, about 3 inches across and 4½ inches tall
- 1 teaspoon dish soap and warm washing water
- 1 sponge and 1 drying towel
- 1 small sheet of 220-grit sandpaper
- 1 damp cleaning cloth
- Approximately 1 tablespoon water-based bonding primer suitable for metal and compatible with the paint
- Approximately 1 tablespoon white acrylic craft paint
- Approximately 1 teaspoon each cobalt blue, coral pink, and sunshine yellow acrylic craft paint
- 1 flat synthetic brush, about ½ inch wide
- 1 small round synthetic brush, about size 4
- 1 pencil
- 1 reusable palette or scrap plastic lid
- 1 rinse-water cup with water
- 1 protective work-surface covering
Most households already have a suitable empty can, soap, sponge, towel, cloth, pencil, water cup, scrap palette, and surface covering. Check those supplies before shopping, then check that the primer is labeled for metal and works beneath your chosen acrylic paint.
Step-by-Step Instructions
- Choose a safe can. Start with an empty food can approximately 3 inches across and 4½ inches tall. Reject any can with a sharp rim, dents, or rust; choose a smooth-rimmed replacement instead of trying to make a damaged can suitable.
- Remove the label and wash. Peel away the paper label and remove all sticky residue. Wash the can with the dish soap, warm water, and sponge, rinse thoroughly, then dry with the towel and allow any remaining moisture to disappear completely.
- Prepare the exterior. Cover the table before sanding or painting. Lightly scuff only the outside with 220-grit sandpaper, keeping clear of the rim; wipe off the dust with the damp cloth and let the can dry again before applying primer.
- Prime for adhesion. Use the flat brush to spread a thin coat of compatible water-based metal bonding primer over the exterior. Work it across the ridges without leaving pools, and let it dry for the full drying time on its label before adding paint.
- Build the white base. Rinse primer from the flat brush in the water cup, following the primer label for cleanup, then shake out excess water. Put a small amount of white paint on the reusable palette or scrap lid. Brush on two thin coats of white acrylic craft paint, allowing the first to dry before adding the second. Keep the ridges visible beneath the paint instead of filling them with a heavy layer; let the second coat dry before drawing.
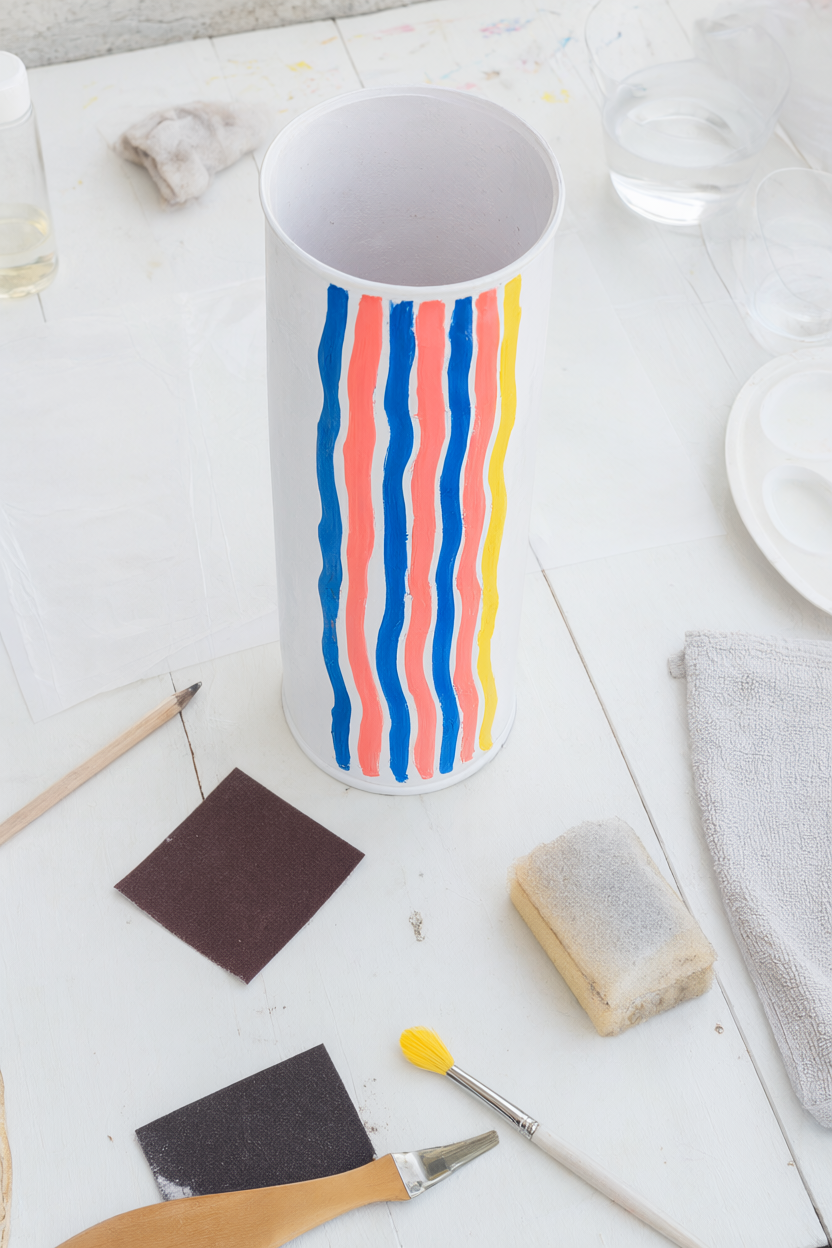
- Sketch and paint the waves. Lightly pencil nine vertical wavy stripes around the dry white exterior, leaving white gaps between them. Place separate small dabs of cobalt, coral, and yellow paint on the palette. Rinse the round brush in the water cup between colors and shake out excess water to avoid thinning the paint. With the small round brush, paint the stripes in a repeating cobalt, coral, and yellow sequence; follow each penciled wave down the can and keep the neighboring white spaces clear.
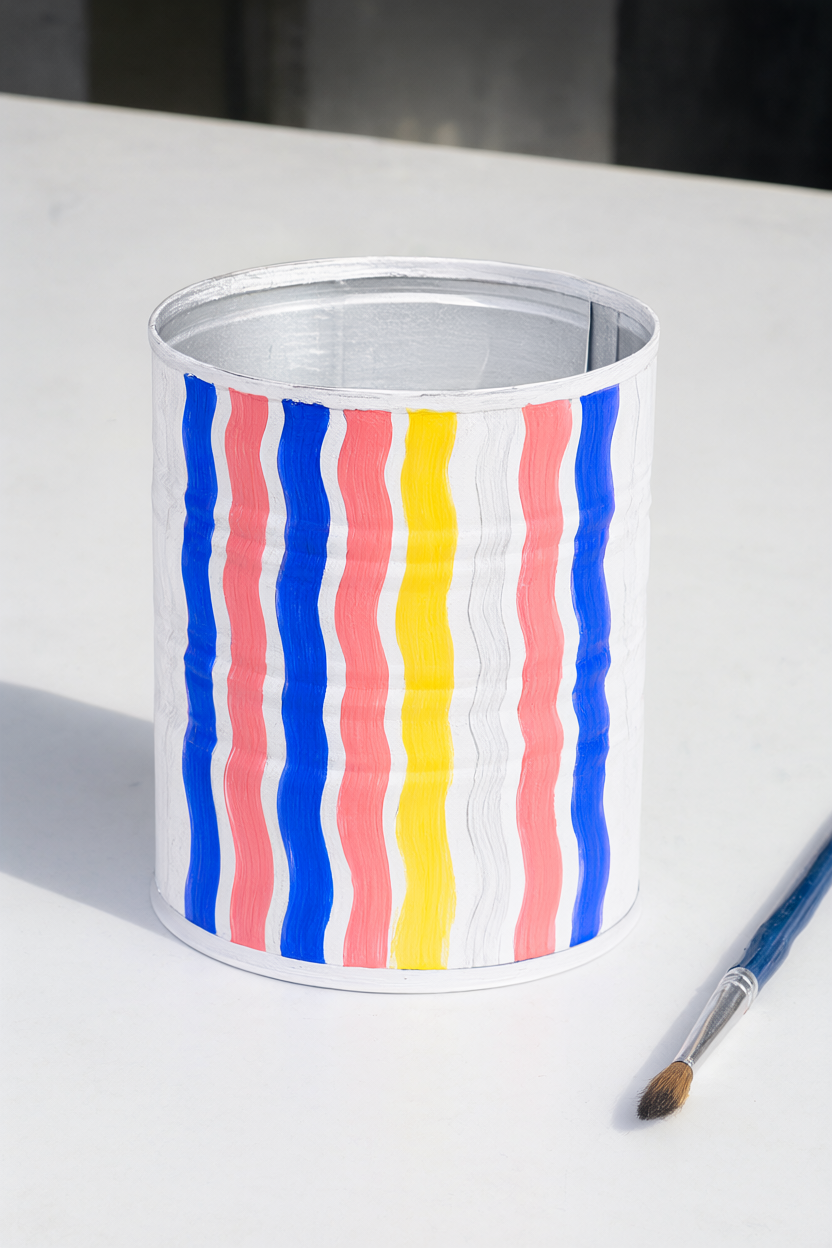
- Finish the stripe coverage. Continue the same three-color repeat around the can until all nine stripes are painted. Let the colors dry before adding any second coats, rotating against a painted section, or touching up neighboring edges, so the colors stay separate.
- Set the empty holder aside. Once the stripes are complete, stand the can upright on the protected table and leave it undisturbed to dry. The holder should remain empty at this stage; a fresh-looking surface is not a sign that the paint is ready for pencils.
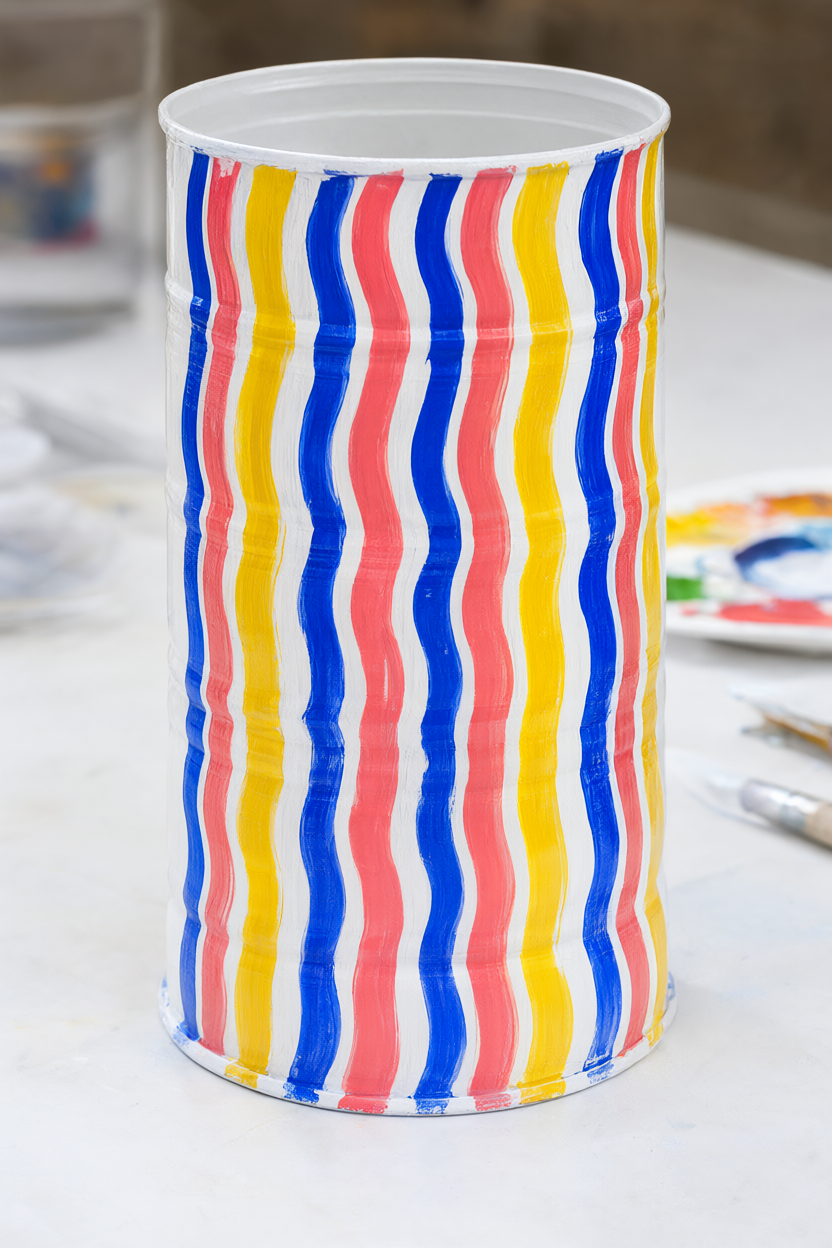
- Wait for safe handling and full cure. Leave the holder at least overnight and until the paint manufacturer permits handling. Add pencils gently once the surface is ready, avoid washing or scratching it during curing, and follow the label for the full cure time rather than treating overnight drying as a universal cure.
Make It Your Own
Brighter desk palette. Swap the cobalt, coral, and sunshine yellow for turquoise, magenta, and lemon yellow. Keep the white base and the gaps between the waves so the brighter colors have clear outlines.
Scalloped bands. Paint broad scalloped bands around the can instead of vertical waves. The same prepared, primed white surface gives this version its starting point; allow neighboring painted areas to dry before working against them.
Matching desk gift. Make a pair in the same palette, filling one with pencils and the other with wrapped stationery. Finish the drying and handling stages for both holders before adding their contents.
Beginner Mistakes (and Easy Fixes)
- Paint peels off: Grease, adhesive, or an unsuitable primer prevented adhesion. Remove loose paint, clean and scuff the surface, and use a compatible bonding primer before repainting.
- Thick drips collect in the ridges: The brush was overloaded. Use thin coats and brush out pooling immediately, rather than leaving a heavy bead of paint to dry in the grooves.
- Colors smear together: Neighboring stripes were still wet. Allow them to dry before rotating the can or touching up the edges, and keep the white gaps visible as you work.
Your Free Printable
The free two-page PDF contains a complete materials and tools checklist for one painted pencil holder on page 1. Page 2 contains fifteen short preparation, painting, drying, and curing reminders, so you can keep the sequence beside your covered work surface.
Questions You Might Have
Do I need to drill holes?
No. This is a dry, indoor pencil holder and needs no holes. Keep the can intact and use it for pencils or wrapped stationery once the painted surface is ready for handling.
Can I use ordinary acrylic paint directly on the can?
It may scratch or peel. This version uses a compatible metal bonding primer beneath the acrylic paint, with cleaning and light exterior scuffing before priming to prepare the surface.
Can I wash the finished holder?
Avoid soaking it. After full cure, gently wipe the exterior with a barely damp cloth if the paint instructions allow it; during curing, avoid washing or scratching the painted surface.
Save This for Later
Save the pin below so the wavy-stripe idea and printable are easy to find when your clean can is ready.
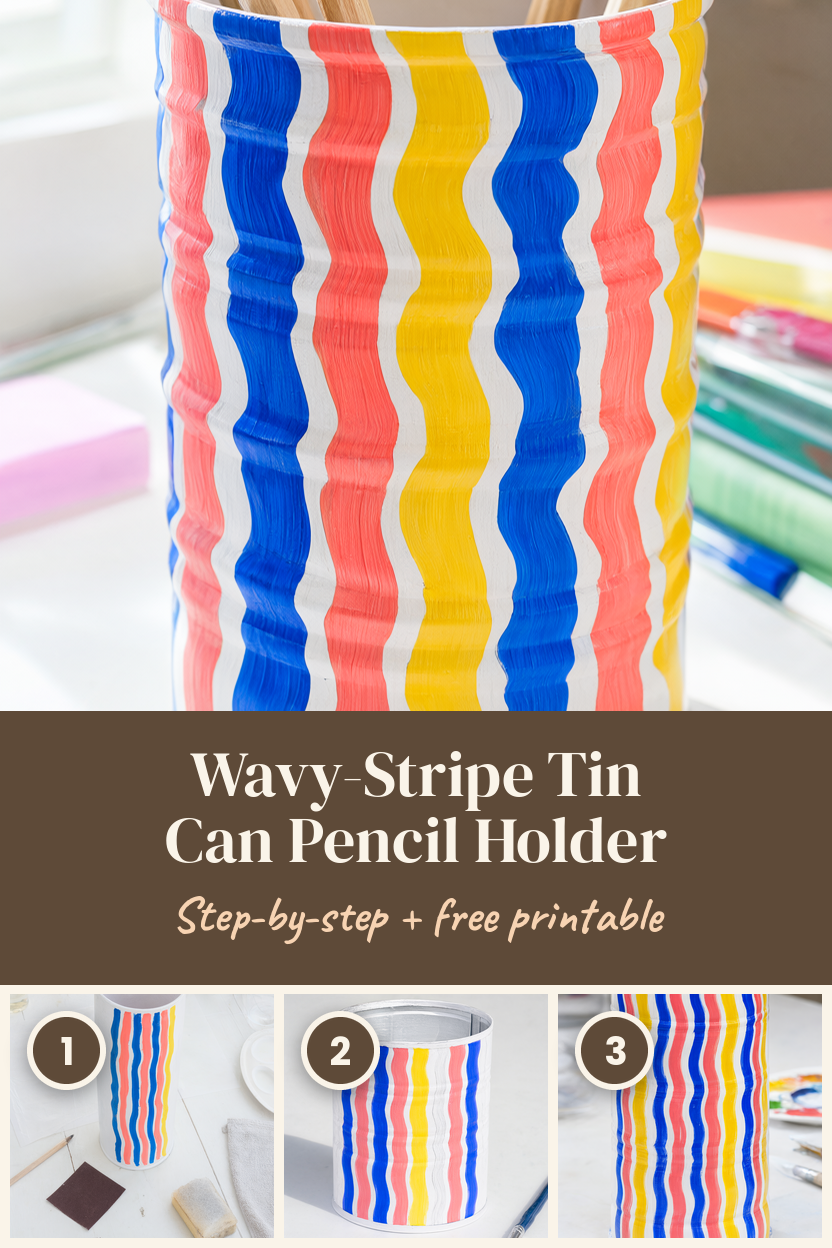
Give the paint its drying breaks, keep those white gaps clear, and let the three-color repeat carry the design around the can. Once the finish is ready to handle, a few natural wood pencils complete the colorful desk holder.