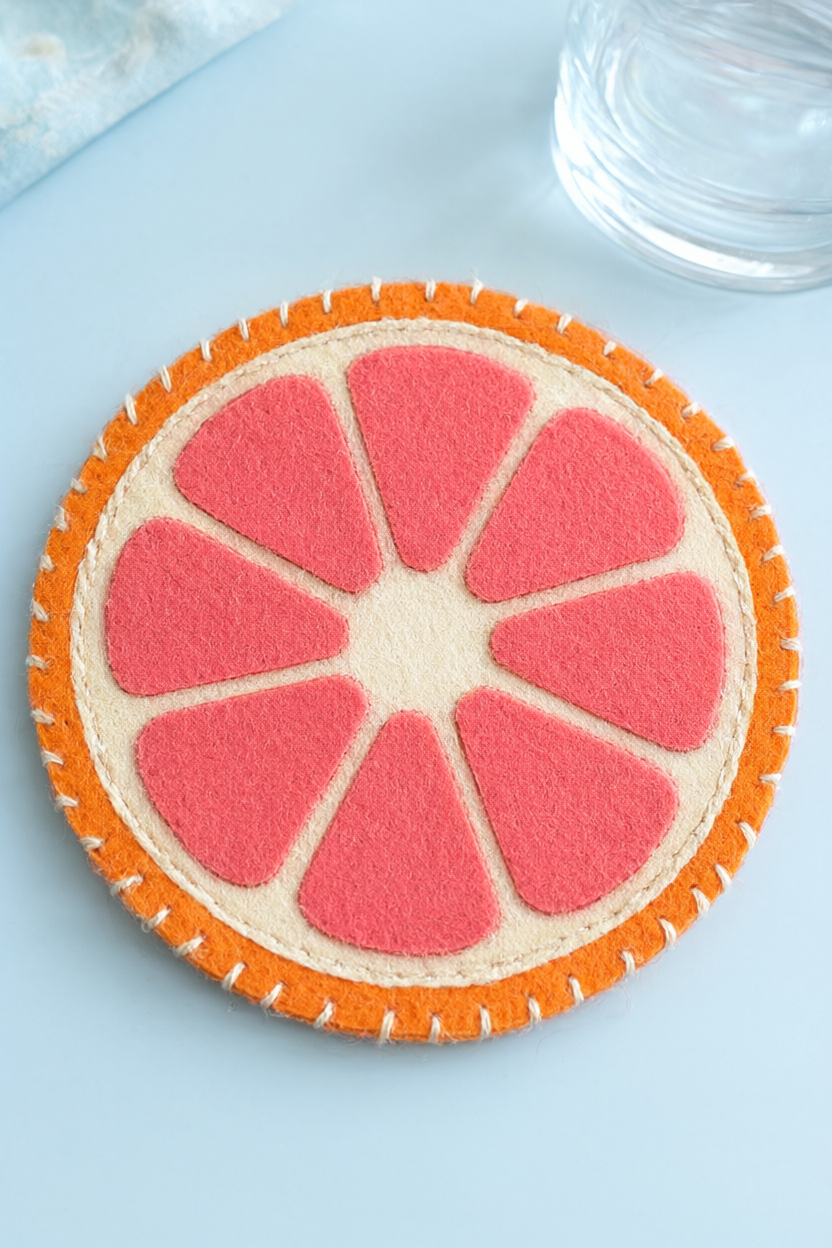
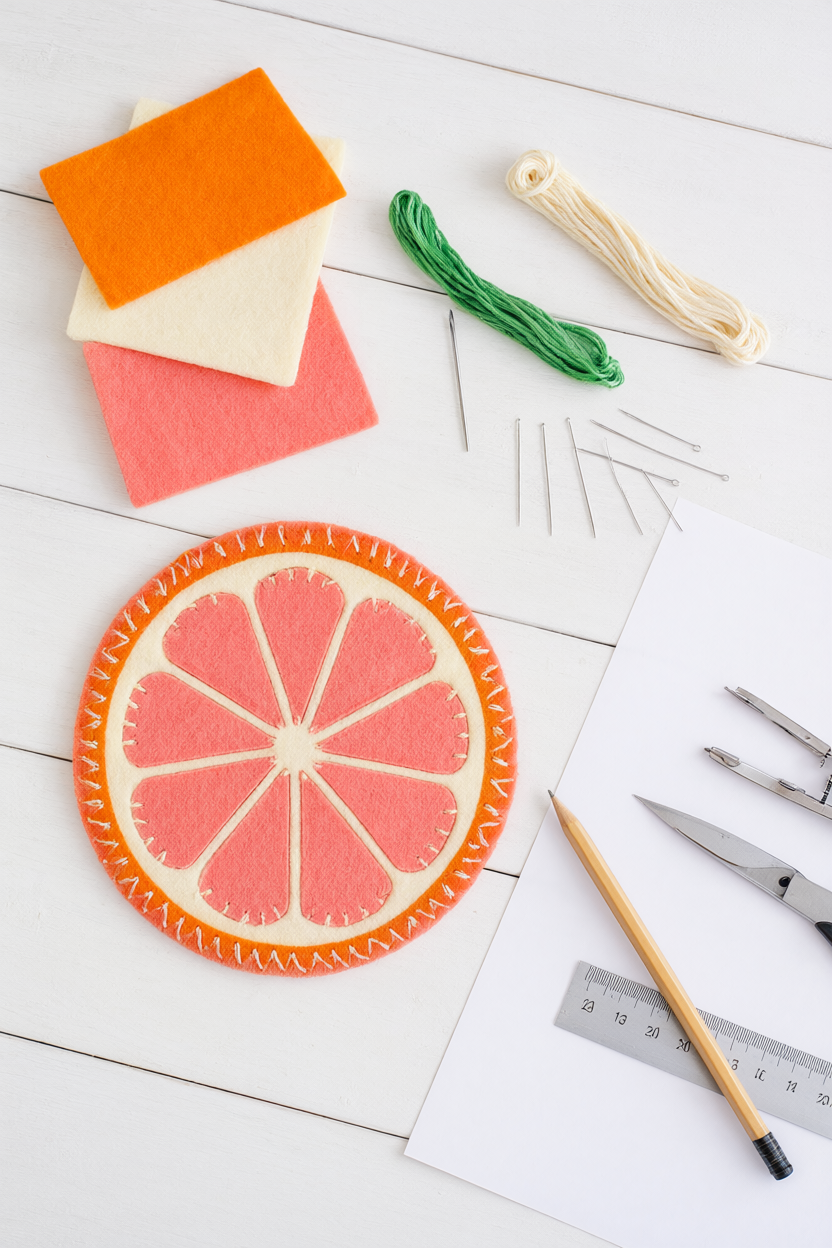
Turn tangerine, cream, and coral pink felt into a cheerful 4½-inch grapefruit coaster, with eight little wedges and visible hand stitching. This small, entirely hand-sewn project takes an estimated 90–120 minutes for one beginner coaster, with no drying time, and includes a free printable supply list and companion step checklist.
At a Glance
- Difficulty: Beginner; sewn entirely by hand.
- Hands-on time: Allow 90–120 minutes for one coaster.
- Drying or curing time: None during construction.
- Cost: Approximately $15–30 at typical US craft-store prices when buying every listed supply new, including scissors, compass, ruler, pins, and needles. If those tools are already at home, felt and floss cost roughly $5–12; this project uses only part of each sheet and skein.
What You’ll Need
- 1 tangerine felt sheet, 1 mm thick, 9 × 12 inches
- 1 cream felt sheet, 1 mm thick, 9 × 12 inches
- 1 coral pink felt sheet, 1 mm thick, 9 × 12 inches
- 1 cream embroidery floss skein, about 8 metres
- 1 tangerine embroidery floss skein, about 8 metres
- 1 sharp embroidery needle suitable for 3 strands of floss
- 1 pair of sharp scissors for paper and felt
- 6 straight sewing pins
- 1 sheet of US Letter paper
- 1 pencil
- 1 drawing compass
- 1 ruler marked in inches
- 1 empty mug for the stability check
- Optional for a four-coaster gift set: enough felt and floss for four coasters, plus about 24 inches of ribbon to tie the stack
Step-by-Step Instructions
- Draw the paper templates. On the paper, use your pencil and compass to draw circles measuring 4½, 4, and 3½ inches across. Set the compass radii to 2¼, 2, and 1¾ inches respectively, and check each diameter with your ruler. Keep fingers clear of the sharp compass point.
- Cut the templates and felt circles. Cut out all three paper circles. Use the largest template to cut two tangerine felt circles, the middle template for one cream circle, and the smallest for one coral pink circle. Pin each template while cutting if needed, then remove the pins; keep scissors pointed away from your supporting hand.
- Make eight coral wedges. Divide the coral circle into eight equal wedges by cutting it into halves, then quarters, then eighths. Trim about 1/16 inch from each straight side and about ⅛ inch from each pointed tip. These small trims leave room for the cream divisions to show between the wedges.
- Arrange the citrus centre. Lay all eight wedges on the cream circle before sewing anything. Keep their curved edges facing outward, with even cream channels between the straight sides and a small open centre. Adjust or trim the pieces now so the design reads as a citrus slice rather than a solid pink circle.
- Begin attaching the wedges. Separate three strands of cream floss, thread the needle, and knot the end. Bring the needle up from the underside of the cream circle, catching a wedge near its edge. Make short running stitches by taking the needle down and up through both felt layers, following the wedge outline; keep the felt resting flat.
- Finish sewing all eight wedges. Continue the running stitches around each wedge, keeping the thread against the felt without pulling it into puckers. Secure the thread on the underside before moving on or changing thread. Work through all eight pieces, checking the cream channels as you go; the tangerine circles stay separate at this stage.
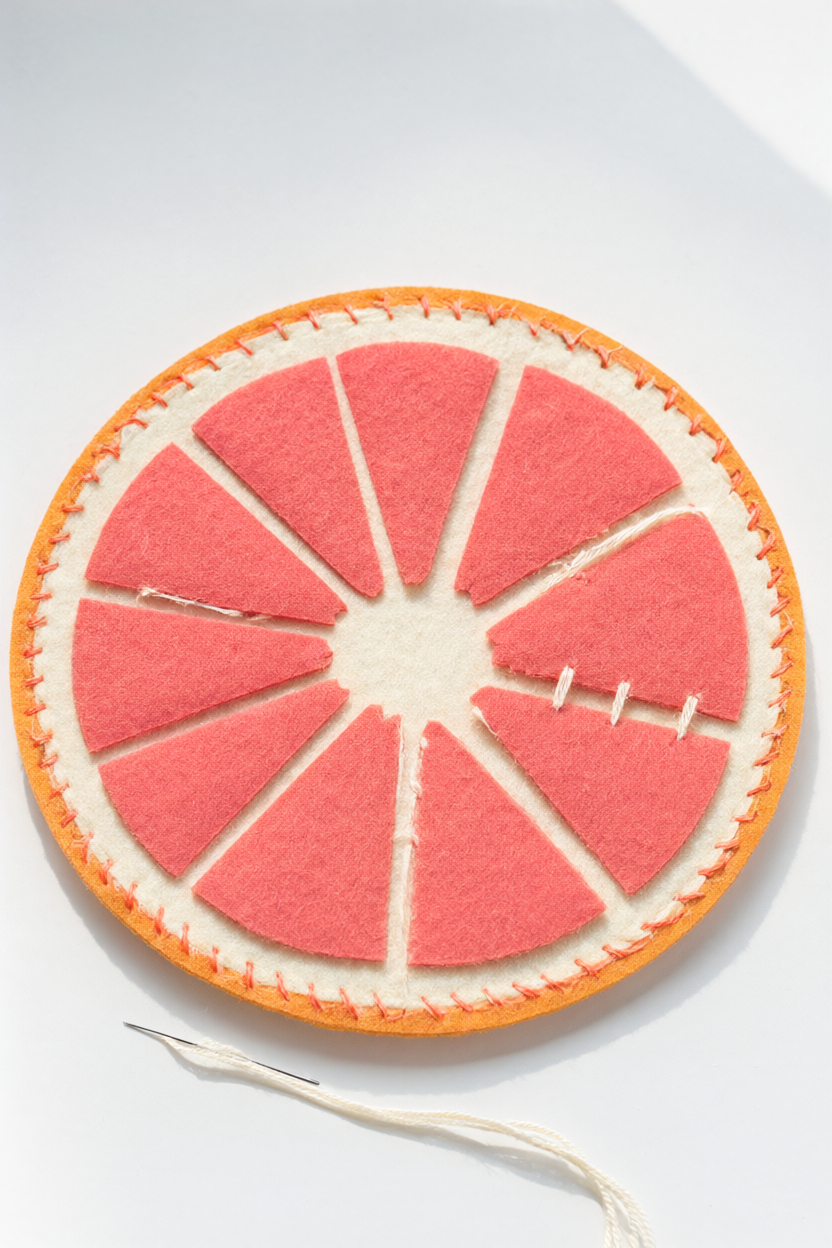
- Attach the cream circle. Centre the decorated cream circle on one tangerine circle, leaving an even tangerine rim all around. With three strands of cream floss, running-stitch around the cream circle through these two layers only. Secure the thread underneath this top assembly so its finishing knots will be hidden by the backing.
- Add the backing. Place the second tangerine circle underneath and match the outer edges. Use the six pins to hold the layers together, positioning them so you can see and remove each one while stitching. Check that the coaster lies flat before starting the edge seam; do not pull one layer tighter than the other.
- Whipstitch around the edge. Thread the needle with three strands of tangerine floss and hide the starting knot between the layers. Pass the needle through both outer edges, then bring the thread over the edge and repeat, working around the circle. Keep the stitches snug enough to join the layers while leaving the rim flat; remove pins as you reach them.
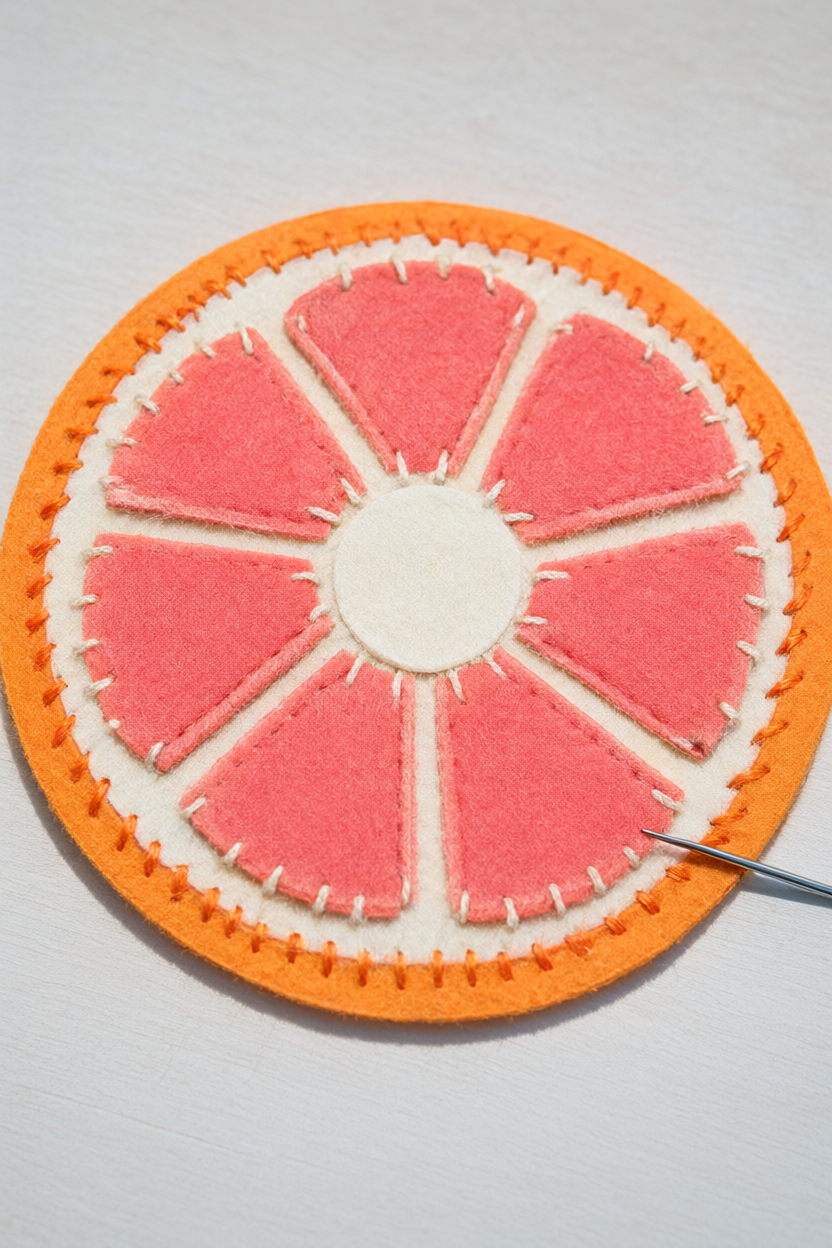
- Finish and check the seam. Complete the final inch of whipstitching and secure the thread with a small knot between the layers. Pass the needle between the felt layers for about ½ inch, then trim the emerging thread. Remove any remaining pins, then count the removed pins to account for all six. Put the needle away safely and gently flatten the coaster with your hands.
- Check it before use. Set an empty mug on the coaster; it should sit steadily on the flat felt. Use the coaster for drinking glasses and mugs, and let damp felt dry completely between uses. Do not use it as a trivet for cookware.
Make It Your Own
Lemon slice. Replace the tangerine felt with golden yellow and the coral pink with pale yellow, keeping the cream divisions. Use the same circle sizes and eight-wedge arrangement for a softer yellow slice.
Lime slice. Use emerald green for the outer circles, cream for the pith, and lime green for the wedges. Keep the cream gaps visible so the brighter green sections stay distinct.
Housewarming gift. Stitch four matching slices and tie the dry stack with ribbon. Allow an estimated 6–8 hours for a beginner set, rather than expecting four coasters in the time needed for one.
Beginner Mistakes (and Easy Fixes)
- Wedges touch and hide the citrus pattern: Trim their straight edges before sewing, and arrange all eight before attaching any. Visible cream channels are part of the design.
- The coaster curls or puckers: Loosen tight stitches and keep the felt flat as you sew. The thread should rest against the surface without gathering it.
- Knots show underneath or pins remain inside: Finish all decorative stitching before adding the backing, and hide the finishing ends between the layers. Account for all six removed pins before the mug check.
Your Free Printable
The free two-page PDF contains a complete materials and tools checklist for one citrus coaster on page 1. Page 2 has fourteen short cutting, stitching, finishing, and checking actions to tick off as you work. It is a companion checklist, not a full-size cutting pattern; draw the three paper circles using the measurements above.
Questions You Might Have
Do I need a sewing machine or embroidery hoop?
No. This small felt project is sewn entirely by hand without a hoop. The running stitches attach the decorative layers, and the whipstitch joins the outer edge.
Can I use inexpensive acrylic felt?
Yes. Choose sewable felt rather than stiff adhesive-backed sheets; wool-blend felt is another option. The listed sheet size and 1 mm thickness keep the supply list specific for this coaster.
How do I clean it?
Blot spills promptly, spot-clean gently with cool water and mild soap, and dry flat. Avoid soaking or machine washing unless the felt manufacturer permits it, and let the coaster dry completely between uses.
Save This for Later
Save this citrus coaster tutorial for your next quiet stitching session or a matching gift set.
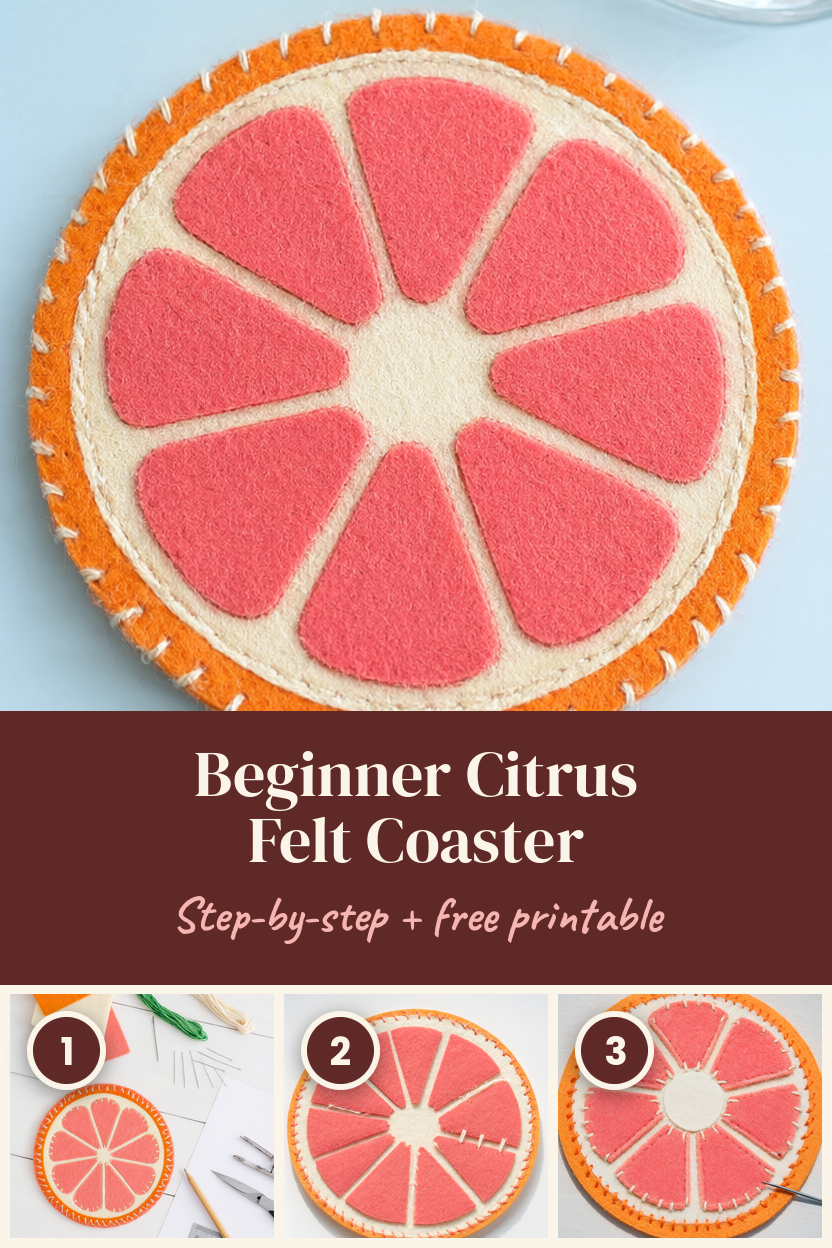
Keep the cream gaps clear and the stitches relaxed, and take your time around the final edge. A flat little grapefruit slice is ready for its empty-mug check.