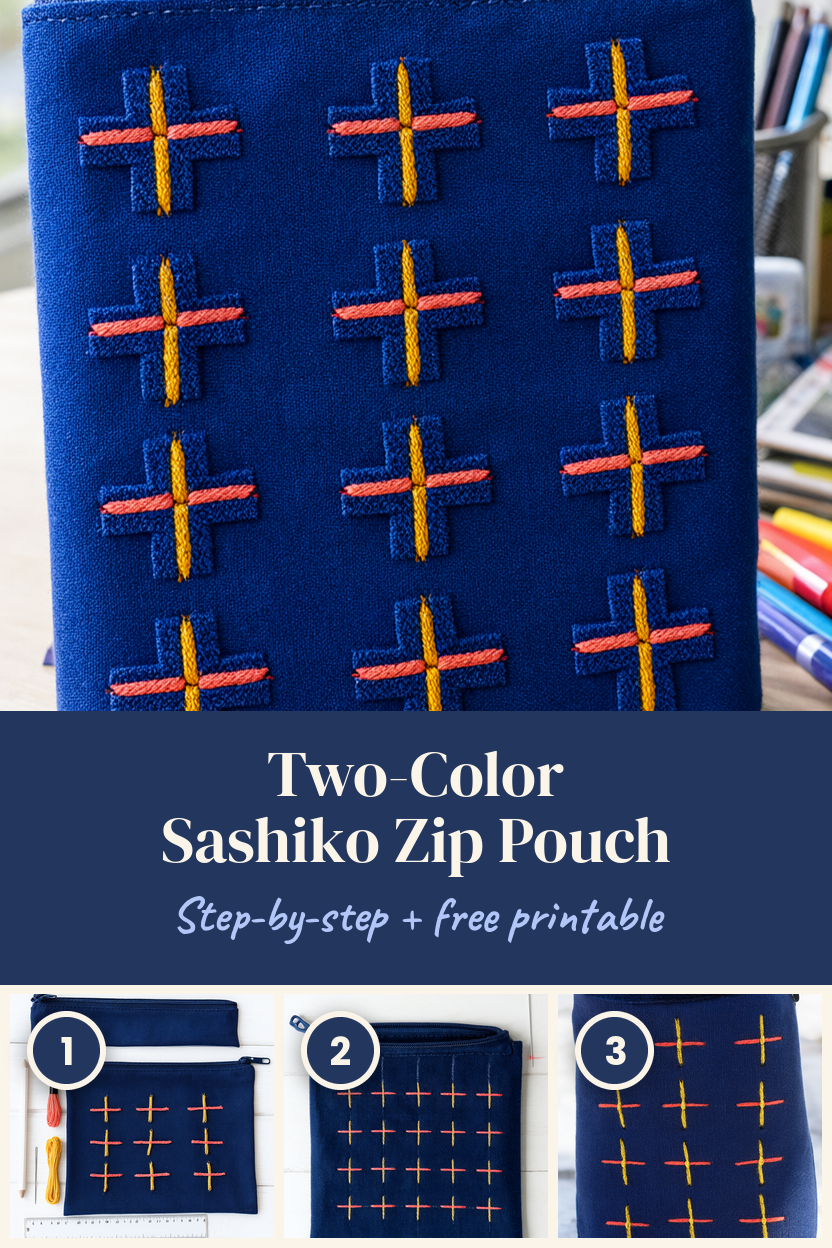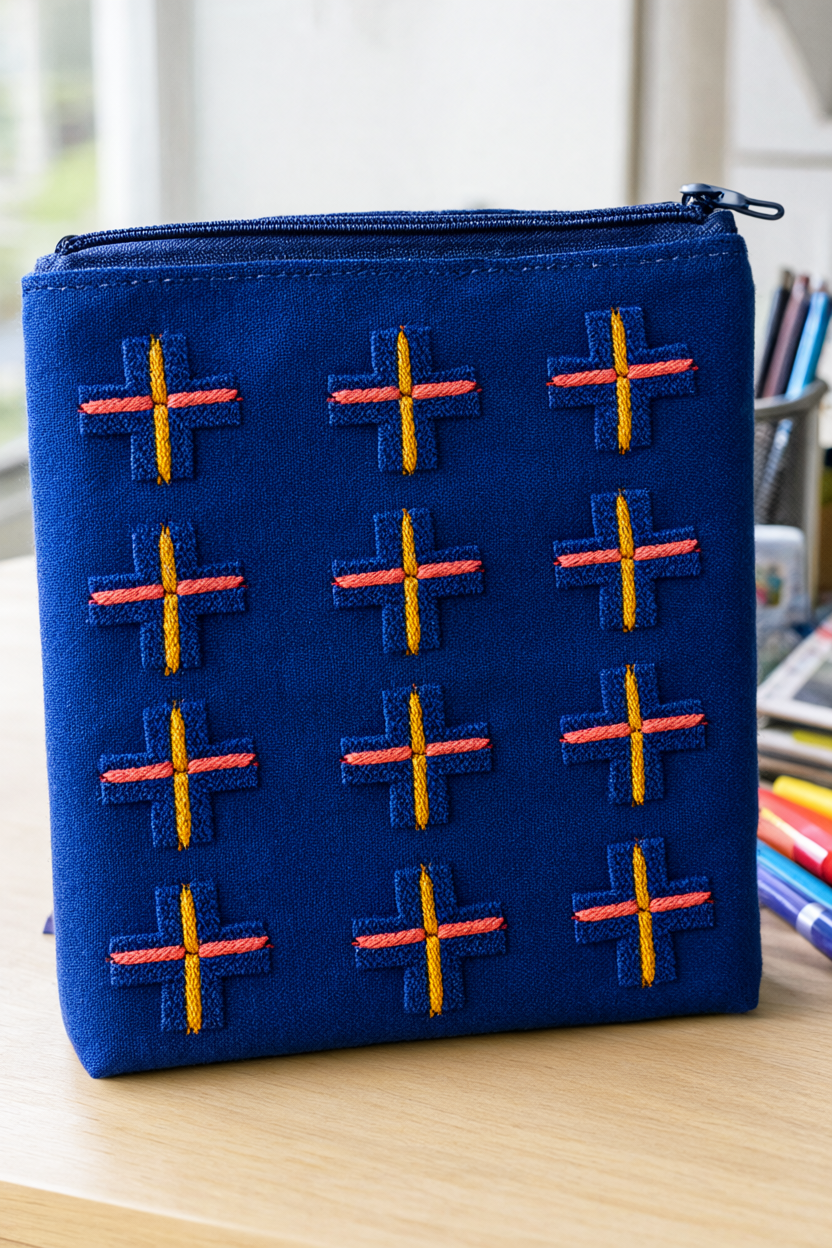
Give a plain navy zip pouch a bright little grid of coral and golden-yellow plus signs, and you’ll have a colorful organizer for your desk. This sashiko embroidery tutorial uses one running stitch and a ruler-drawn pattern, with about 45 minutes of hands-on time and no drying. A free printable supply list and stitching checklist are included.
At a Glance
- Difficulty: Beginner. Each plus sign is made with two short stitches.
- Hands-on time: About 45 minutes.
- Drying or curing time: None.
- Cost: Roughly $15–$28 if you buy everything new, including the tools. You may already have a ruler and scissors on hand.
What You’ll Need
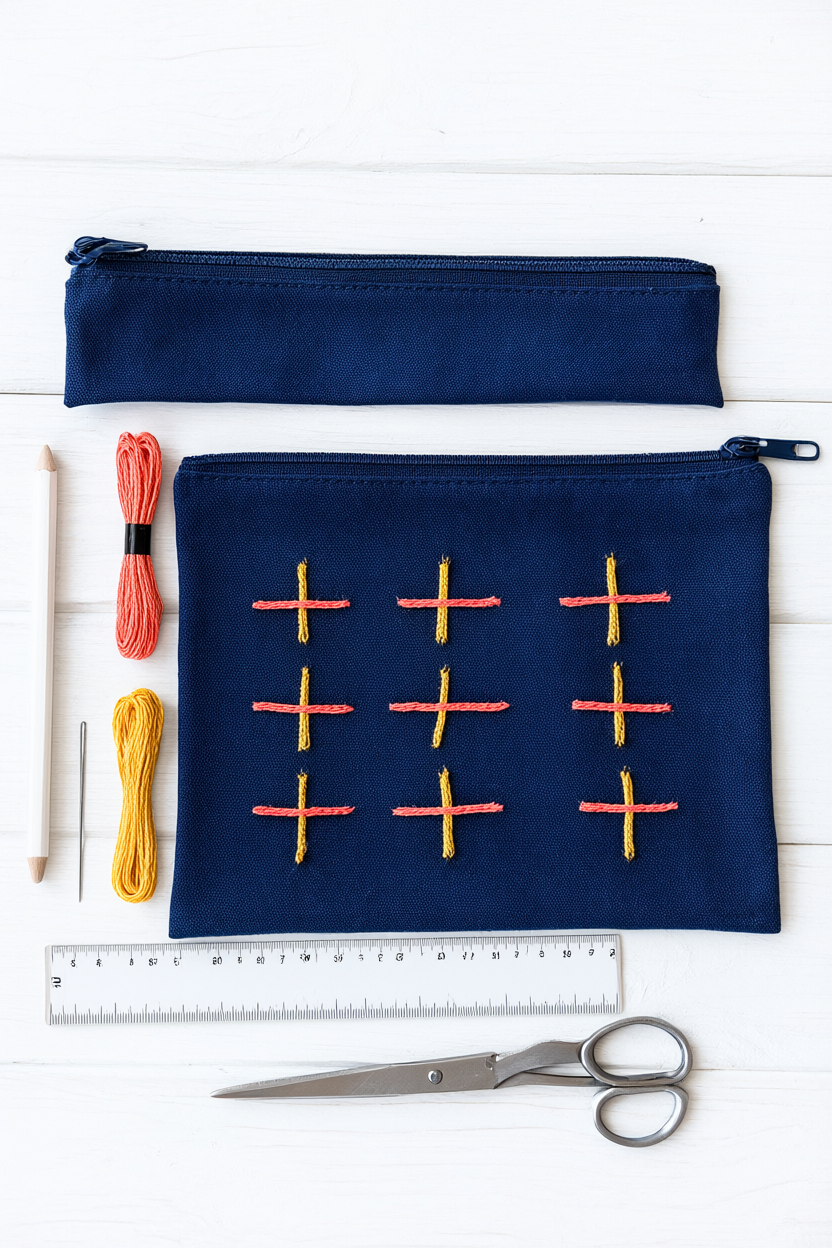
- 1 unlined, 7-by-5-inch navy cotton-canvas zip pouch with a navy zipper. The open zipper gives you access to the back of your stitches inside the pouch.
- 1 skein of coral cotton embroidery floss. You’ll use about 1 yard for the horizontal stitches.
- 1 skein of golden-yellow cotton embroidery floss. You’ll use about 1½ yards for the vertical stitches.
- 1 sharp size 5 embroidery needle.
- 1 white tailor’s chalk pencil. The white marks are easy to see on navy canvas.
- 1 ruler marked in inches. You’ll measure in half-inch and quarter-inch increments.
- 1 pair of scissors for cutting the floss and trimming the tails inside the pouch.
Step-by-Step Instructions
- Open the pouch and test the chalk. Slide the zipper all the way open and lay the pouch flat with the front facing up. Make a small chalk mark near a seam, then brush it away to check that it comes off cleanly. Keep the zipper open while you work so you can reach inside and feel which layer you’re stitching.
- Draw a centered grid of 15 plus signs. Mark five dots across and three rows down, spacing the dots ½ inch apart both ways. The center dots span 2 inches from left to right and 1 inch from top to bottom. At each dot, draw a ¼-inch horizontal line and a ¼-inch vertical line, with the dot at the center of both strokes.
- Start the first coral row. If kids join in, supervise them while they use the sharp needle and scissors. Cut 12 inches of coral floss, separate out three strands, and thread them together through the needle. Knot the end and bring the needle up from inside the pouch at the left end of the first horizontal chalk mark. Guide the needle through the front panel only, keeping the back panel clear of the point.
- Stitch all three horizontal rows. Push the needle down at the right end of the first mark and bring it back up at the left end of the next mark. Repeat across all five marks, keeping the floss relaxed enough that the canvas lies flat between dashes. Inside the pouch, loop the floss through the nearest back stitch twice to tie off and trim the tail. Use a fresh 12-inch length of three-strand coral floss for each of the other two rows.
- Make the first golden-yellow crossing. Thread the needle with three strands from a fresh 10-inch length of golden-yellow floss and knot the end as you did for the coral floss. At the top of the first column, bring the needle up from inside the pouch at the top end of the vertical chalk mark and go down at its bottom end, laying the golden-yellow thread over the coral dash. The two colors should meet at the middle of the plus sign, with the coral strands sitting intact underneath.
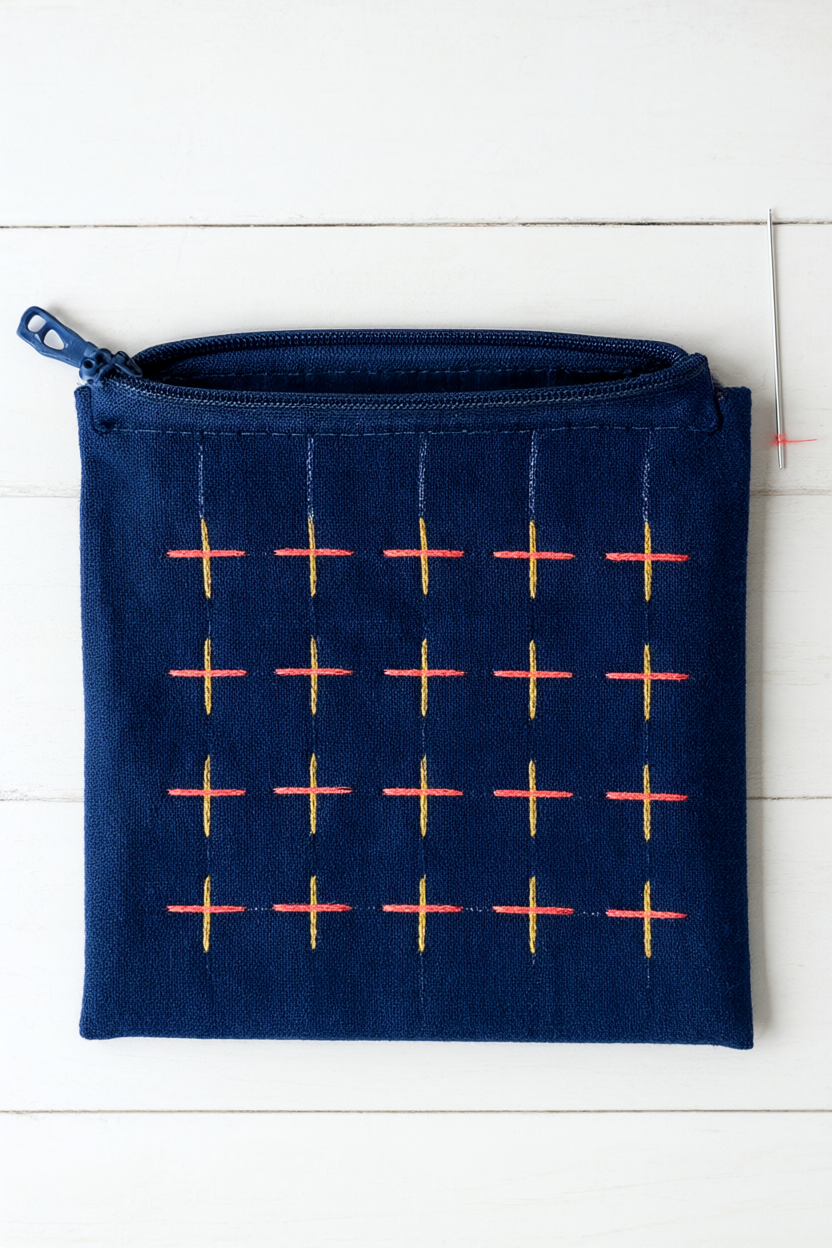
- Finish the golden-yellow columns. After the first stitch, bring the needle up at the top of the next mark in the same column and down at the bottom. Repeat for the third mark. Tie off and trim inside the pouch as you did for the coral rows. Work the remaining columns the same way, starting each with a fresh, knotted 10-inch length of three-strand golden-yellow floss. Leave the last column’s tail inside the pouch for step 7.
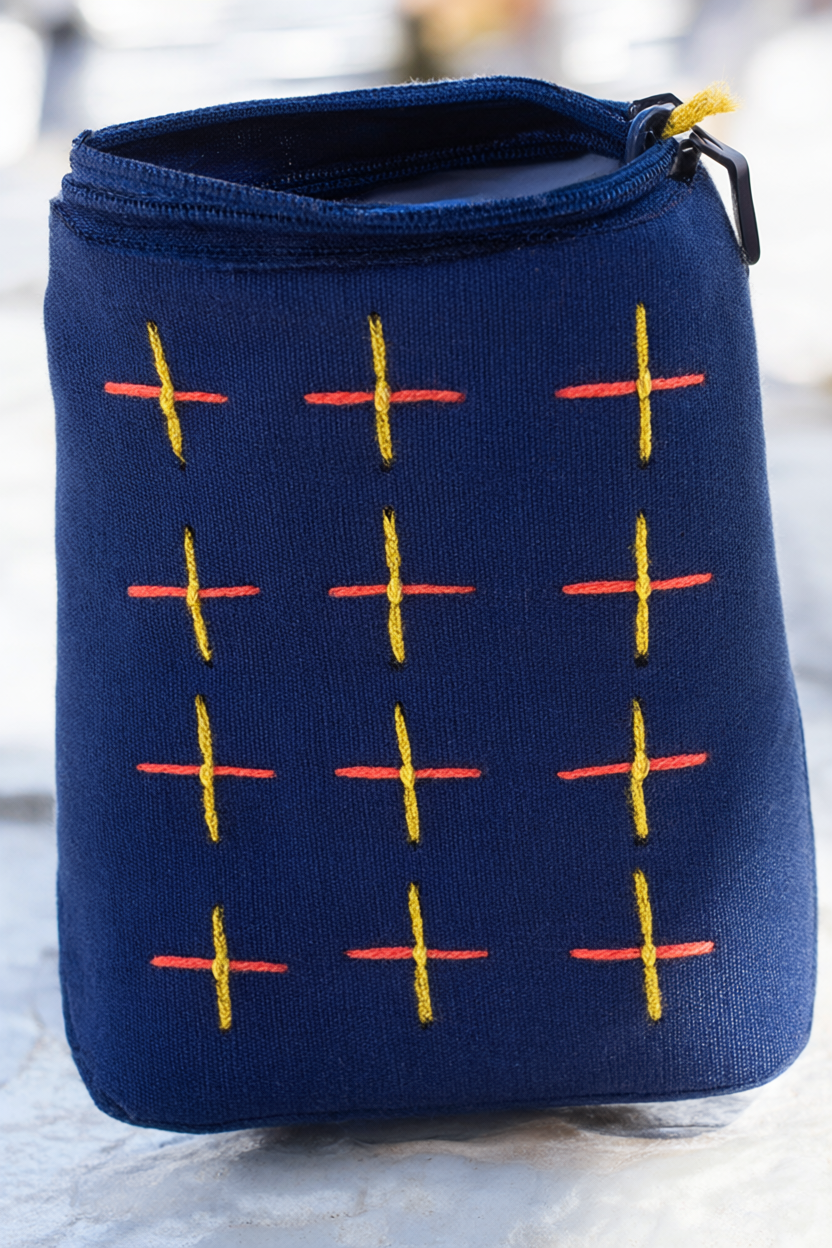
- Tie off, brush off the chalk, and check the zipper. Tie off and trim the final golden-yellow tail inside the pouch. Brush away any chalk you can still see around the stitches. Zip the pouch closed, then open it again to check that it moves freely and the two panels separate.
Make It Your Own
Try turquoise and cream on plum. Swap the navy pouch for a dark plum one and stitch the grid in turquoise and cream. Try turquoise across the rows and cream down the columns so each plus sign still has two distinct colors.
Leave room for initials. Arrange the plus signs around the edge of a rectangle and leave the center open for initials. Use the ruler to space the dots along the outline before drawing the little crosses.
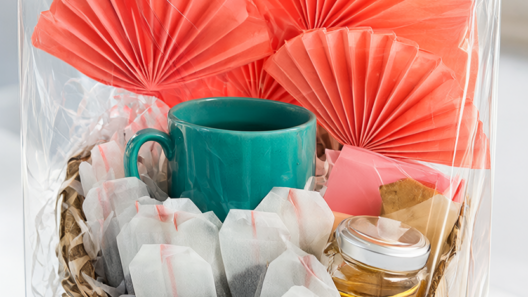
Make a desk-organizer gift. Slip pens and sticky notes into the finished pouch.
Beginner Mistakes (and Easy Fixes)
- Stitching both sides of the pouch together. Keep the zipper fully open, and check inside after your first stitch. You should be able to pull the two panels apart freely.
- Pulling the floss tight enough to pucker the canvas. If the fabric bunches around a dash, ease the last stitch with the tip of the needle. Stop when the canvas lies flat again.
- Splitting the coral floss with the yellow stitches. Insert the needle at the ends of each vertical chalk mark. Lay the yellow floss over the coral at the center, keeping the needle point clear of the coral threads.
Your Free Printable
Page 1 is a seven-item checklist for the pouch, floss, and tools. Page 2 is a twelve-action checklist for marking the grid, stitching both colors, and finishing the pouch.
Questions You Might Have
Do I need an embroidery hoop?
The cotton canvas is firm enough to hold in one hand while you stitch with the other. Keep the zipper open so you can reach the back of the front panel easily.
Can I use regular embroidery floss for sashiko?
Yes. Three strands of cotton embroidery floss work for this small sashiko-inspired design. Use the same strand count for the coral rows and the golden-yellow columns.
Can I wash the finished pouch?
Follow the pouch’s care label. If it allows washing, use colorfast floss and hand-wash gently in cool water.
Save This for Later
Save the pin so you can find the grid and stitching order when you’re ready to start.