If you’ve ever looked up at a half-lit Moon and wondered which quarter you were seeing, try drawing the two phases side by side. This guide walks you through each quarter Moon drawing and includes a free printable for sketching both phases and comparing what you see in the sky.
What’s inside the printable
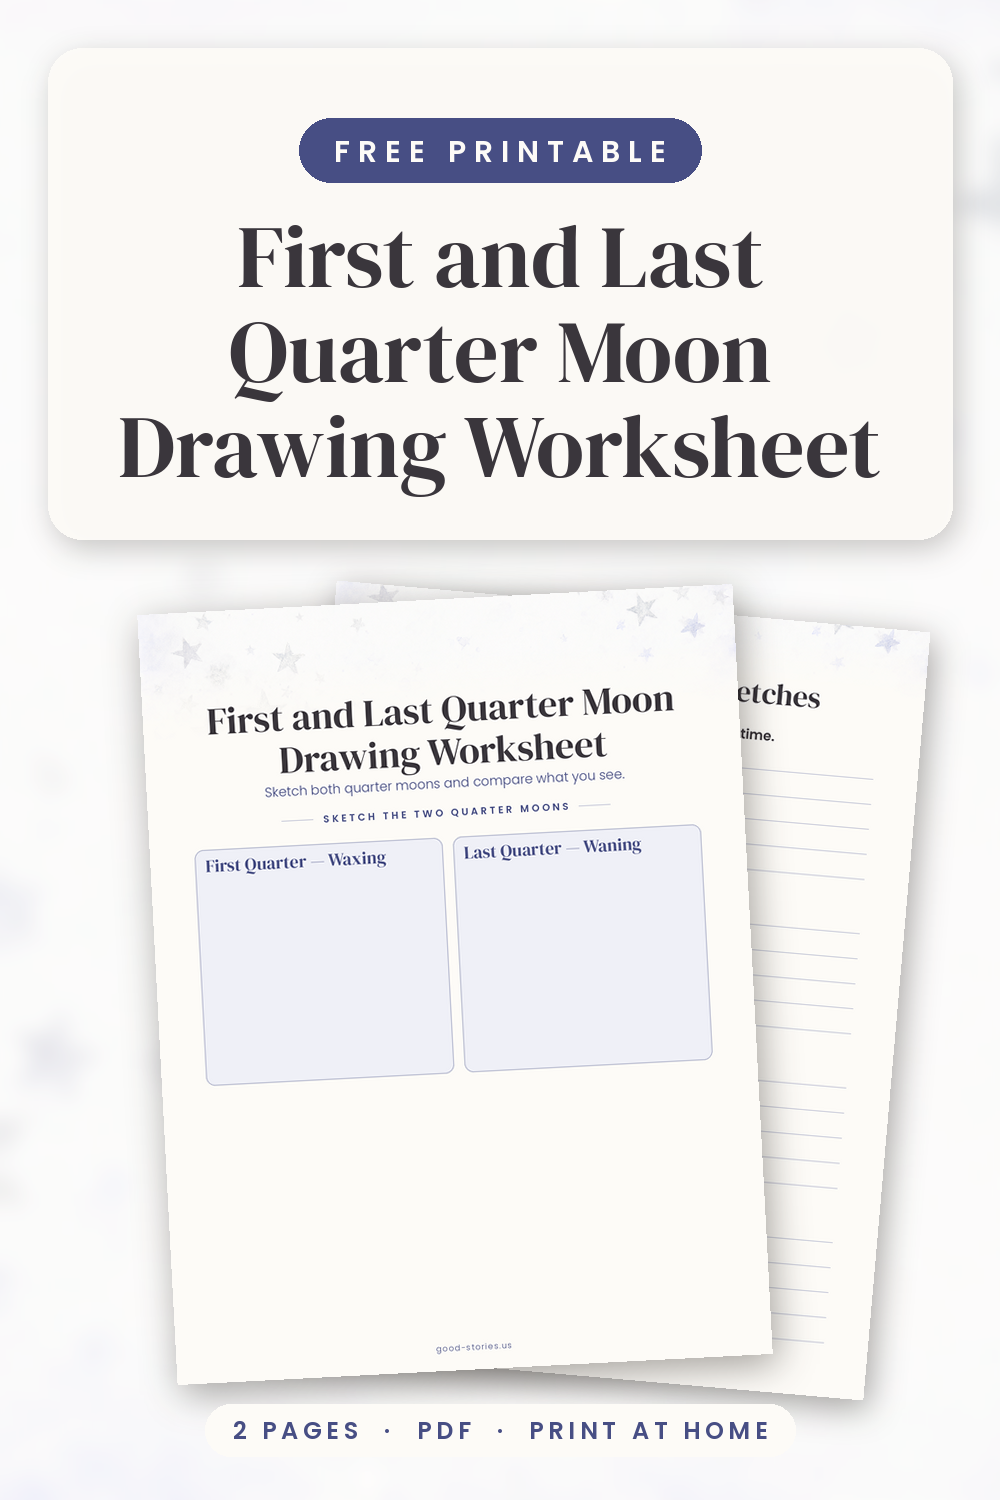
- Page 1 — Sketch the Two Quarter Moons. Two blank drawing boxes sit side by side, labeled First Quarter — Waxing and Last Quarter — Waning.
- Page 2 — Compare Your Moon Sketches. Four lined prompts ask you to record the date and local time of each observation, describe the shape and tilt of the bright halves, identify the waxing Moon, and explain how the bright area will change after each quarter.
Why both quarter moons look half-lit
The word “quarter” tells you how far the Moon has traveled through its cycle since the new moon. First quarter comes about a quarter of the way through the cycle, and last quarter comes about three-quarters of the way through. At either quarter, half of the Moon’s visible disk is illuminated. That’s why both drawings start with a circle split into two equal halves. NASA’s guide to Moon phases shows where each quarter fits in the cycle.
To tell the phases apart, think about what happens next. After first quarter, the bright area grows as the Moon waxes toward full. After last quarter, the bright area shrinks as the Moon wanes toward new. Write “growing” and “shrinking” under your drawings if those words are easier to remember at first.
How to draw the first quarter Moon
First quarter comes between waxing crescent and waxing gibbous. Start with a circle and draw a light vertical line from the top of the circle to the bottom, passing through the center. In a common Northern Hemisphere diagram, the right half is bright. Leave that side white and shade the left half with your pencil.
Try making a small practice sketch beside your drawing. For the waxing crescent that comes before first quarter, show less than half the circle bright. For the waxing gibbous that comes next, show more than half bright. Looking at the three shapes in order helps you see what “waxing” means. Keep the pencil shading light enough to erase as you adjust the shapes.
How to draw the last quarter Moon
Last quarter comes between waning gibbous and waning crescent. Draw another circle about the same size and divide it through the center. Using the same Northern Hemisphere diagram convention, shade the right half and leave the left half bright. Put the drawings side by side so you can compare the position of the bright halves at a glance.
When you sketch from the sky, the dividing line may look slanted. The tilt can vary with your location and the time you look. Start by marking where that line meets the edge of the circle at each end, then join the marks and shade the darker side. You can keep the upright diagram for reference and use a separate sketch to capture the angle you actually see.
When to look for each quarter Moon
First quarter is generally easy to spot in the evening, so try stepping outside around dusk. Give yourself a clear view of the sky and take a moment to look at the shape before you start sketching. Mark the bright side lightly while you’re outside, then finish the shading indoors if that’s more comfortable.
Last quarter rises around midnight and can still be visible in the morning. Try looking during your usual morning routine. Write down the date and local time when you spot either quarter. Those details give you something concrete to compare when you look back at an evening sketch and a morning sketch together.
How to use your printable
Print both pages on US Letter paper. If you’re using A4, choose “Fit to page” in the print dialog and check the preview to make sure the drawing boxes and writing lines fit. Keep the two pages together with a pencil and eraser so you can pick them up when you have a clear view of the Moon.
Use the boxes on the first page to sketch both phases side by side. On the second page, record the date and local time of each observation, then describe the shape and tilt of each bright half. When you identify the waxing Moon, explain what you’d expect to happen to its bright area next. Do the same for the waning Moon and compare your predictions with what you see on a later day.
You can follow the drawing instructions above to practice before going outside or print a second copy for your sky sketches. If you only catch one quarter, fill in what you saw and leave the other box open for another day. The two observations can come from different weeks.
A pair of simple pencil sketches is enough to start seeing the pattern. The next time you spot a half-lit Moon, take a moment to notice its tilt and ask yourself whether the bright area will grow or shrink.