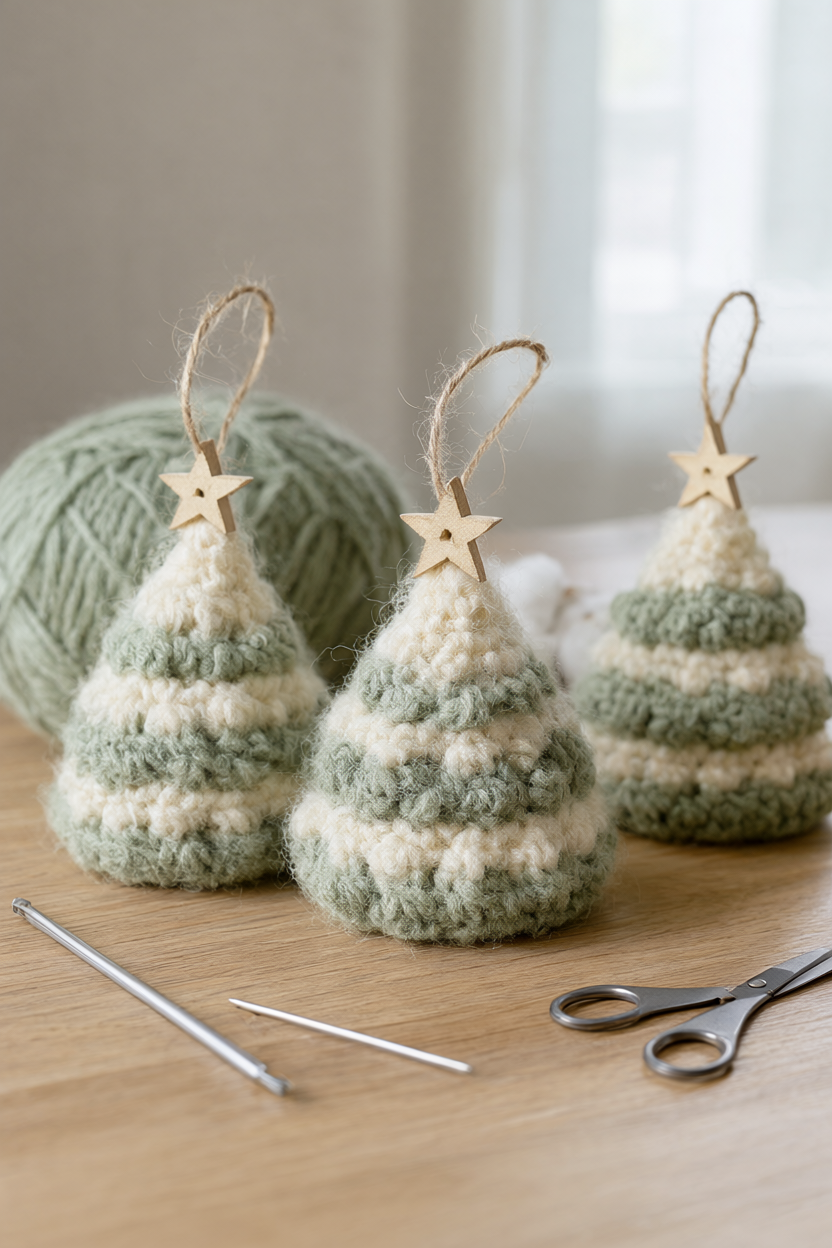
These little crochet Christmas trees are my favorite kind of December project: small, stash-friendly and finished before the kettle cools. Two stuffed single-crochet panels, a tiny brown trunk, a star topper and a twine loop turn a few odds and ends of cotton into ornaments that people actually keep on the tree year after year. The honest time is about 2 hours of hands-on work for a set of 3 (roughly 35 minutes per tree) plus about 1 hour of optional drying, and there is a free printable supply list and step checklist waiting for you below.
At a Glance
- Difficulty: Easy. A confident beginner can handle single crochet, simple increases and one single-crochet seam.
- Hands-on time: About 2 hours for a set of 3, or roughly 35 minutes per tree.
- Drying time: About 1 hour for optional water blocking. No overnight cure and nothing to bake.
- Cost level: Low. One 50 g skein of green cotton makes about 5 to 6 trees, and the cream, brown, fiberfill and star buttons take only small amounts.
What You’ll Need
- Worsted (weight 4) cotton yarn, sage green: 1 x 50 g skein (makes about 5 to 6 trees)
- Worsted cotton yarn in cream: about 10 g
- Worsted cotton yarn in brown: about 5 g
- 3.5 mm (US E/4) crochet hook
- Stitch marker
- Blunt tapestry needle
- Small sharp scissors
- Polyester fiberfill: about 10 g for 3 trees
- 3 star buttons or 1 cm wooden beads
- Cotton twine or narrow ribbon: 3 x 12 cm
- Rust-proof pins and a foam blocking mat (optional)
- Spray bottle of water (optional)
Step-by-Step Instructions
Finish one tree completely before starting a production line. The second and third go faster once the shaping clicks.
- Start the first panel. Chain 2 with the sage green yarn, then work 3 single crochet into the second chain from the hook. Chain 1 and turn, then work 2 single crochet in the first stitch, 1 in the next stitch and 2 in the last stitch. You should have 5 stitches.
- Shape the tree. Chain 1 and turn, then add one single crochet at each end of every row until the row has 15 stitches. That takes 5 more increase rows. Work one row even, then fasten off and leave a 15 cm tail for seaming. Make 2 identical panels for every tree.
- Make the trunk. With the brown yarn, chain 6 and work 5 rows of single crochet, 5 stitches in each row. Fasten off and sew the rectangle to the bottom edge of one panel, centered so a short trunk shows below the green.
- Join the panels. Hold the two panels wrong sides together and single crochet through both layers along the two sloped sides with green yarn, working about 1 single crochet into each row end. Fasten off and leave the bottom edge open.
- Stuff it lightly. Push a small handful of fiberfill, about 3 g, through the open bottom. Keep it light so the tree stays flat and the seam stays neat rather than bulging. Single crochet the bottom edges together, then fasten off and weave in the end.
- Add the hanger and topper. Chain 12 with green yarn or twine, slip stitch into a loop, and sew the loop securely to the top point. Sew a star button or a 1 cm wooden bead through both panels just below the loop. Safety note: check that the loop and topper are firmly anchored before the ornament goes near a small child or a pet.
- Block and finish the set. Mist each tree lightly with water, pin it flat on a foam mat and let it dry for about 1 hour. Repeat to make a set of three in alternating green and cream. Keep the pins and mat out of reach while the ornaments dry.
Why Crochet Tree Ornaments Are Worth Making Now
This is a stash project in the truest sense. One 50 g skein of green cotton covers five or six trees, and the cream, brown and fiberfill amounts are small enough to come from leftovers. You are not buying a sweater quantity of yarn for a decoration you see for one month a year.
It is also a 35-minute finish, which matters in December. You can make one during a lunch break, add a second while dinner cooks and still have a set of three ready before the tree goes up. Flat and light, they pack away in a small box and come back out without crushing.
The last reason is gifting. A handmade tree tied to a jar of jam or a wrapped book reads as a gift topper people keep rather than a bow that goes in the bin.
Variations: Stripes, Bead Garlands and Cinnamon Trunks
Once you have the basic pair of panels, the ornament is a blank canvas. Each of these changes takes minutes and none of them alters the stitch count.
- Cream-and-green stripes: swap to cream every few rows on the increase section. Carry the unused color up the side and the seam hides the floats.
- Bead garland: sew tiny beads in a diagonal line across the front panel before you join the layers, knotting on the inside so nothing pulls through.
- Cinnamon-stick trunk: skip the crochet trunk and sew a short cinnamon stick to the bottom instead for a warm scent and a rustic finish.
- Hidden cinnamon sachet: tuck a small sachet in with the fiberfill so the tree releases a little scent each time it is handled.
Troubleshooting Curled Panels and Lumpy Trees
Almost every problem with this pattern comes from tension or stitch count, and both are easy to correct on the next tree.
- Curling panels: usually tight tension or a missed increase row. Count stitches at the end of each row and go up half a hook size if the fabric feels stiff.
- Dropped edge stitches: the first and last stitch of a row are the ones that vanish. Mark the first stitch of every row so you can see where the next increase belongs.
- Lumpy stuffing: tease the fiberfill into loose wisps and use less than you think. About 3 g per tree is plenty.
- Trees that come out different sizes: that is a stitch-count difference, not a yarn problem. Compare row counts side by side and keep the same hook for the set.
Care and Gifting: Wash Cool, Dry Flat, Tie It On
Cotton wears well, but these ornaments are small and lightly stuffed, so treat them gently. Hand wash in cool water with a drop of mild soap, press the water out in a towel instead of wringing, and dry flat so the shape stays true. Store them in a small box rather than a crowded bin.
For gifting, add a handwritten tag through the twine loop, or use the tree as a napkin tie at the table. A set of three in alternating green and cream makes a tidy host gift.
Your Free Printable
The free PDF is two pages. Page 1 is What You’ll Need: a checklist of 11 yarn, stuffing, topper and tool items for a set of 3 ornaments. Page 2 is Step by Step: 8 short checklist steps from the first chain to blocking and finishing the set.
Start with one tree, and do not worry if the first panel curls a little before blocking; a light mist and an hour flat on the mat settles it. By the third tree you will have the rhythm and a small stack of handmade ornaments for the tree, the gift wrap or a neighbor who could use some December cheer.