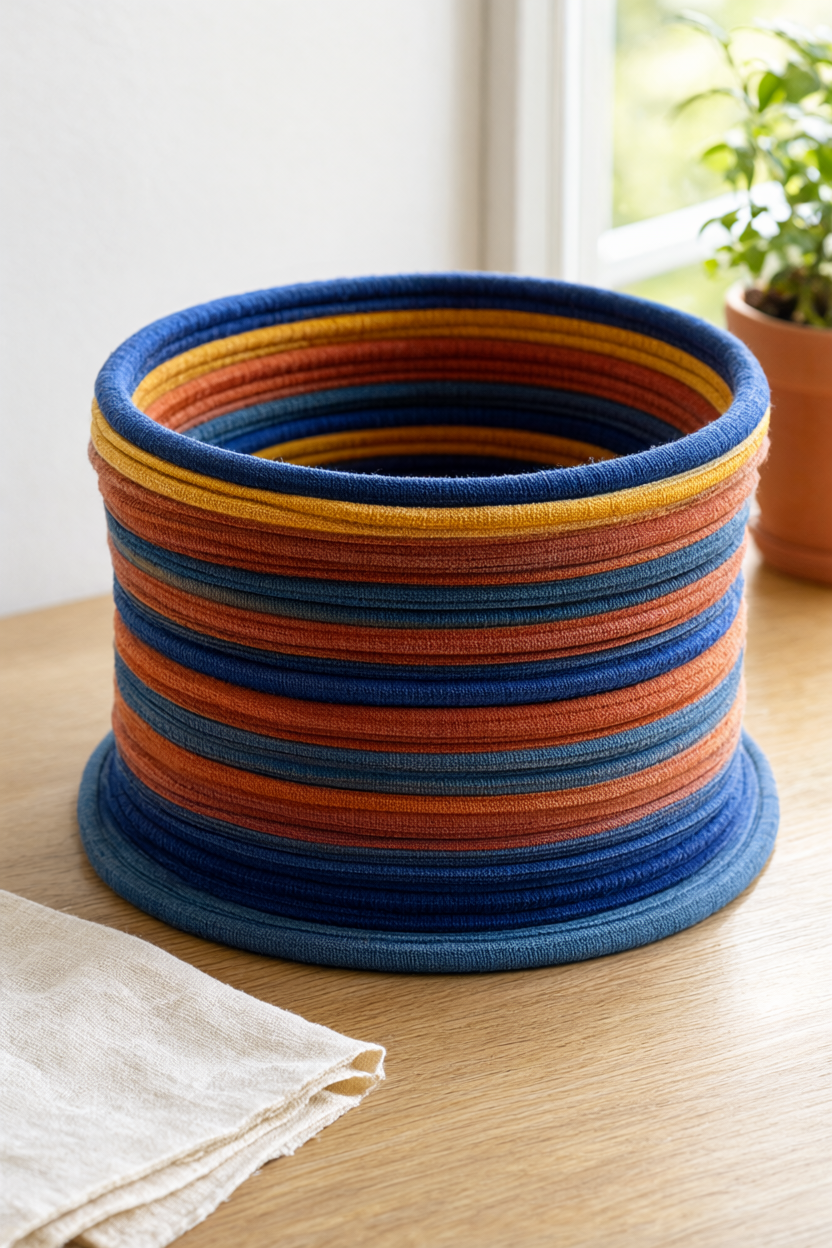
A coil of cotton clothesline and three tired T-shirts become a 9-inch basket that looks shop-bought, and there is no sewing machine in sight. The wrapping is the whole trick: 1-inch jersey strips spiral around the rope, and small dots of hot glue hold each coil in place. Budget 1.5 to 2 hours of hands-on time, and grab the free printable supply list below so nothing is missing when you sit down.
At a Glance
- Difficulty: Beginner. If you can wrap a gift and squeeze a glue gun, you can make this.
- Hands-on time: About 1.5 to 2 hours for a 9-inch basket, including cutting the strips.
- Drying or curing: None. The glue sets as it cools, so give it 10 minutes before filling.
- Cost: About $10 to $14 for new supplies, since the T-shirts and tools are usually already at home.
What You’ll Need
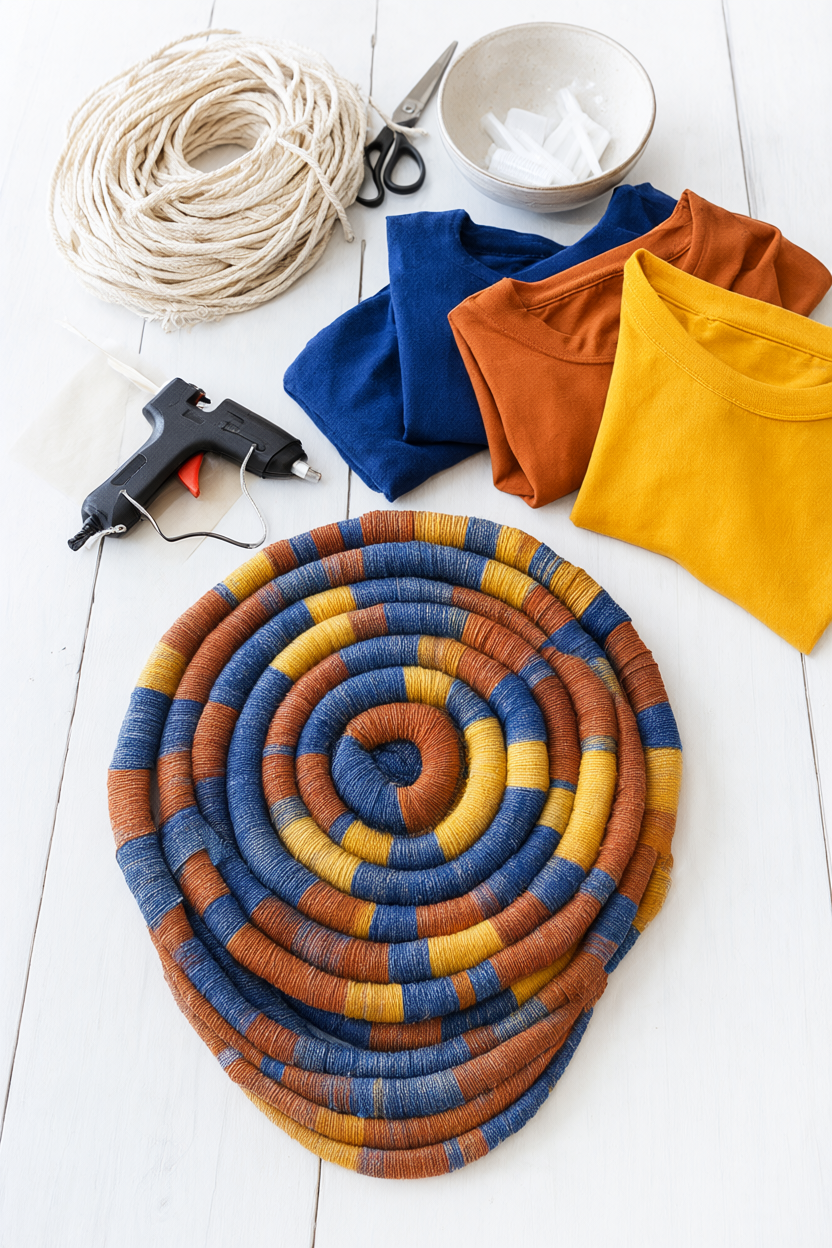
- 50 ft of 1/4-inch cotton clothesline
- 3 old cotton T-shirts in indigo, rust and mustard
- A hot glue gun with 8 to 10 mini glue sticks
- Fabric scissors
- Parchment paper
- A 7 to 8 inch straight-sided bowl or jar to use as a mold
- Binder clips or clothespins (optional)
- A lighter for sealing fabric ends (optional)
- Tweezers for glue strings (optional)
- A damp cloth for glue drips
Step-by-Step Instructions
Work at a table you can cover with parchment, and keep the glue gun on its stand between wraps. The basket grows from the middle out, so the first ten minutes set the shape for everything after.
- Cut the shirts. Lay one flat and cut straight across the body just under the sleeves. Cut the tube open along a side seam so it lies flat, then cut strips about 1 inch wide. Stretch each strip between both hands until the raw edges curl in and it turns into a soft cord. Aim for 15 to 20 strips from each shirt, keeping the indigo, rust and mustard in separate piles.
- Start wrapping. Heat the glue gun for 5 minutes. Squeeze a dot of glue on the end of the clothesline and press the end of a strip onto it. Wrap at a 45-degree angle, overlapping about a third each turn so no cream rope peeks through. When a strip runs out, glue the end flat and start the next strip in the same colour.
- Make the base. Wrap the first 3 to 4 feet of clothesline, then lay it on parchment paper and coil it into a tight flat spiral with the rows touching. Add a dot of glue every 2 inches between the coils and press the rope down for a few seconds. Turn the work a quarter turn as you go so the circle stays round.
- Build the width. Keep wrapping fresh rope in 3 to 4 foot sections, so the glue is still tacky when it meets the basket. Coil outward until the base measures about 8 inches across. Press every new row against the last one and check the circle from above every few inches, because this is where a basket quietly turns oval.
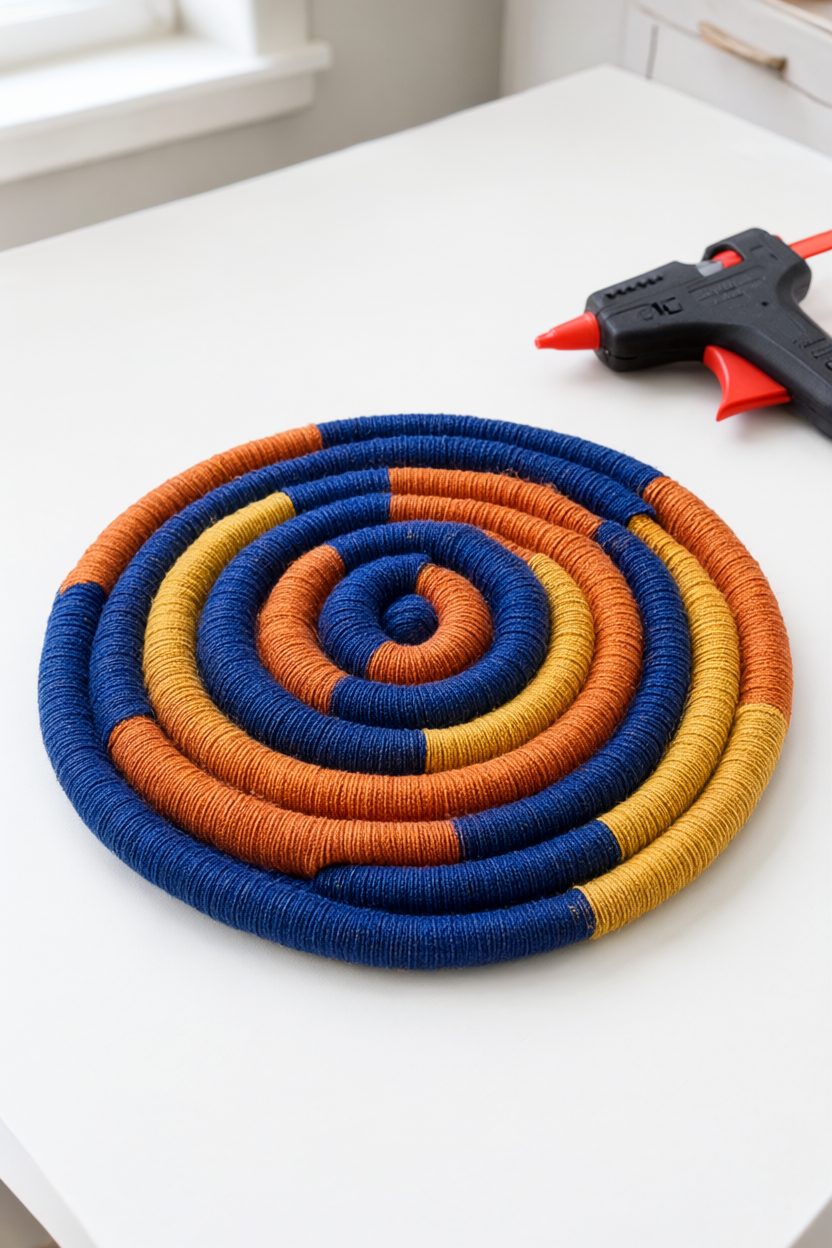
- Raise the sides. Set the straight-sided bowl upside down on the base, centred. Glue the rope to the outer edge of the base, then coil it up around the outside of the bowl, pressing each row snug against the one below. Turn the bowl as you work, keep the rim level, and stop at about 3 inches tall. If a row slides, clip it to the bowl with a binder clip or clothespin until the glue sets.
- Finish the rim. Slide the bowl out. Glue the last end down on the inside and tuck it under the row above so it disappears. Trim loose threads with sharp scissors, and if an end is fraying badly, run a lighter flame quickly along the cut edge.
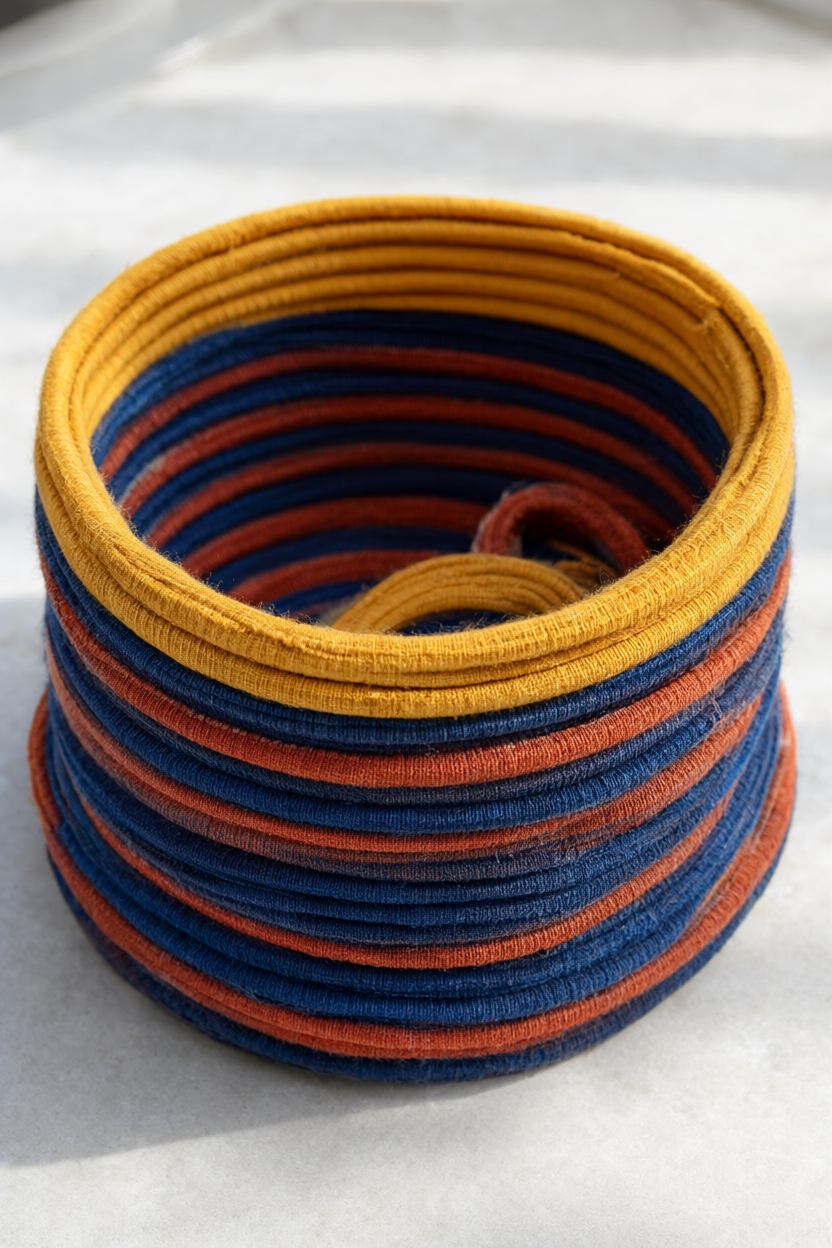
- Clean up and cool. Pick off stray glue strings with tweezers, and wipe any glue drips off the parchment with the damp cloth while they are still soft. While the glue is still warm, press the rim flat with your fingertips, being careful because fresh glue can be hot. Let the basket cool for 10 minutes before you use it or fill it.
Safety notes: the glue gun tip and fresh glue reach temperatures that will blister skin, so keep fingers behind the nozzle and never touch a glue line for at least a minute. Work in a ventilated room, and keep the gun away from the parchment edge and anything flammable. Cut strips and trim ends with sharp scissors, keeping the blade angled away from your fingers.
Make It Your Own
Colour. Stay in one family for a calm Scandi look: cream, oat and camel strips read like a quiet linen basket. Bright jersey strips, mismatched on purpose, make a cheerful basket for a kid’s room or a craft shelf.
Shape. Stop coiling at 2 inches for a low tray that holds keys and mail by the door. Keep going taller for a plant-pot cover, or shrink the whole thing to 5 inches across for a pen cup on a desk.
Gift. Glue a 6-inch cotton webbing loop inside two opposite sides as a handle, let it set, then fill the basket with a candle, a tea towel and chocolate for a housewarming present that looks far more expensive than it was.
Beginner Mistakes (and Easy Fixes)
- Wrapping too loosely so bare rope shows. Overlap each wrap by about a third and pull the strip snug against the rope, gluing the end of every strip before you start the next one.
- Building an oval or gappy base. Press each new row tight against the last and hold for 10 seconds. Turn the work a quarter turn every few inches and look straight down to check the circle.
- Using a continuous bead of glue that squishes out in lumps. Use small dots every 2 inches, press the rope down, and pick off cooled strings with tweezers instead of smearing them.
Your Free Printable
The PDF is two pages. Page 1 is a “What You’ll Need” checklist with all 10 materials and tools, quantities included. Page 2 is a “Step by Step” checklist with 10 short actions, from cutting the strips to pressing the rim.
Questions You Might Have
Will the basket hold its shape?
Yes, once the glue cools. It is firm enough for keys, mail, remotes or a small plant, but the sides flex a little under hard pressure, so keep heavy loads centred.
Can I wash it?
Spot clean only with a damp cloth and mild soap. Do not soak it or put it in a machine, because water can loosen the hot glue and bleed the fabric dyes.
How much clothesline do I need for a bigger basket?
About 90 ft for a 12-inch basket, plus roughly twice the wrapping time. Keep the 1-inch strips and add the extra height in rows so the sides stay even.
Save This for Later
Pin this basket tutorial now, so the next rainy afternoon has a project waiting.
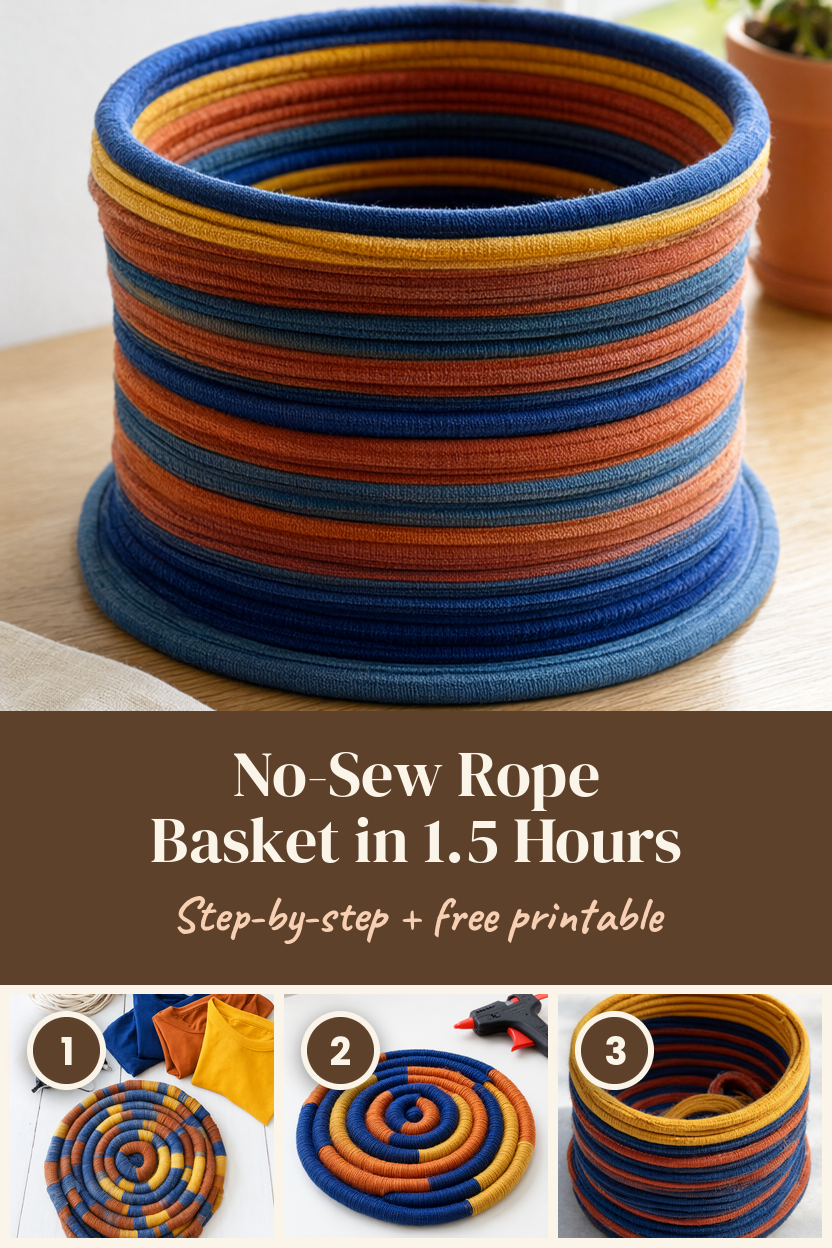
The best part is how forgiving it is: a wobbly row disappears once the next one is glued against it, and the fabric does the decorating for you. Start with a 9-inch basket, then use up the rest of the shirts on a matching tray.