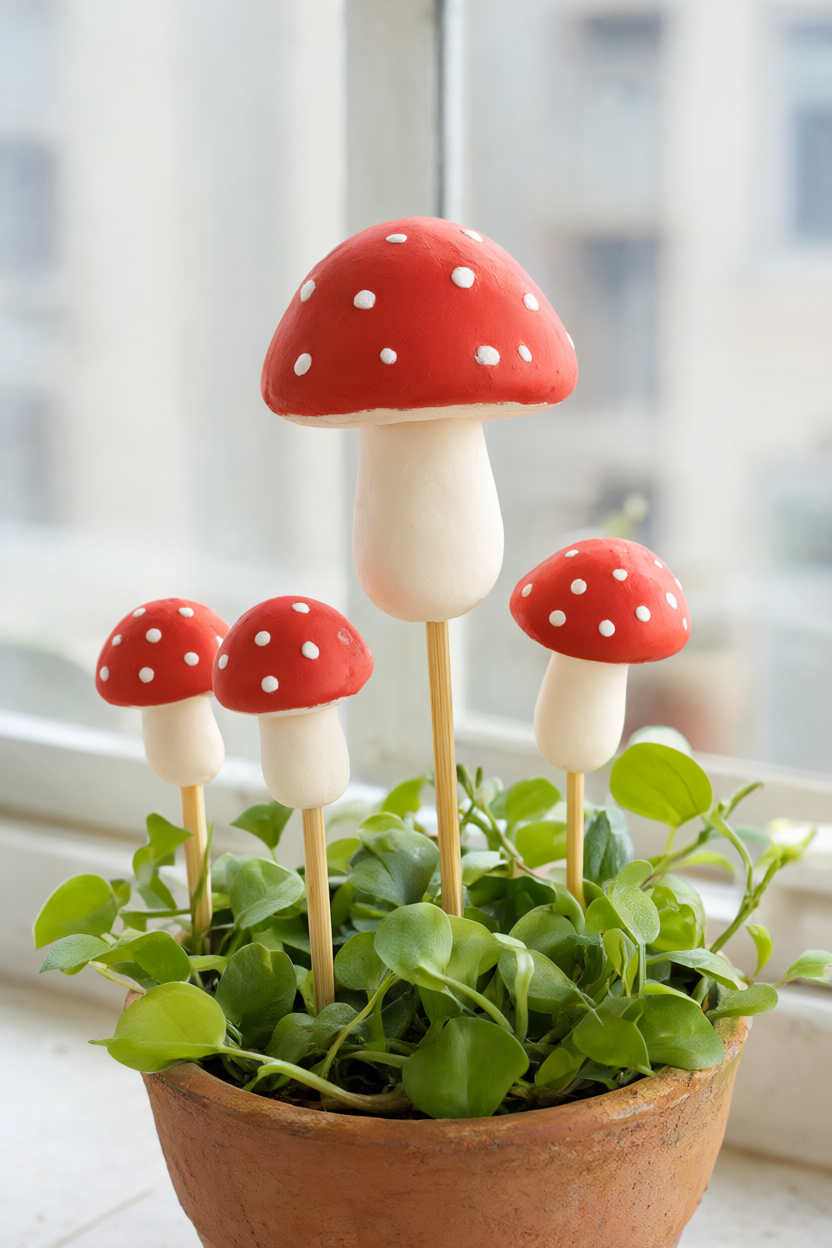
These clay mushroom stakes turn a lump of white air-dry clay into a little cluster of tomato-red caps dotted with white, ready to tuck into a pot of trailing leaves. There is no kiln and no wheel involved — the whole set is shaped by hand, dried on wax paper and glued onto bamboo skewers. Hands-on time is about 1.5 hours plus 24-48 hours of drying, and a free printable supply list is included so you can shop once and get started.
At a Glance
- Difficulty: Beginner — if you can roll a log and press a dome, you are ready.
- Hands-on time: About 1.5 hours, most of it shaping and painting.
- Drying and curing time: 24-48 hours for the clay to dry, then about 30 minutes for the sealer.
- Cost: About $18-24 buying clay, paint, brushes and sealer new, or about $10-13 for clay and skewers if you already own acrylic paint, a brush and a glue gun.
What You’ll Need
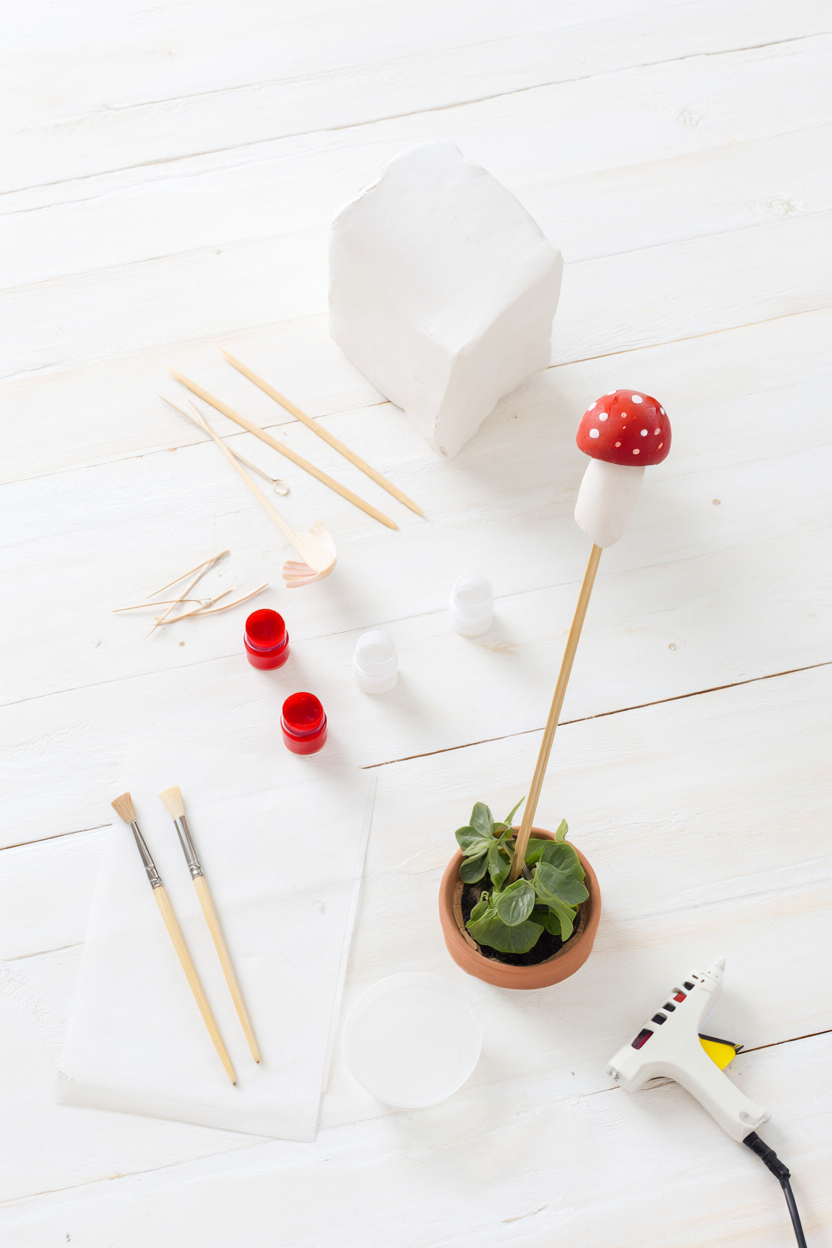
A 1 kg block of air-dry clay is more than enough, because one block makes the whole set of six to eight mushrooms. Keep any clay you are not using wrapped so it does not dry out, and set out the rest of the list before you start shaping.
- Air-dry clay, 1 kg (2.2 lb) — makes 6-8 mushrooms
- Bamboo skewers, 12 in — 6-8
- Acrylic paint: tomato red and warm white
- 1 extra paint colour (mustard or sage, optional)
- Flat 1/2 in brush and a small round brush
- Toothpicks and a pencil (for dots)
- Small bowl of water
- Wax paper or parchment paper
- Craft knife or plastic knife (adult use)
- Hot glue gun and 1 glue stick (or strong craft glue)
- Matte acrylic varnish or decoupage medium
- Fine sandpaper, 220 grit (optional)
- Small terracotta pots for display (optional)
Step-by-Step Instructions
Work on wax paper so nothing sticks, and keep a damp fingertip handy, because a little water is what makes the seams vanish. Each step below is written so you can follow it without a photo beside you.
- Cut the clay into 6-8 walnut-size pieces and keep the spare wrapped so it stays soft. Set aside one piece for the stem and one for the cap of each mushroom.
- Roll one piece between your palms into a 3-inch log for the stem, a little fatter at the top. Rub the bottom tip on the paper to flatten it so the mushroom stands level.
- Roll another piece into a golf-ball-size ball and press it into a dome about 2.5 inches wide and 1 inch tall for the cap, flattening the underside slightly.
- Score the top of the stem and the center of the cap underside with a toothpick, dab both with water, and press them together. Smooth the seam with a wet fingertip until it disappears.
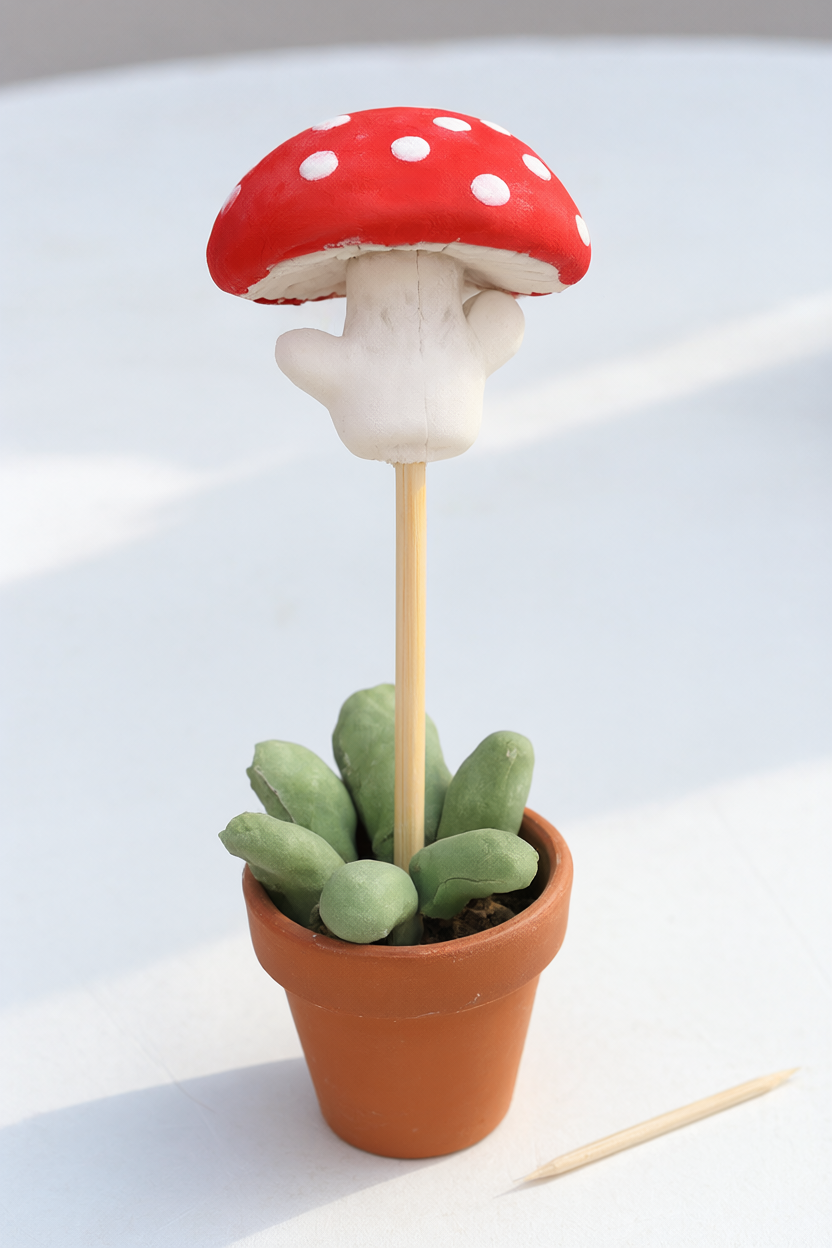
- Push a bamboo skewer about 1.5 inches into the base of the stem to open a stick hole, then twist it out. Smooth any cracks with a wet finger.
- Set the mushrooms on wax paper and let them dry 24-48 hours, until hard and lighter in color; turn them once after 12 hours so they dry evenly.
- Lightly sand any rough spots, then paint the caps tomato red and the stems warm white; let dry 20-30 minutes.
- Dip the end of a paintbrush handle or a pencil eraser in white paint and dot the caps; let dry completely.
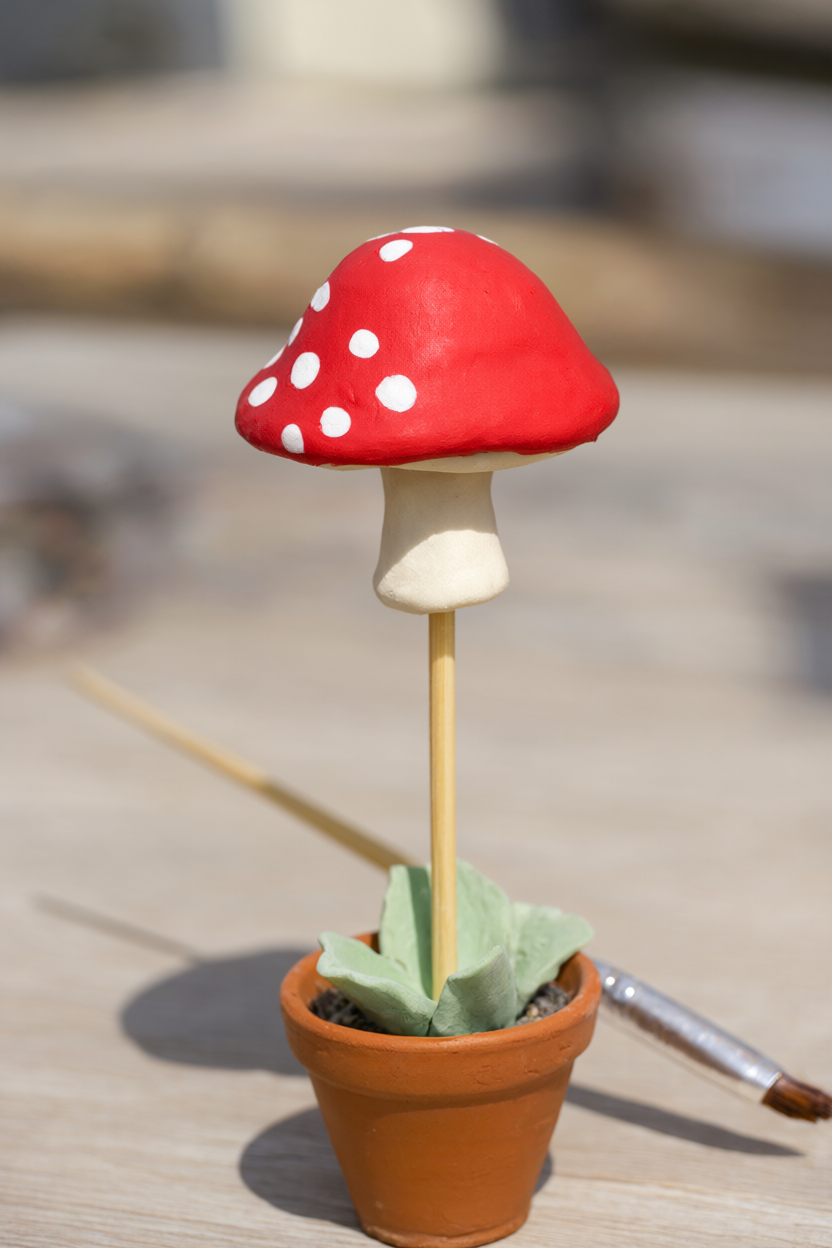
- Brush on a thin coat of matte varnish or decoupage medium to protect them, and let it dry about 30 minutes. Work in a ventilated room if you use a spray sealer.
- Squeeze hot glue into the stick hole and push a skewer in, then hold for 30 seconds until set; keep fingers clear of the hot nozzle and let an adult handle the glue gun. Repeat with the rest of the set.
- Push the stakes into pots or a garden bed, grouping 2-3 mushrooms at different heights for a natural cluster.
Make It Your Own
Go woodland: paint caps ochre and umber with cream stems for a foraged porcini look instead of storybook red. Deep earth tones settle into a herb pot beautifully and hide a little garden dirt.
Go fairy-garden: use pastel lilac, mint and blush caps with tiny gold dots for a softer, kid-friendly set. The pale caps look charming tucked among small succulents and pebbles.
Go fridge magnet: skip the skewer, glue a small magnet to the back after drying, and gift a set on a card. They hold drawings and shopping lists just as happily as they sit in a pot.
Beginner Mistakes (and Easy Fixes)
- The seam between cap and stem cracks as it dries. Score both surfaces, join them with water, smooth the seam, and dry the mushrooms away from sun or heat.
- The mushroom wobbles or slides off the stick. Make the hole with the skewer while the clay is wet, dry it fully, then glue the skewer in afterward.
- Paint flakes and the clay softens outdoors. Sealer makes them water-resistant, not waterproof, so use two thin coats and keep them in pots or a sheltered spot, bringing them in over winter.
Your Free Printable
The printable is two pages, made to be scribbled on. Page 1 is a “What You’ll Need” checklist with 13 materials and tools, including quantities. Page 2 is a “Step by Step” checklist with 11 short stages from shaping to staking.
Questions You Might Have
Can I use polymer clay instead?
Yes, but it must be oven-baked (about 275°F/135°C for 15-30 minutes per package directions) and it is not weatherproof; air-dry clay is the cheaper no-oven option for garden stakes.
How long does air-dry clay take to dry?
This size takes 24-48 hours; thicker caps can take up to 72 hours, and they are ready when hard and pale.
Will they survive rain?
Sealed stakes handle damp soil and light rain in a pot, but they are not fully waterproof, so bring them inside for heavy rain and winter.
Save This for Later
Pin this project now so the supply list and the step photos are waiting when you have a free afternoon.
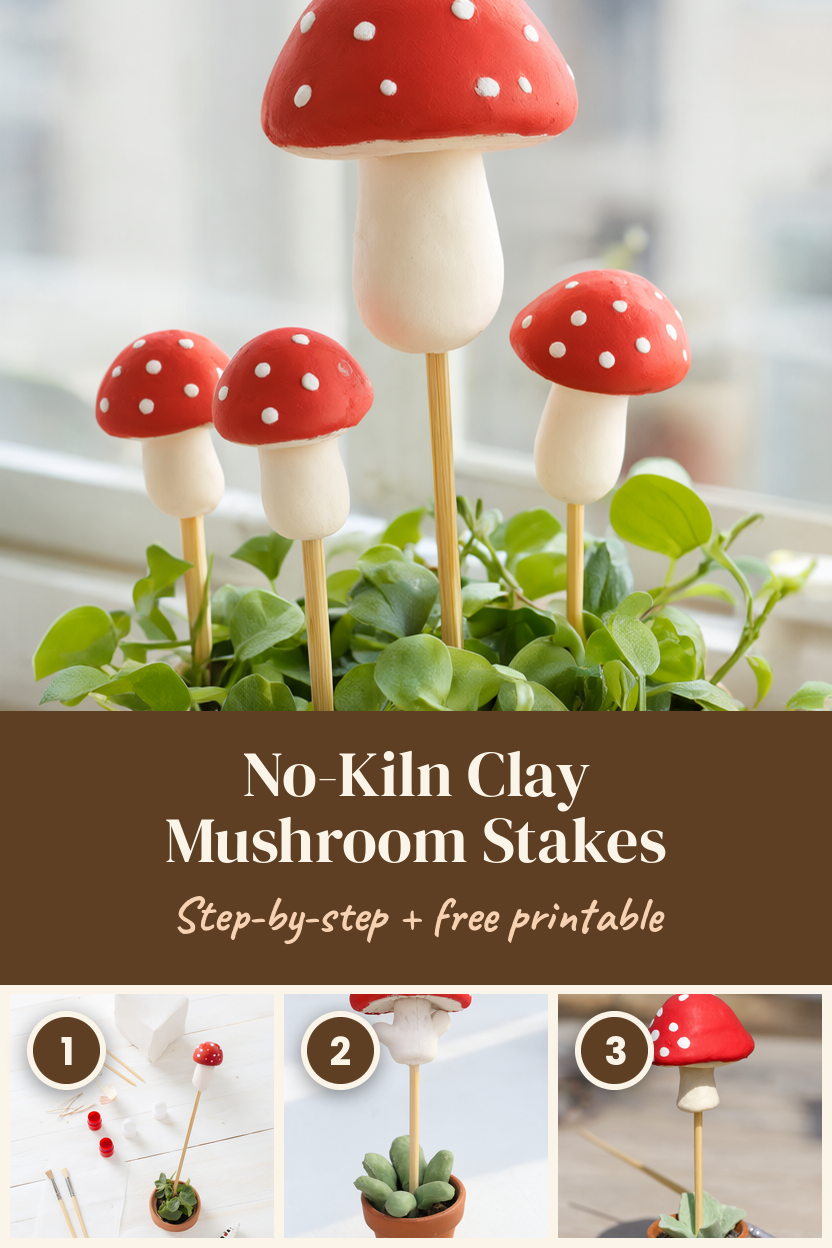
These stakes are small enough to finish in one sitting and sturdy enough to earn a permanent spot in your pots. Start with three mushrooms at different heights, because that little cluster is what makes a windowsill look collected instead of crowded.