Planning a Halloween party is exciting, but the details pile up fast: the guest list, the menu, the costumes, the candy. This free Halloween party checklist keeps all of it in one place, from four weeks out to the last thank-you note, so you can enjoy the party instead of worrying about what you forgot.
What’s inside the printable
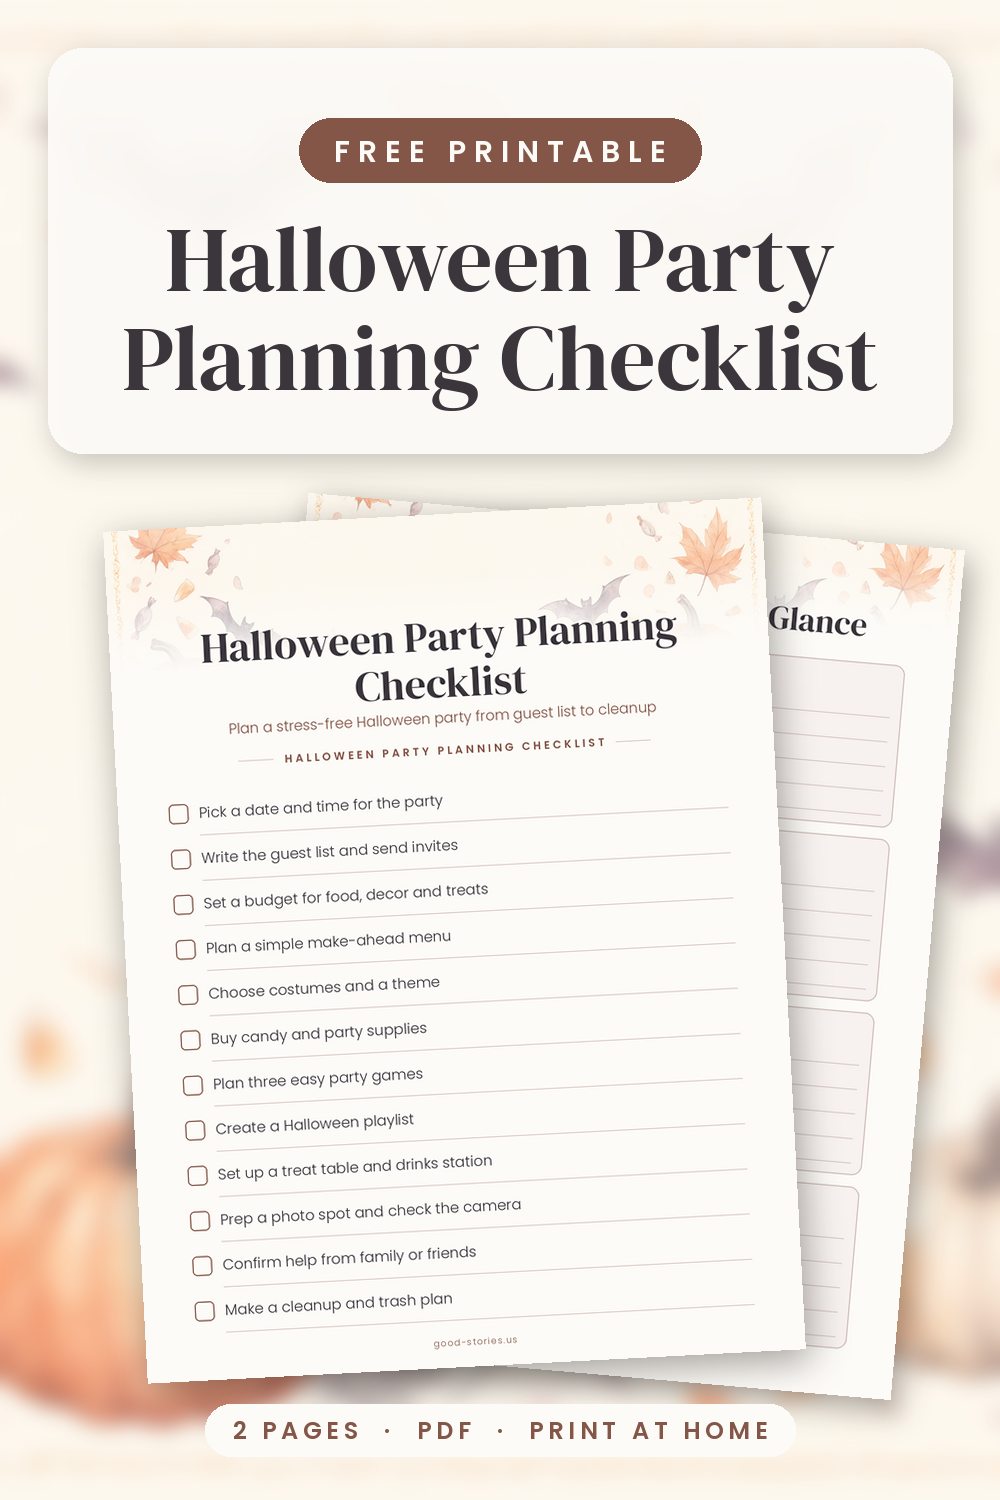
Your printable is two pages, and both are made to be written on.
- Page 1: the Halloween Party Planning Checklist, a twelve-row checkbox list covering your date and time, guest list and invites, budget, menu, costumes and theme, candy and supplies, three easy games, a music playlist, the treat table and drinks station, a photo spot, help from family or friends, and a cleanup plan.
- Page 2: the Halloween Party Plan at a Glance, eight fill-in boxes with writing lines for date and time, guests, menu and drinks, treats and candy, decorations, games and activities, costumes and theme, and your playlist.
Why a checklist works: a simple party timeline
A party feels overwhelming when everything lives in your head. Written down, those same tasks become a short list you can chip away at. Here is a timeline that fits most Halloween parties.
- Four to six weeks out: pick a date and time, write the guest list, set a budget, and choose a theme.
- Two weeks out: send invites, plan the menu and drinks, buy non-perishable supplies and candy, decide on three games, and build a playlist.
- Party week: shop for fresh food, make anything that freezes well, decorate what you can, and confirm your helpers.
- The day of: set up, serve food, and enjoy the party.
Guests and invitations: how many and when
A comfortable party starts with a number you can actually host, so check your seating and table space before you invite anyone. Send invitations three to four weeks ahead, especially for a late-October weekend, and ask for RSVPs a week before so you can shop with a real headcount.
Include the date, start and end time, the address, whether costumes are encouraged, and whether the party is for adults, kids or both. Keep the guest list in the boxes on page 2 and update it as replies arrive.
Food, drinks and treats: a make-ahead menu
Choose a menu you can mostly prepare ahead. Three or four appetizers, one or two sweets and one or two drinks are plenty. Chili, dips, a cheese board, meatballs and cupcakes all hold well and can be made the day before.
Think about allergens before the party. Nuts, dairy, gluten and eggs are common ones, so keep at least one clearly labeled option free of each. A small card in front of every dish with its main ingredients saves a lot of questions.
For drinks, a bowl of punch, hot or cold apple cider and a water station cover most guests. Set aside a bowl of candy for trick-or-treaters and keep it out of reach before the party.
Decorations, costumes and games: budget-friendly ideas
Decorations set the mood without costing much. Start with what you own, then add pumpkins, battery candles, string lights and a door banner. Group them at the entry, the food table and the treat table instead of spreading them thin around the house.
A costume theme is optional but helps guests feel included. Classic monsters, a decade, witches and wizards, or simply wear orange and black all work; just mention it on the invitation.
For games, pick three low-prep options: mummy wrapping with toilet paper, pumpkin decorating with paint markers, Halloween trivia, or a photo spot with props. Keep small prizes like candy or stickers on hand.
Day-of and after: setup order and cleanup
Start setting up about two hours before guests arrive. Clear and wipe the tables, then set the food station, drinks station and treat table, then add decorations, music and lighting. If you welcome trick-or-treaters, porch lights go on at dusk.
Cleanup is easier with a plan. Put out trash and recycling bins before the party, soak dishes as you go, and refrigerate leftovers within two hours. Within a week, send thank-you notes, even a short text, especially to anyone who brought food or helped.
How to use your printable
Print both pages on US Letter paper at 100%, without scaling. On A4 paper, choose “Fit to page” in your print settings so nothing is cut off. Page 2 is your planning page and page 1 is your working checklist; keep it on the fridge, a clipboard or in your planner.
Take page 1 to the store so you buy everything in one trip. Use a pencil if you want to reuse the sheet next year, or laminate it and write with a dry-erase marker. Hosting with someone? Print a second copy so you both have one.
That’s it: a date, a guest count, a menu, a few decorations and three games, all tracked in one place. Download the free printable and start checking things off.