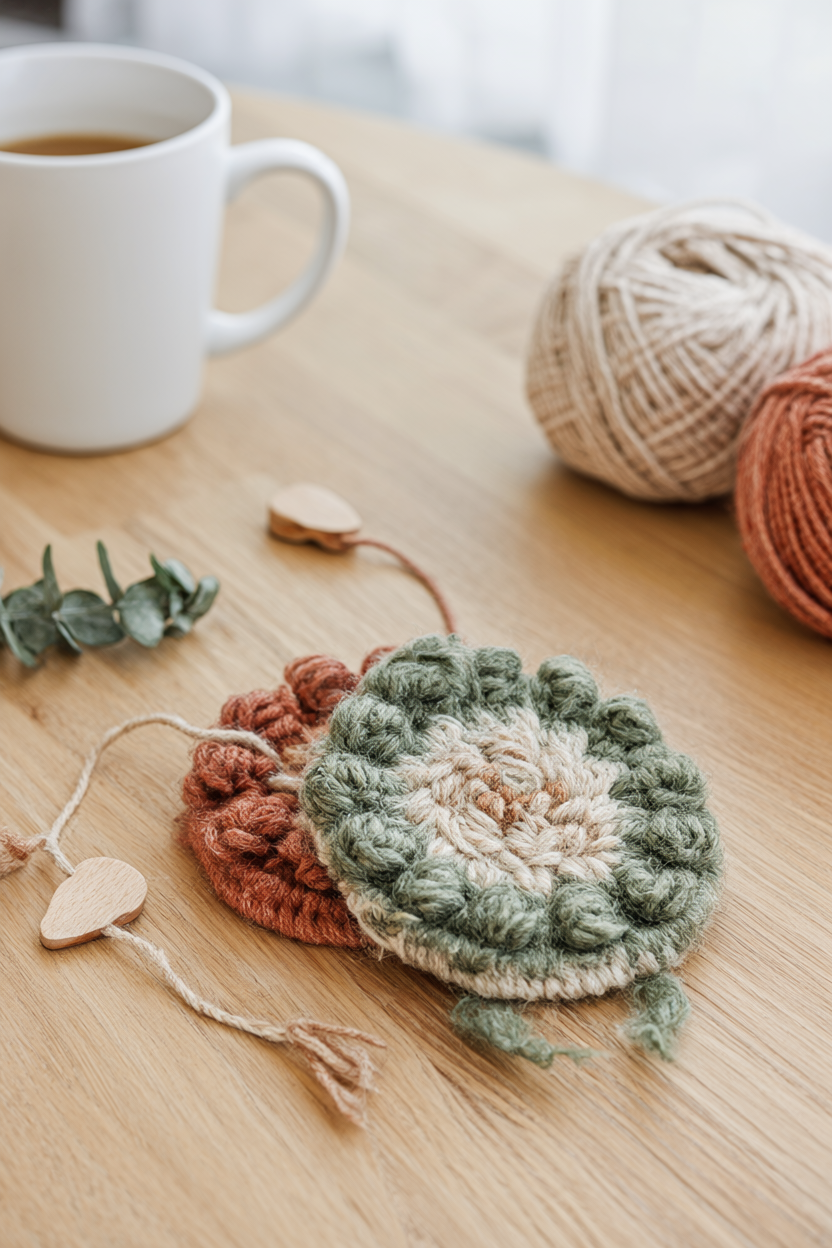
Punch needle coasters are the rare craft that looks handmade in the best way and still comes together in an afternoon. In about two hours of hands-on work, plus a night of waiting for glue to dry, you can punch a pair of thick, woolly mug rugs that soak up condensation and make a plain mug look intentional. A free printable supply list is included at the end.
At a Glance
- Difficulty: Easy — beginners, after a 10-minute practice patch
- Hands-on time: About 2 hours for a set of 2 coasters (45-60 minutes each)
- Drying time: 24 hours for the glue to cure, plus 1 hour under a heavy book
- Cost level: Low to moderate — one tool, half a yard of cloth and two skeins of yarn
What You’ll Need
- 1/2 yd monk’s cloth (enough for 2-3 coasters plus practice)
- 2 skeins worsted-weight cotton yarn, about 95 yds each (one main color, one accent)
- Punch needle tool with a 9 mm (3/8 in) needle, adjustable depth
- 6-inch non-slip embroidery hoop, or an 8-inch punch needle frame
- Water-soluble fabric marker
- 5-inch round template or compass
- Ruler
- Small sharp embroidery scissors
- One 9 x 12 in felt sheet (wool blend, about 1 mm thick)
- Fabric glue (washable, flexible when dry)
- Heavy book for pressing
- Tweezers (optional, for stray loops)
Step-by-Step Instructions
The glue and drying stages are what let a coaster survive daily use, so do not rush them.
- Stretch the monk’s cloth in the hoop so it feels drum-tight across the whole circle; if you use a frame, lace or staple it evenly. Loose fabric is the main reason loops pull out later.
- Trace a 4 1/2-inch circle in the center with the water-soluble marker, using a ruler and compass or a bowl. The finished coaster is about 5 inches across with the border; leave at least 2 inches of cloth around it.
- Thread the punch needle with a 24-inch length of yarn following the tool’s own instructions, leaving a short tail on the back. Use one strand only — doubling the yarn jams most tools.
- Set the needle depth so the loops sit about 1/4 inch tall; on an adjustable tool this is usually the middle setting. Test, then adjust before you start the coaster.
- Practice on a corner of the cloth, punching from the back so the loops build on the front: punch a short row, turn, and punch back with one thread space between rows. Keep the tool’s bevel facing the direction you move.
- Punch around the circle outline first, then fill inward in rows or a slow spiral, keeping rows about 1/8 inch apart so the loops pack tightly. Lift the needle straight up and slide it along the surface — never pull it out of the fabric more than the loop height, or the loops shorten.
- Turn the work over and look at the looped front for bald patches or gaps; fill them by punching into the same holes rather than making new ones.
- Clip the yarn 2 inches from the last stitch. Spread a thin, even layer of fabric glue over the entire flat back with the edge of the ruler (not your fingers) to lock every loop.
- Let the coaster dry flat, glue side up, for a full 24 hours. The glue must cure completely before cutting, or the edge will fray and the loops will shed.
- Remove it from the hoop. Keeping fingers clear of the scissors, cut out the coaster 1/4 inch outside the punched circle, then run a thin line of glue around the cut edge and let it dry for 10 minutes to seal the monk’s cloth.
- Cut a felt circle the same size, spread glue over the felt, press it onto the glued back, and weight it with the heavy book for 1 hour. Trim any stray loops with the tweezers and scissors, then fluff the pile with your fingertips.
Why Punch Needle Coasters Are Worth Trying
Punch needle is usually sold as rug making, which makes it sound like a commitment. A coaster is the opposite: a 4 1/2 inch circle is small enough to finish in one sitting, and the supply list is short and cheap. The tool does the hard part — you push yarn through cloth and the loops stack up on the back — so there is no stitch counting and very little to memorize. It is also a forgiving way to use leftover worsted cotton, because one coaster needs only a few yards of each color. The result is genuinely useful: dense looped pile cushions a hot mug, absorbs condensation and gives a side table that soft texture people save on Pinterest.
Design Variations: Color Blocking, Stripes and Monograms
Two-tone color blocking is the easiest upgrade: punch the outer third of the circle in one color and the center in another, changing yarn at the end of a row so the switch hides on the back. Simple stripes work the same way, and three or four wide bands read clearly in a small circle. A monogram or a daisy takes more planning, so sketch it with the water-soluble marker before you punch and keep the motif at least half an inch inside the outline. Oval mug rugs are just a wider circle: draw an oval template and fill it the same way. Yarn choice changes the look more than the pattern does. Acrylic gives a fluffier pile and a wider color range, while cotton holds crisp loops and spot cleans better.
Troubleshooting Loose Loops, Gaps and Torn Cloth
Loops pulling out is the most common failure, and it almost always comes back to fabric tension or needle depth. If the cloth was not drum-tight, the needle pushes the weave instead of opening it, and shallow loops have nothing to grip. Uneven pile usually means the depth dial moved or the tool was lifted higher than the loop height between punches; keep the collar resting on the fabric as you slide. Visible gaps come from rows spaced too far apart, about 1/8 inch is the working limit, and they can be filled by punching back into the same holes from the front. Yarn twisting or snapping points to a long tail, a rough needle eye, or pulling the tool sideways while it is still deep in the cloth. Cloth tearing at the hoop edge happens when the hoop is overtightened or the fabric is old; move the hoop inward and trim a fresh edge before a rip travels.
Care, Cleaning and Gifting a Handmade Coaster Set
Punch needle coasters are spot clean only. Blot spills with a damp cloth and a little mild soap, then dry flat, loop side up, away from radiators and direct sun, because heat softens the glue and flattens the pile. Keep them out of the washing machine and never wring them. A set of two tied with a mug and a kraft tag makes a practical housewarming, teacher or hostess gift. If you are giving them to someone who will really use them, write the spot-clean rule on the tag so the first spill does not end up in the laundry.
Your Free Printable
The printable is two pages. Page 1, What You’ll Need, is a 12-item checklist covering tool, cloth, yarn, hoop, marker, template, ruler, scissors, felt, glue, book and tweezers. Page 2, Step by Step, is 15 one-line actions from stretching the cloth through sealing the edge and pressing the felt backing.
Print it, tape it to the table and punch at your own pace — the coaster will still be there tomorrow.