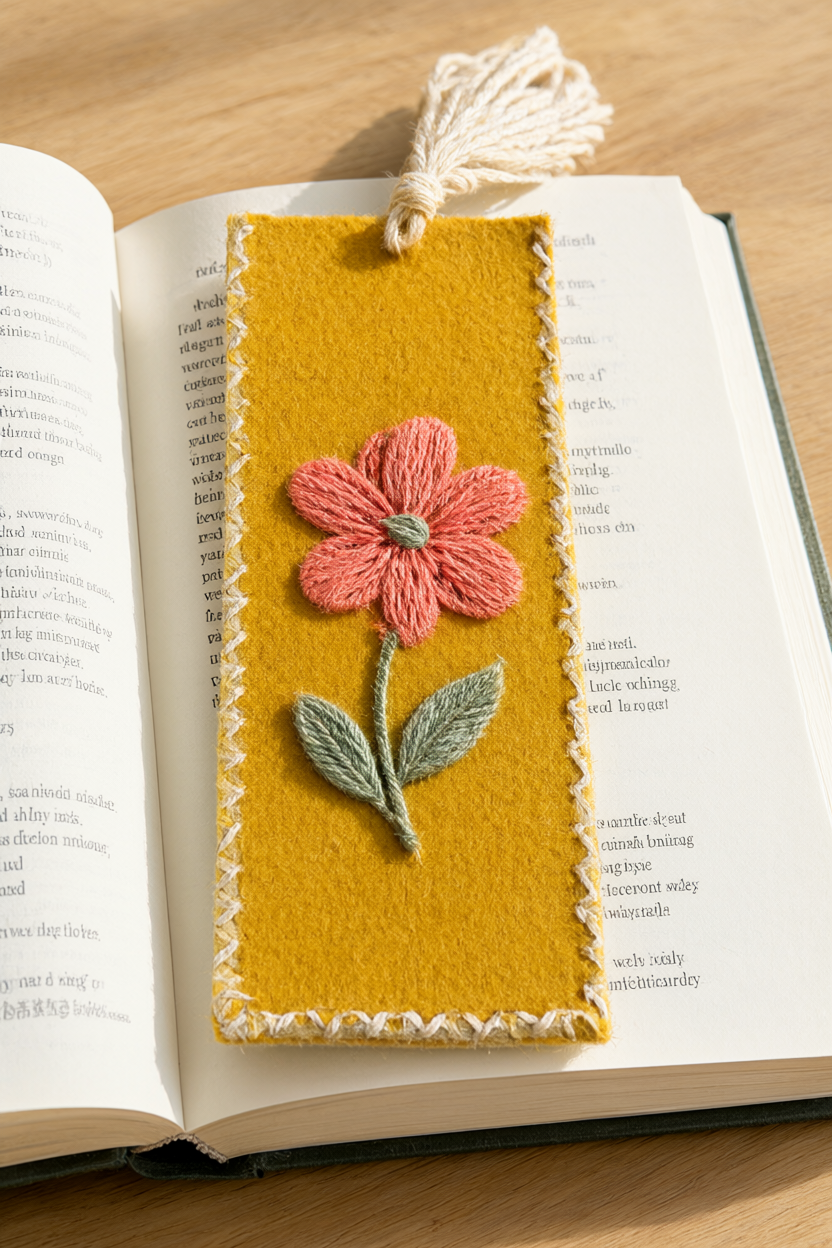
These embroidered felt bookmarks turn one square of mustard wool felt into something you will genuinely want to slide between your pages. The angle is beginner-friendly and giftable: a single coral wildflower made from five straight stitches, a French knot center, two sage leaves, and a cream blanket-stitched border that looks far more complicated than it is. Plan on about 45 minutes per bookmark, roughly two hours for a set of three, and grab the free printable supply list below before you go shopping.
At a Glance
- Difficulty: Beginner-friendly — four simple hand stitches, no hoop needed
- Hands-on time: about 45 minutes per bookmark, roughly 2 hours for a set of three
- Drying or curing time: none — just a quick press at the end
- Cost: about $8-10 when you buy everything new, and often less from felt scraps
What You’ll Need
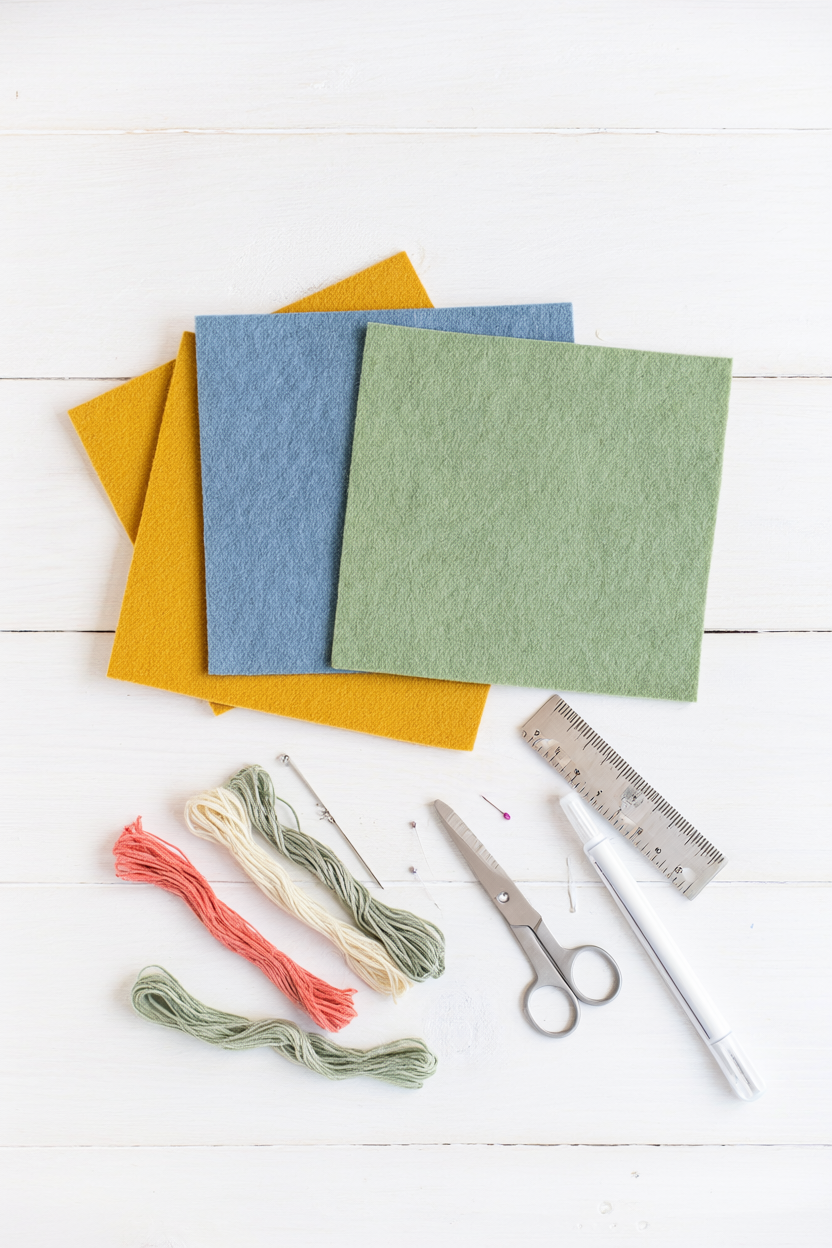
Everything on this list is easy to find at a craft store or already rattling around in a sewing drawer. The felt and floss are the only real shopping; the rest you probably own.
- Wool-blend felt, 9 x 12 in: 3 sheets (mustard, blue, sage)
- Embroidery floss: 6 skeins (2 each in coral, cream and sage)
- Embroidery needle, size 5-7
- Small sharp scissors
- Ruler
- Fine-tip fabric marker or tailor’s chalk
- Sewing pins or clips
- Iron and pressing cloth (optional)
- Card stock and a hole punch for gift tags — optional
Step-by-Step Instructions
The whole bookmark comes together with four basic stitches: straight stitch for the petals, backstitch and lazy daisy for the leaves, and blanket stitch around the edge. Read through once before you thread a needle, then settle in at a table with good light.
- Cut the felt. Cut two rectangles 2.25 by 7 inches for each bookmark, one for the front and one for the back. Stack the layers and cut both at once so the edges match, using long, full scissor strokes; short choppy snips are what give felt a wavy, ragged edge. Sharp small scissors keep the corners clean and your fingers safely behind the blade.
- Mark the design. With a fine-tip fabric marker or tailor’s chalk, lightly draw a five-petal wildflower about 1.5 inches below the top edge. Start with a small dot for the center, add five short lines for the petals, then a stem line and two small leaf shapes. Keep the lines faint, because the stitches will cover most of them.
- Stitch the petals. Split the floss to two strands, thread the needle and knot the end. Bring the needle up at the center dot and work five straight stitches out and back from that dot, each petal about 3/8 inch long. Keep the tension relaxed so the felt stays flat; a blunt tapestry needle is the safer choice if a young crafter is helping.
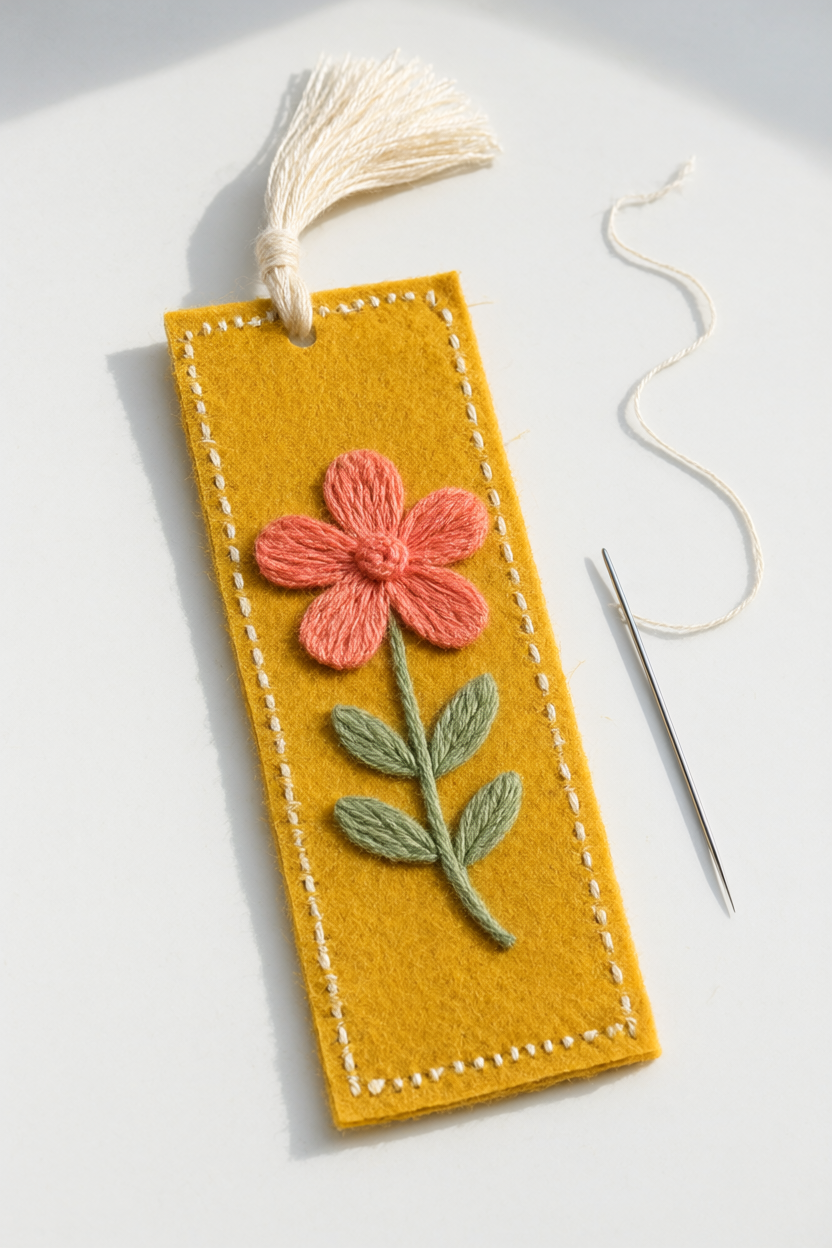
- Finish the motif. Make a French knot in the middle by wrapping the floss twice around the needle, holding the wrap against the felt, and pulling the needle through. Backstitch the stem, then work two lazy-daisy leaves, each loop anchored with a tiny stitch at its tip, and fasten off underneath the front layer.
- Join the layers. Pin the embroidered front to the back piece with the edges aligned. Blanket stitch all the way around by bringing the needle up 1/8 inch from the edge, passing the thread under the needle and pulling it snug, with stitches 1/8 inch apart. Even spacing is what gives the border that crisp, shop-bought look.
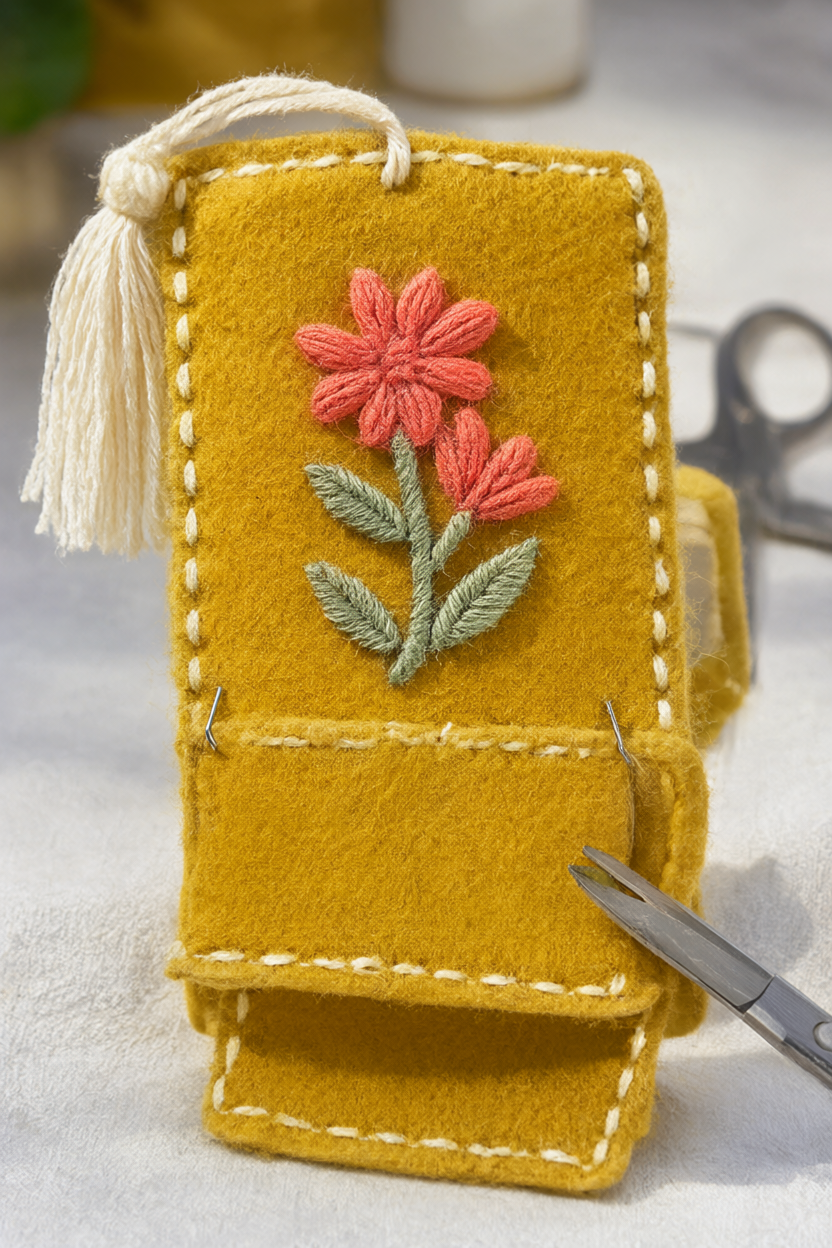
- Add the tassel. Cut ten 5-inch strands of cream floss and fold them in half. Tie a 6-inch length around the fold to form a hanging loop, wrap the tassel neck three times and knot it firmly. Sew the loop into the top corner with two hidden stitches, catching only the back layer so the front stays tidy.
- Finish and repeat. Press the bookmark face down under a pressing cloth on low heat, because a hot iron straight on the felt flattens its texture, and snip any stray threads. Make the rest of the set the same way, changing the felt color for each book.
Make It Your Own
Jewel tones. Swap the coral and sage for emerald, fuchsia and mustard floss on charcoal felt, and the same flower suddenly reads bold and modern. It photographs beautifully against a dark table, and the mustard-yellow bookmark in the set keeps it from feeling too serious.
Shape. Round the top corners with a coin as a template for a soft, classic finish, or taper the top into a pencil point for a school-age gift. Both take about two extra minutes and a steady hand with the scissors.
Personalize. Backstitch a name or initials along the bottom in a contrasting floss, or turn the felt scraps into a matching keychain charm. A tiny wildflower on the charm ties the whole gift together. To give the bookmark as a gift, punch a hole in a small card-stock tag, thread it with floss and tie it on.
Beginner Mistakes (and Easy Fixes)
- Pulling every stitch drum-tight, which puckers the felt — keep the tension relaxed so stitches sit on the surface, not sunk into it.
- Using all six strands of floss, which is bulky and hard to pull through felt — split the floss to two or three strands.
- Cutting felt with dull or large scissors, which gives ragged, wavy edges — use small sharp scissors and cut both layers in one clean pass.
Your Free Printable
The printable is two pages, sized for letter paper. Page 1 is What You’ll Need — a 9-item materials and tools checklist for a set of three felt bookmarks. Page 2 is Step by Step — a 7-step checklist from cutting the felt to pressing the finished bookmark. Keep it on the table while you work and tick each stage as you go.
Questions You Might Have
Do I need an embroidery hoop?
No. Felt is stiff enough to hold its shape, so keep it flat on the table and avoid tugging the stitches tight. A hoop can actually stretch the felt and leave a mark where the ring sat.
Will the felt edges fray?
No. Felt does not fray, and the blanket stitch covers the raw edge and gives the bookmark its crisp border. That is also why there is no hemming or turning under: cut cleanly once and the edge is finished.
Can kids make these?
Yes, with a blunt tapestry needle and pre-poked holes, which let small hands find the spot without a sharp tip. An adult should handle the sharp needle, the scissors and the iron, and children can take over the stitching and the tassel.
Save This for Later
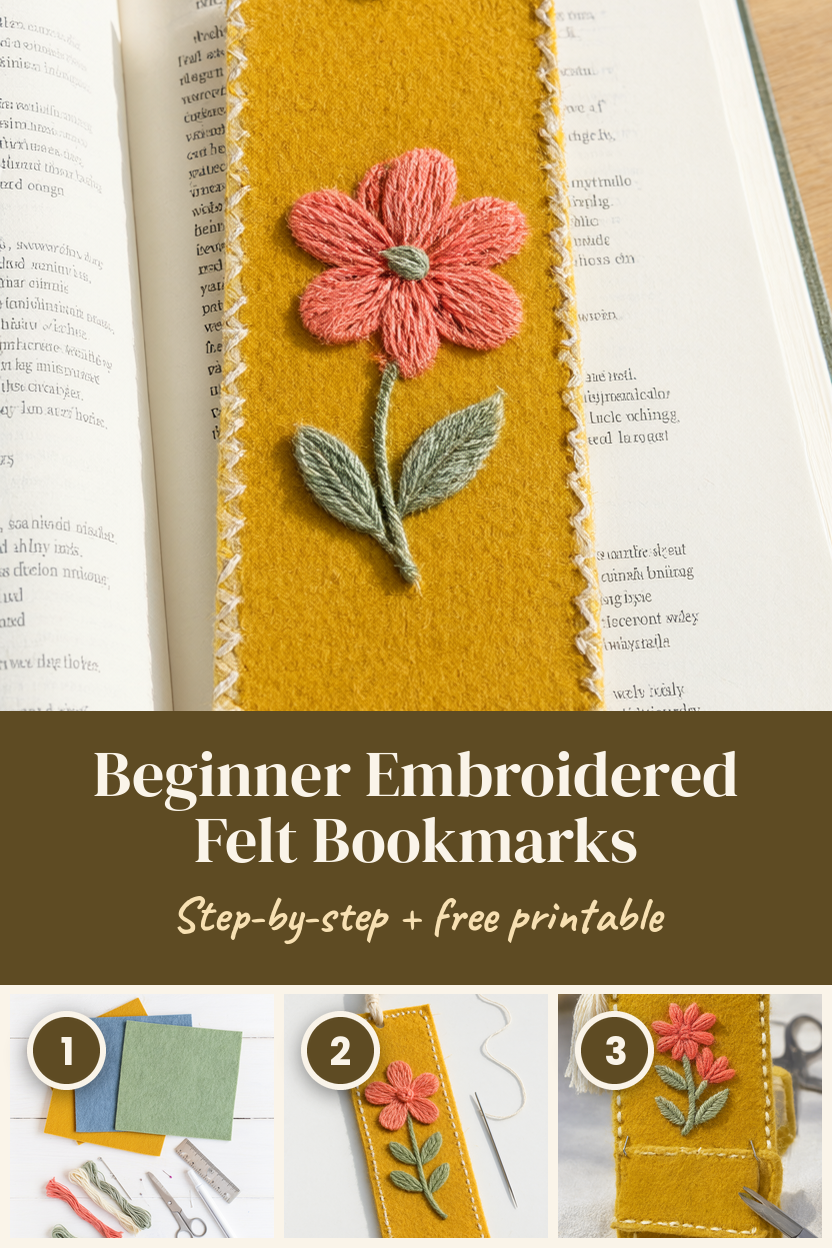
Pin the image below so this tutorial is easy to find the next time you want a handmade gift.
A set of three takes an evening, uses up felt scraps, and gives you a stack of bookmarks that feel personal without looking homemade in the messy sense. Start with one mustard bookmark and a coral flower; the rest of the set follows quickly once the first blanket-stitched border is done.