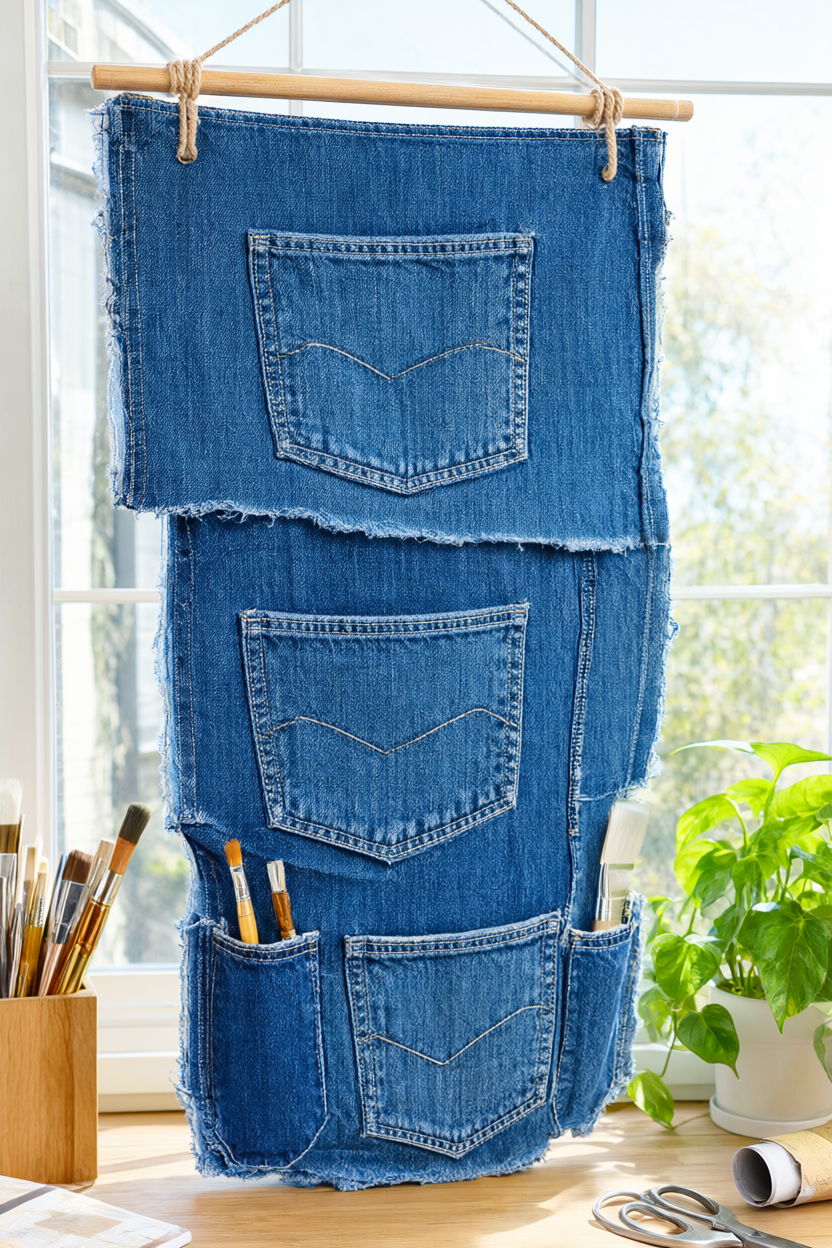
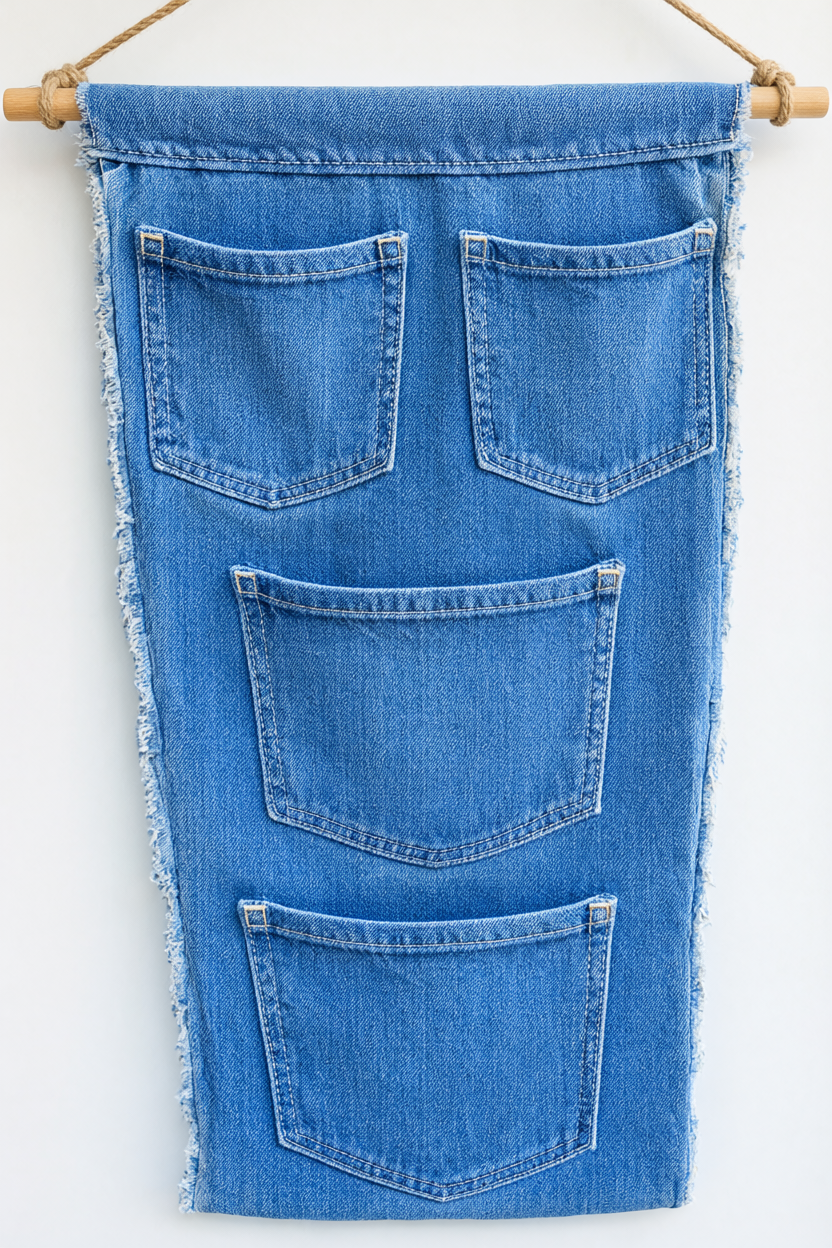
Turn one pair of tired light-wash jeans into a hanging pocket organizer about 9 by 22 inches, with three back pockets staggered down a raw-edged denim panel. It takes roughly 40 minutes of hands-on work and 24 hours of glue drying, and it needs no sewing machine at all. A free printable supply list is included so everything is ready before the scissors come out.
At a Glance
- Difficulty: beginner — straight cuts, glue, no sewing machine.
- Hands-on time: about 40 minutes.
- Drying time: 24 hours for the fabric glue to cure.
- Cost: about $8-12 for fabric glue and jute twine; the jeans, scissors, ruler, chalk and clothespins are usually already at home.
What You’ll Need
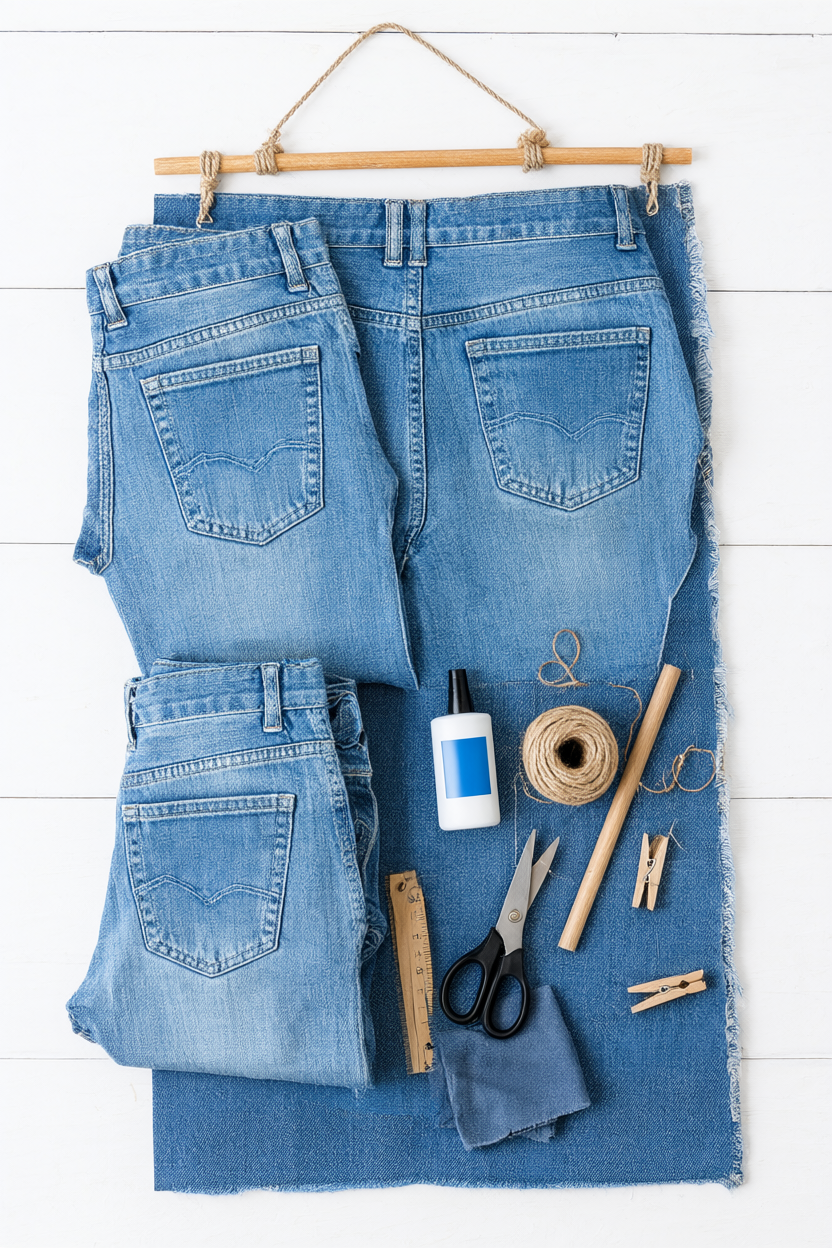
- 1 pair of old jeans with the back pockets intact
- Strong permanent fabric glue (about 1 fl oz)
- 2 yards of jute twine or 1-inch cotton ribbon
- 1 wooden dowel or smooth stick, 12 inches long
- Fabric scissors
- Ruler and tailor’s chalk or a washable marker
- 4-6 spring clothespins or binder clips
- Old cardboard or newspaper to protect the table
- A damp cloth for wiping glue off your fingers
- An iron (optional, for pressing the panel flat)
Step-by-Step Instructions
The order matters here: cut and press first, glue second, hang last. Cover the table with the old cardboard or newspaper, then read through the whole sequence once before you start so the clothespins and a damp cloth are already within reach. Safety: the fabric scissors are sharp and the iron is hot, so cut away from your body, unplug the iron once the panel is pressed, and keep both away from young children.
- Wash and dry the jeans so the fabric is clean and already shrunk, then cut off one leg close to the crotch seam. Set the rest of the jeans aside — the cut leg becomes the panel, and the back pockets become the storage.
- Slit the leg open along its long seam and press it flat with an iron on medium steam, or smooth it with your hands if you skip the iron. You now have a single layer of denim with a natural fray at both ends.
- Measure a 9 by 22 inch panel with the ruler and mark it in tailor’s chalk. Cut slowly with fabric scissors and keep the edges straight; a wobbly line shows once the organizer hangs, so take the extra minute.
- Turn to the back of the jeans and cut out three back pockets, leaving a full 1 inch border of denim around the stitching. Keep the pocket bags intact and cut through the outer denim only.
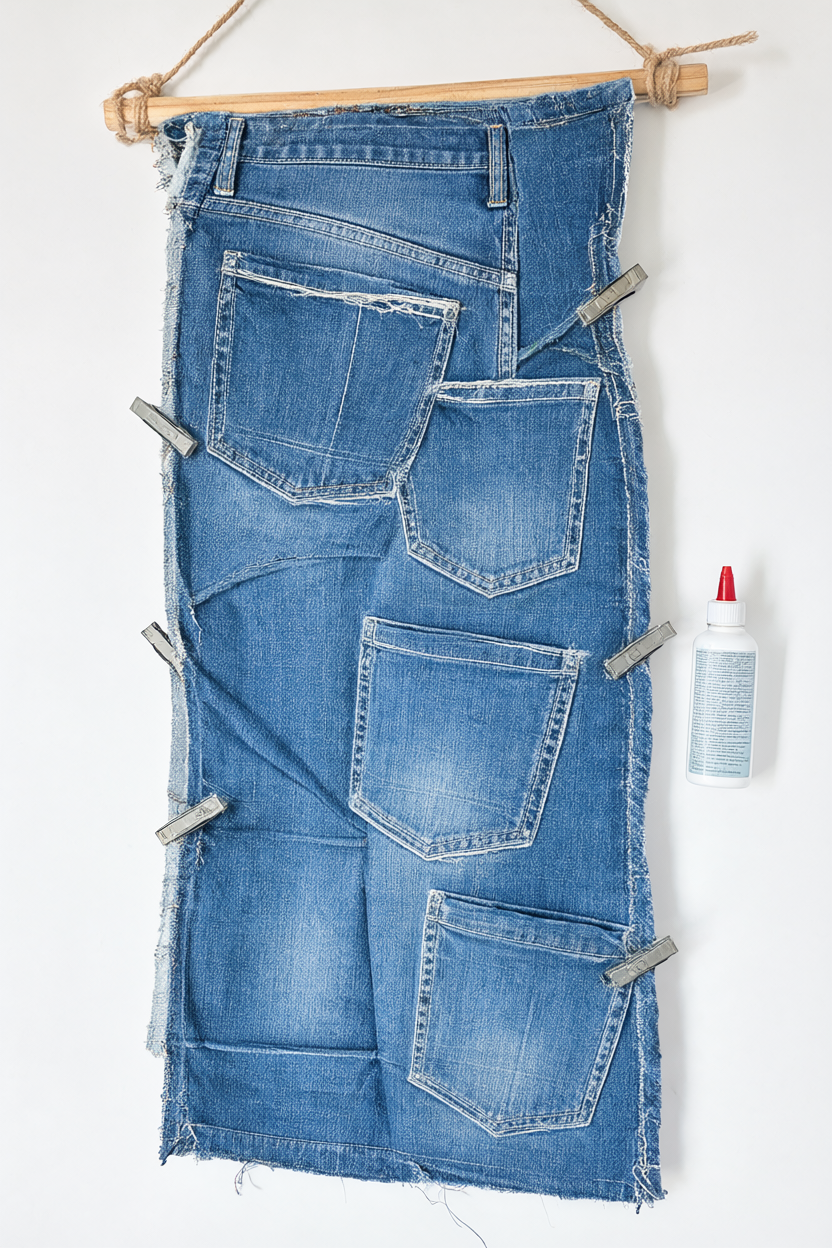
- Lay the panel flat and arrange the pockets in a staggered row — one high on the left, one lower in the middle, one high again on the right — with about 1 to 2 inches between them. Mark each corner with chalk, then set the pockets aside.
- Run a thin line of fabric glue around the back edge of one pocket, press it onto its marks, and clamp it with two clothespins. Repeat for the other two pockets, then leave them clamped for 1 hour. Once the pockets have set, fold the top edge of the panel over the dowel, glue it down to make a sleeve, and clamp it until set; trim the dowel to 12 inches if needed.
- Run a thin line of fabric glue along every raw cut edge — the sides, the bottom and the top corners — then press each edge flat with your fingers. Wipe your fingers on a damp cloth as you go; a little glue goes a long way, and a thin line dries clear. This step is what keeps the denim from shedding all over the wall.
- Let everything cure for a full 24 hours before hanging. Cut two 12 inch lengths of jute twine, tie one to each end of the dowel, and knot the ends into a loop that sits level. Hang the organizer and fill it with light things — brushes, mail, keys, a small plant — so the pockets keep their shape.
Make It Your Own
Colour: Overdye the panel in soft sage or charcoal and leave the pockets light-wash for a two-tone look. The contrast makes the white topstitching pop, and a cool dye bath is gentle on the denim.
Shape: Make a horizontal desk version with two rows of four pockets glued to a short panel and propped against the wall. It keeps pens and small tools upright without using a single nail.
Use: Fill it with art supplies as a kid’s gift, or use it as an entryway catch-all for keys and mail and add a stitched initial. A simple running stitch in white embroidery floss echoes the pocket topstitching.
Beginner Mistakes (and Easy Fixes)
- Cutting the pockets too close to the stitching — the pocket frays and loses its shape. Leave a full 1 inch border.
- Using a hot glue gun or school glue — both peel off denim. Use a strong permanent fabric glue, clamp for 1 hour and cure for 24 hours.
- Hanging it right away with heavy things — the pockets sag. Wait the full 24 hours and keep items light, or add a few hand stitches for heavier use.
Your Free Printable
The free printable is two pages. Page 1 is a What You’ll Need checklist with all 10 materials and tools. Page 2 is a Step by Step checklist with the 9 assembly steps, from cutting the jeans to hanging the finished organizer. Print both pages, tick items off as you gather them, and keep the step page on the table while you work.
Questions You Might Have
Do I need a sewing machine?
No — strong fabric glue holds the pockets; add a few hand stitches along the sides if you plan to hang heavier items.
Will the raw edges keep fraying?
Expect a soft fringe; sealing the cut edges with a thin line of fabric glue stops it from shedding.
How much weight can it hold?
Keep it to light things — brushes, mail, keys, a small plant; for heavier items, hand-stitch the pocket sides before hanging.
Save This for Later
Pin the finished organizer to your craft board so the measurements and glue timing are easy to find when you are ready to make one.
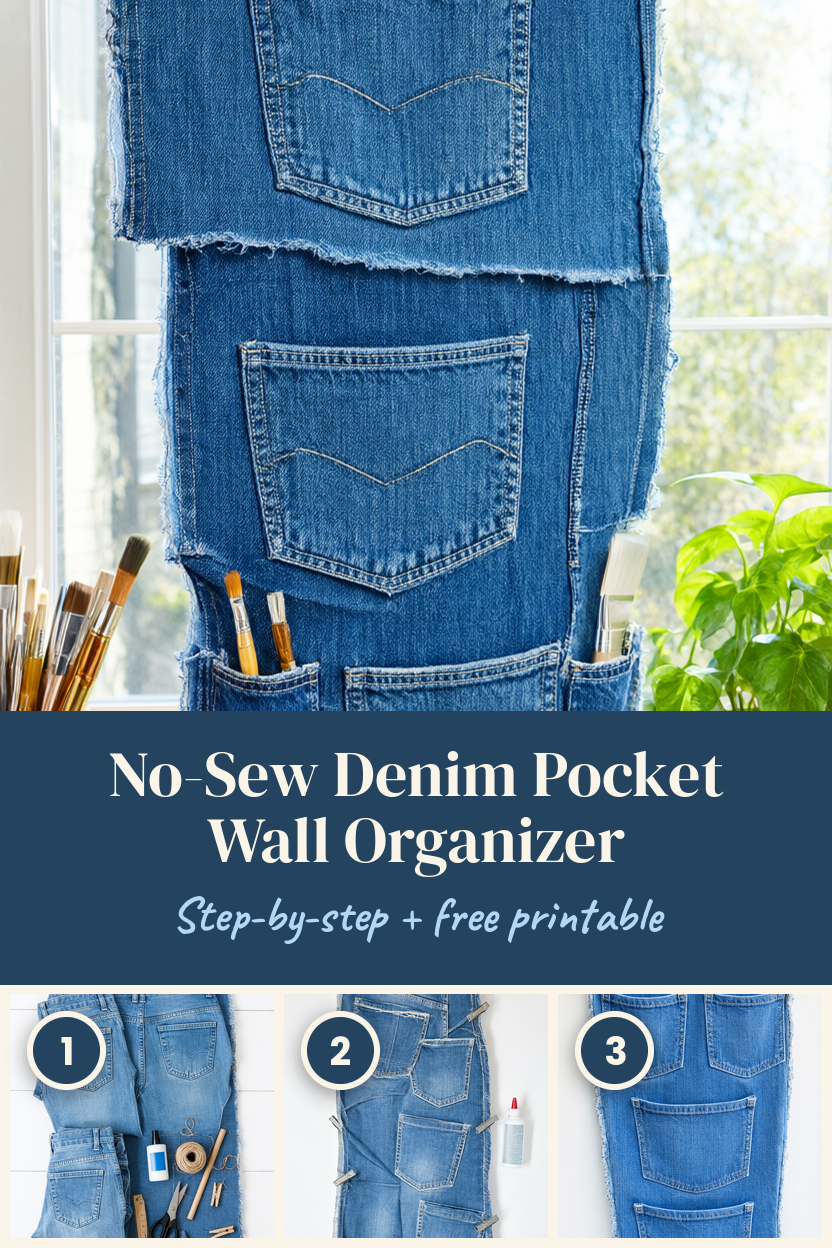
One pair of jeans, a bottle of glue and an afternoon are enough to turn a bare wall into useful storage. Start with the pockets you already love, and let the frayed edges do the rest.