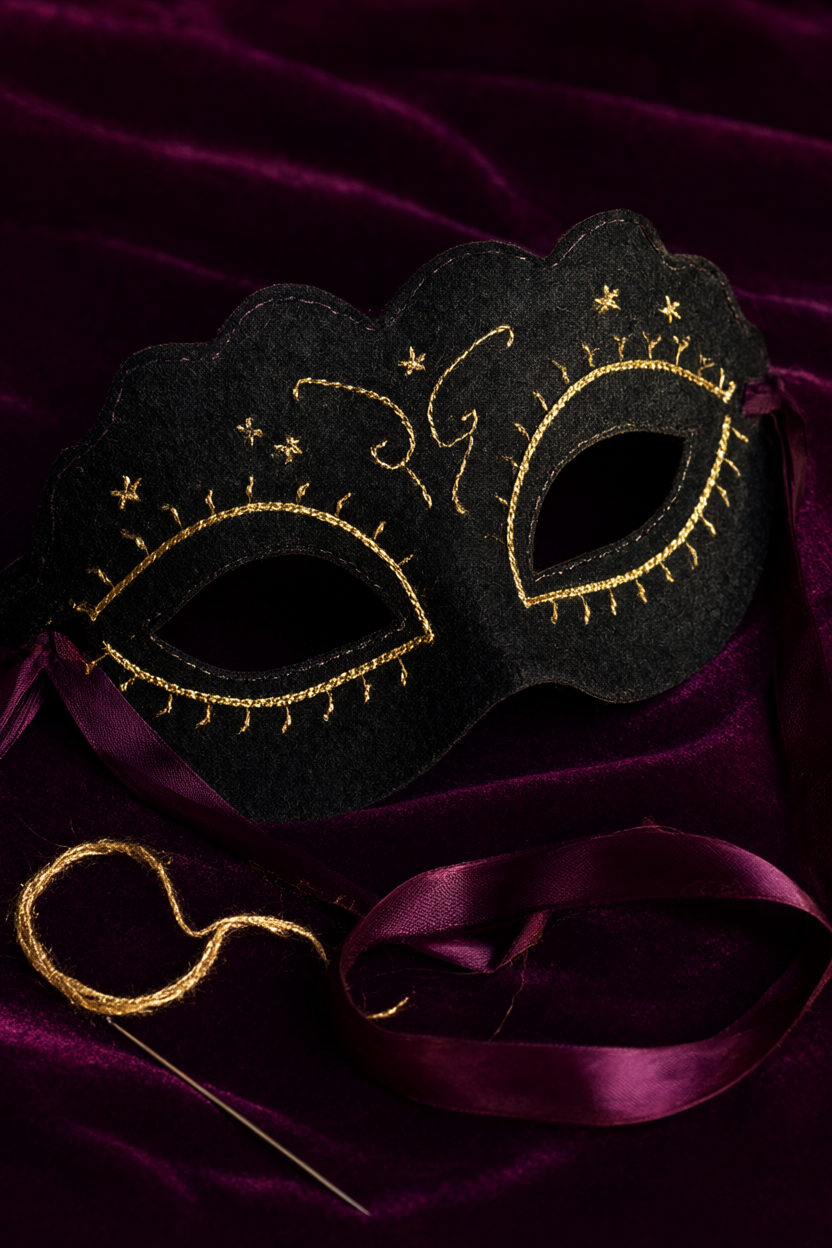
A black felt mask with gold thread on it looks like something from a costume shop, but it starts as one sheet of stiff felt and two of the simplest hand stitches there are. You will cut a half-mask, outline two curved eye openings in metallic backstitch, then add swirls and tiny stars that catch the light whenever you turn your head. Plan on about 90 minutes of hands-on work, plus 30 minutes for the glue to dry, and there is a free printable supply list below so you can gather everything first.
At a Glance
- Difficulty: Beginner. If you can thread a needle and sew a slightly wobbly line, you are ready.
- Hands-on time: About 90 minutes for a first mask. The eye outlines are quick; the swirls are the slow, satisfying part.
- Drying time: 30 minutes if you glue the ribbon ties. Stitch them instead and you can wear the mask right away.
- Cost: Roughly $10 to $13 buying everything new, and closer to $5 if a needle, scissors and glue are already in a drawer.
What You’ll Need
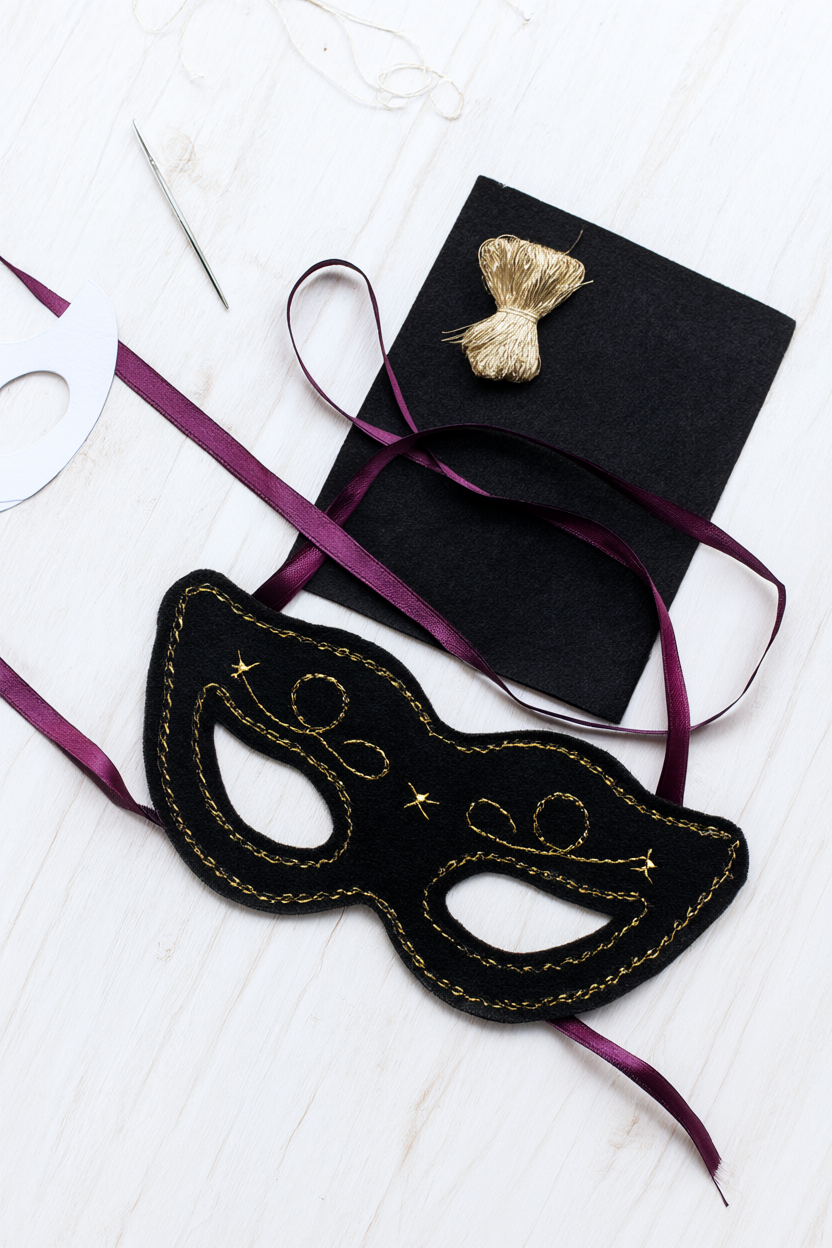
- 1 sheet stiff craft felt, 9 x 12 in, black, about 2 mm thick
- 1 skein metallic gold embroidery floss
- Embroidery needle, size 5 to 7
- Small sharp scissors
- Craft knife for the eye holes (adults only)
- Plain paper, pencil and ruler for the template
- Tailor’s chalk or a fine-tip fabric marker
- Fabric glue, small tube
- Satin ribbon, 1/4 in wide, deep plum, 36 in (cut into two 18 in ties)
Step-by-Step Instructions
- Fold a sheet of plain paper in half and draw one half of the mask: start at the centre of the nose, curve up over the brow in three or four shallow scallops to the temple, then down to the cheek, and stop on the fold. Cut it out, unfold it, and hold it up to your face. Using the ruler and pencil, draw the eye openings — about 1 1/8 in wide and 5/8 in tall is a good starting size — and adjust them until you can see freely, then keep this paper as your template.
- Lay the template on the black felt and trace around it with chalk. Cut the mask out with sharp scissors, then cut the eye holes with small scissors or a craft knife. Go slowly, and let an adult handle the knife: small eye holes are easy to widen, and big ones are not.
- With chalk, sketch a scroll motif: one S-curve above and one below each eye, a short tail toward the temple, and four or five small star dots across the brow. Keep the lines light, because chalk lifts off with a fingertip if you want to redraw.
- Thread the needle with an 18-inch length of metallic gold floss, using 3 strands, and knot one end. Keep the strands short. Long metallic floss frays and tangles, and threading a fresh 18-inch piece takes far less time than unpicking a knot.
- Backstitch around each eye opening, one stitch every 1/8 inch, keeping the tension light so the felt does not pucker. If the felt starts to dimple at the edge, you are pulling too hard; let the thread rest on the surface.
- Switch to a running stitch for the swirls: come up on the chalk line, take a 1/8-inch stitch, skip 1/8 inch, and repeat. Short, even stitches follow curves best, and tightening the spacing slightly near the temple keeps the line smooth where the felt curves.
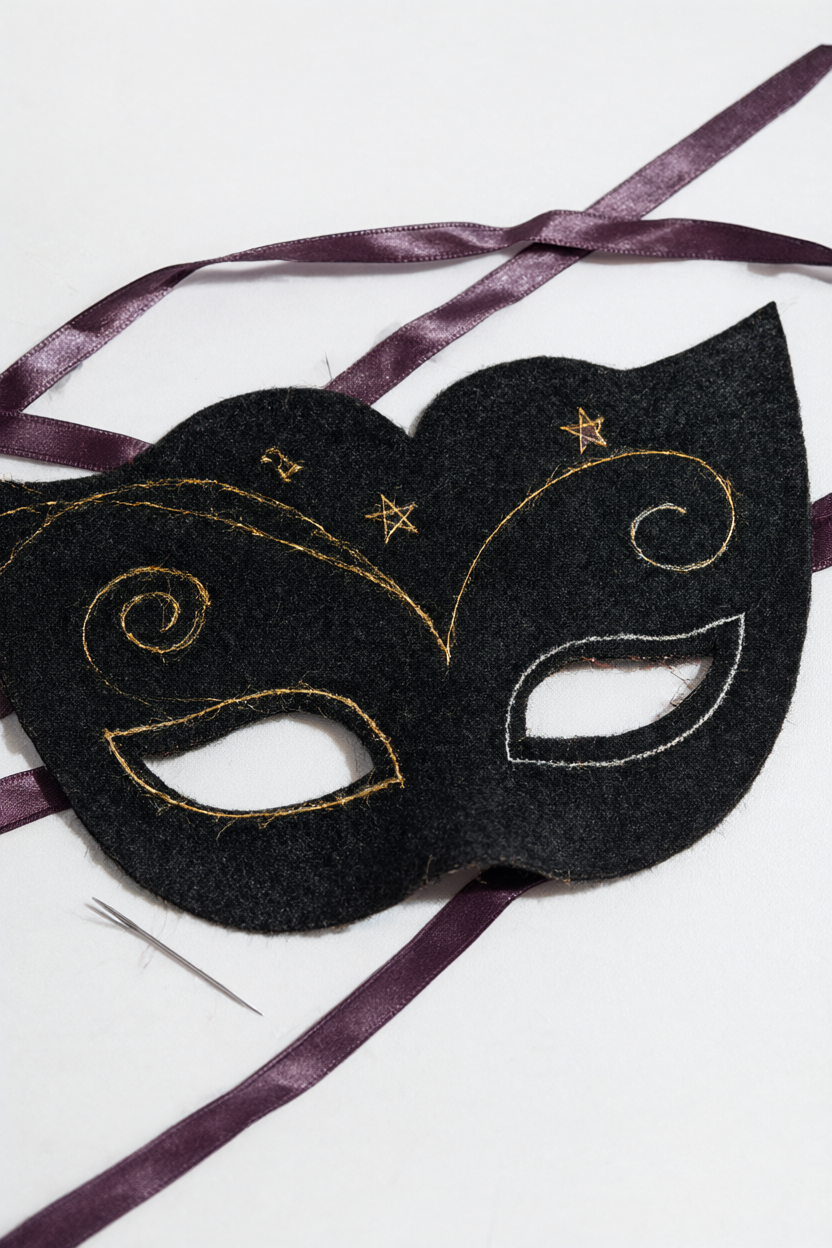
- Add a small star stitch at each marked dot above the brows: a single cross or three radiating stitches, about 1/4 inch across. All the stitches should meet at one point so the star reads clearly from a step or two away.
- Finish each thread on the back. Run the needle under three stitches, knot, and clip. Trim any fuzz along the felt edges with sharp scissors, working in small snips so the scalloped brow stays crisp.
- Glue one 18-inch ribbon tie to each side at temple height, press for 30 seconds, and let the glue dry 30 minutes. If you would rather not wait, stitch each ribbon end down with two small backstitches instead.
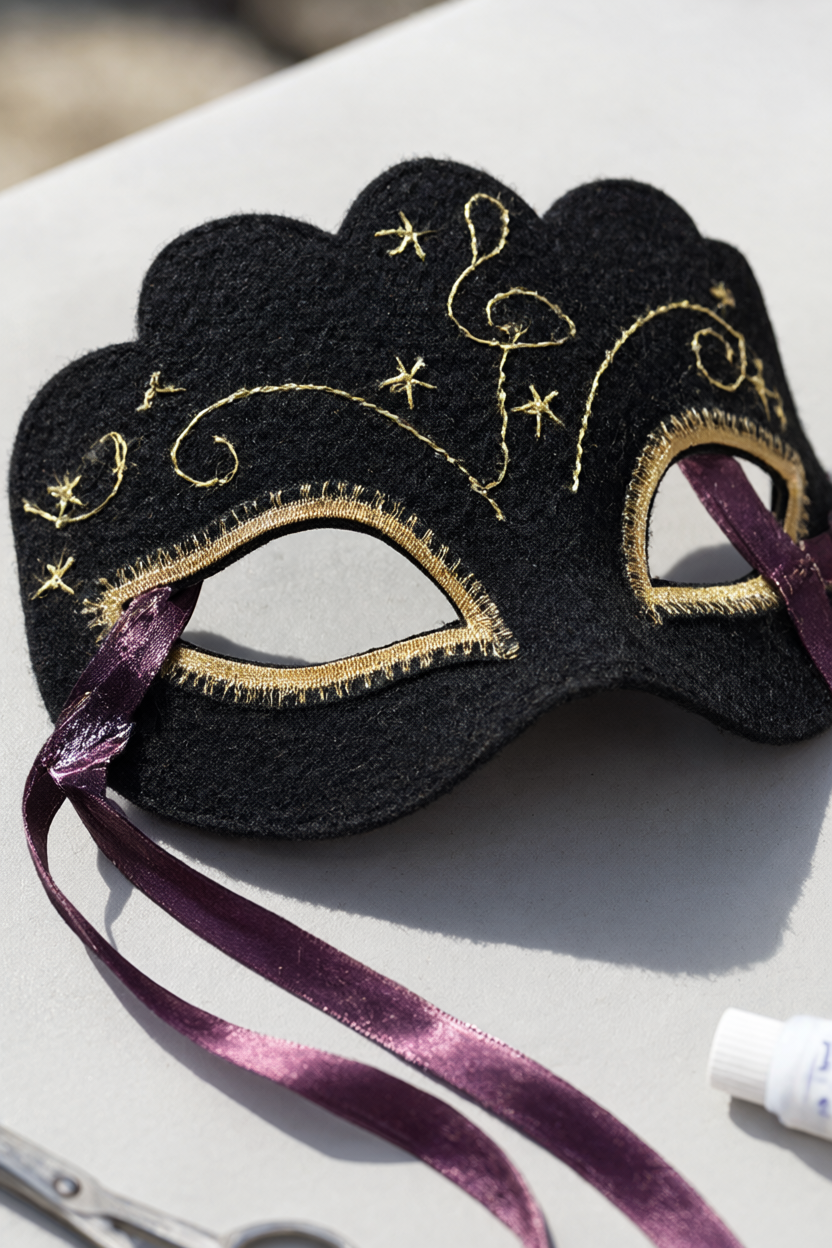
- Try the mask on. If the eye openings feel tight, snip off a sliver and test again, a hair at a time. Tie the ribbons in a bow at the back and check that the mask sits level across the bridge of your nose.
Make It Your Own
Colour scheme. Navy felt with silver floss and ivory ribbon gives a frosty midnight look, while burgundy felt with gold floss and black ribbon feels warmer and a little dramatic. The stitches stay exactly the same; only the palette changes.
Shape. Cut a cat-eye or butterfly-wing brow instead of the scallop, and widen the temples slightly for a fuller mask that covers more of the cheek. Sketch the new outline on the fold and hold it to your face before you commit to felt.
Use. Skip the ties and glue a wooden skewer behind one side for a photo-booth prop, or scale the template down and make six mini masks as party favours — the small versions fit on 3 felt sheets and take about 20 minutes each.
Beginner Mistakes (and Easy Fixes)
- Using soft craft felt, so the mask flops. Use stiffened 2 mm felt, or glue two layers together and let them dry before you stitch.
- Cutting eye holes too large and losing the shape. Cut small, test the mask on your face, then widen in tiny slivers until the view feels right.
- Working with long metallic strands that fray and knot. Cut 18-inch lengths, use 3 strands, and rethread often instead of fighting a tangled tail.
Your Free Printable
The free PDF has two pages. Page 1 — What You’ll Need: a 10-item checklist of felt, gold floss, needle, scissors, craft knife, template paper, chalk, glue and plum ribbon. Page 2 — Step by Step: 13 short steps from folding the paper template to gluing the ribbon ties and final fitting.
Questions You Might Have
How long does one mask really take?
About 90 minutes for a first-timer, and the swirls are the slow part. Cutting and shaping take 15 to 20 minutes, the eye outlines around 20, and the rest is swirls, stars and finishing.
Can I machine-sew it?
Yes on the long edges, but hand backstitch gives cleaner curves around the eyes on a piece this small. A machine is most useful for ribbon ties or for joining two layers of felt.
Can kids make this?
Ages 10 and up can stitch with help. An adult should cut the eye holes with the craft knife, and younger kids can paint the swirls with gold fabric paint instead of stitching them.
Save This for Later
Save this to your craft board so the mask is waiting the next time you want a ninety-minute project.
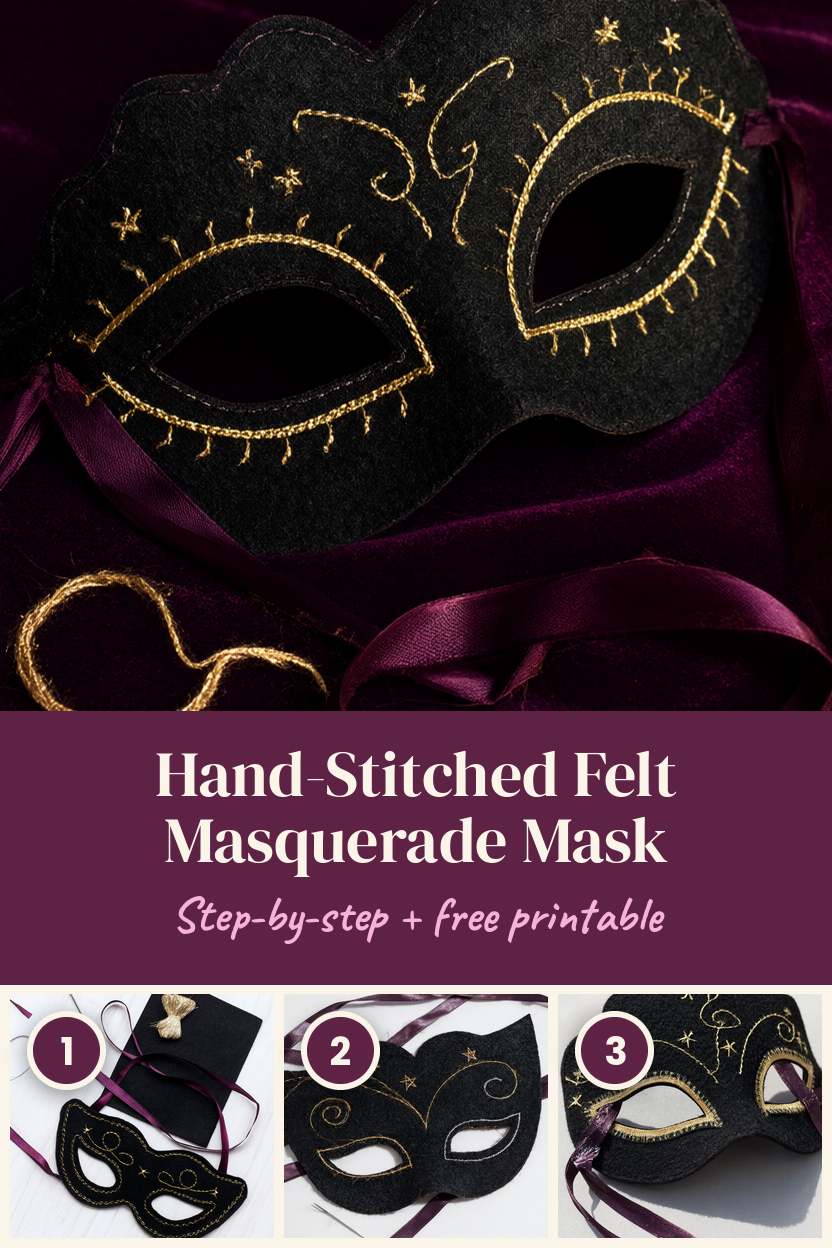
One sheet of felt, a skein of gold floss and a little patience — that is the whole list for a mask that looks far more complicated than it is. Start with the printable, work slowly around the eyes, and let the last few swirls be the fun part.