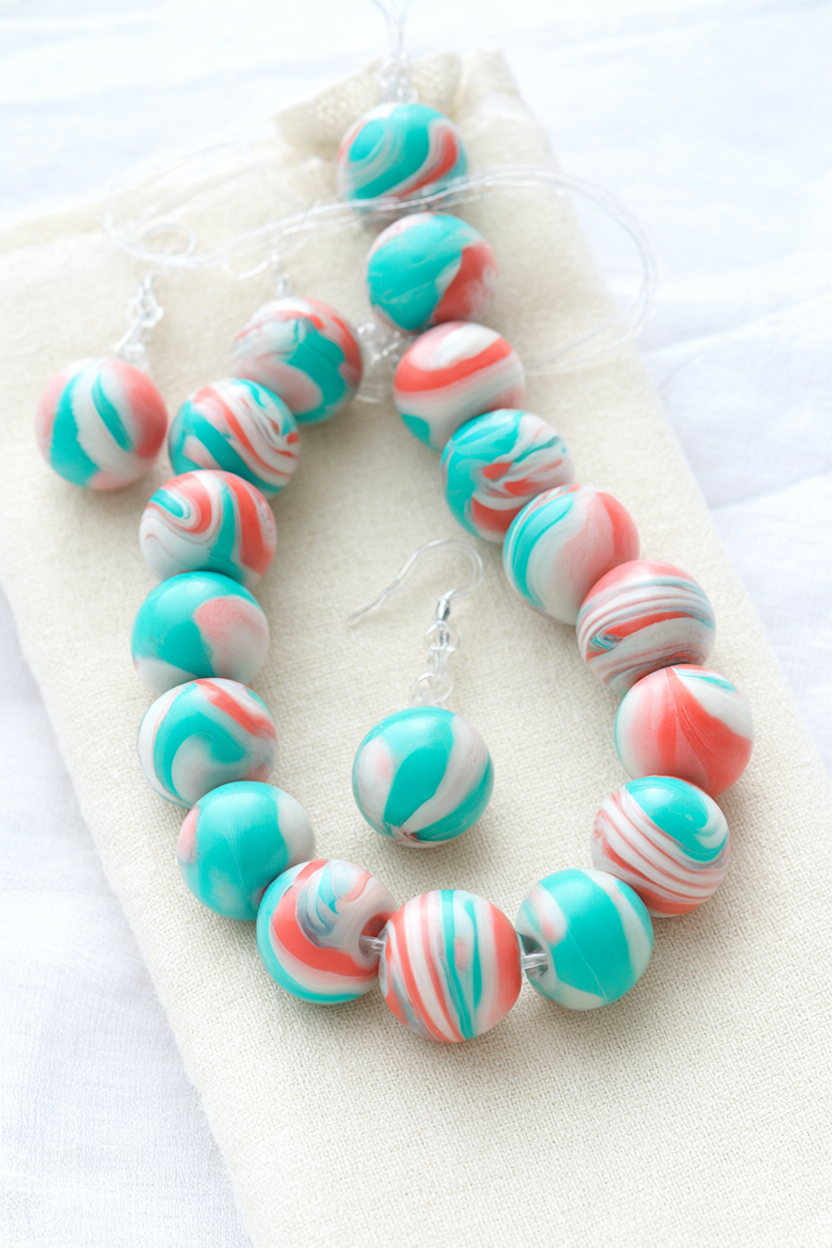
In about 55 minutes of hands-on time, three little blocks of polymer clay turn into sixteen round beads that look like polished river stones, then into a stretch bracelet you will wear on repeat. Each bead carries its own swirl of teal, coral and pearl white, so no two come out the same, and nobody has to know it started as a $12 craft. A free two-page printable with the full supply list is waiting further down.
At a Glance
Here is the honest picture before you start, because a clay project lives or dies at the oven door.
- Difficulty: Beginner. If you can roll a snake and slice a log, you are set.
- Hands-on time: 55 to 70 minutes, most of it conditioning clay and rolling beads.
- Baking and cooling: 30 minutes in the oven at 275°F (135°C), then about 30 minutes cooling on the sheet.
- Cost: About $12 to $18 if you buy three 1 oz clay blocks, stretch cord and earring hooks new; most people already have parchment, a baking sheet, a skewer, scissors and an oven.
What You’ll Need
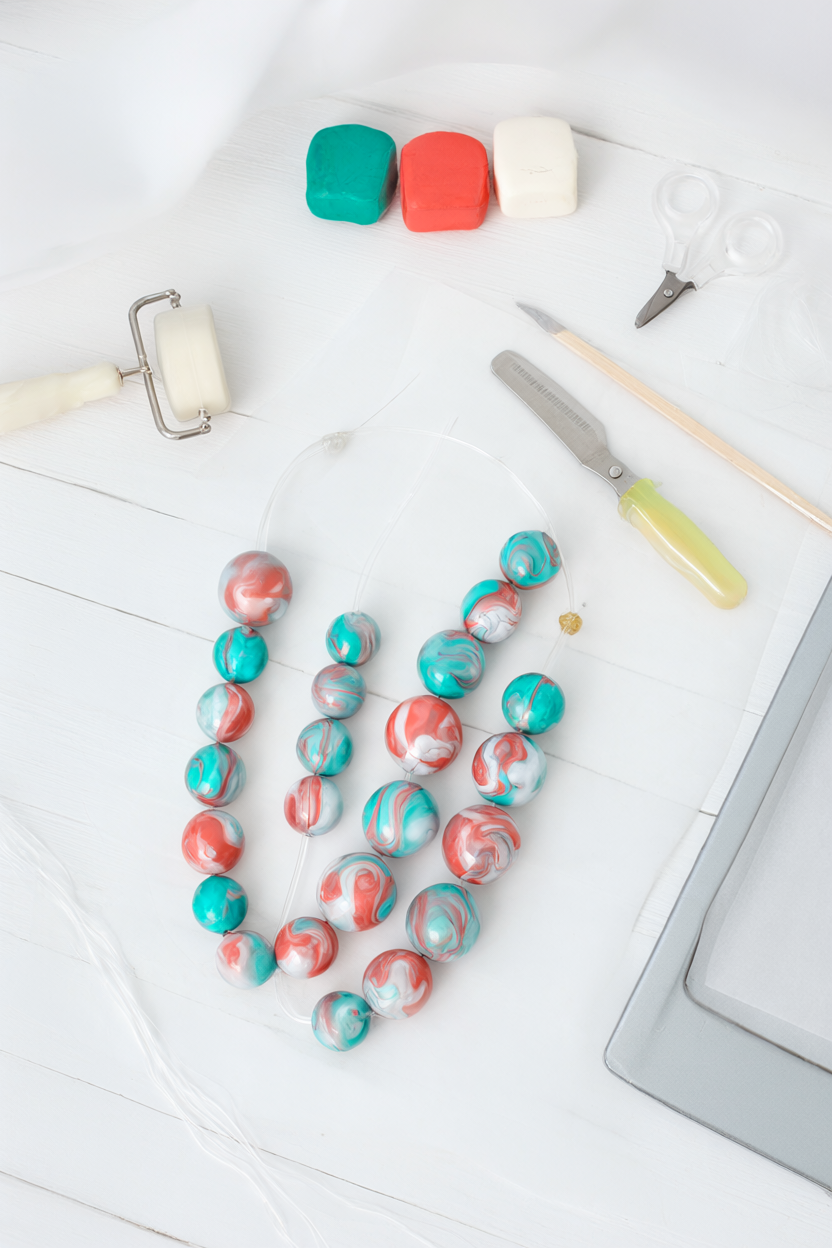
Everything here is small, cheap and easy to find. The only two things worth buying fresh are the clay and the stretch cord — the rest is probably already in your kitchen drawer. Line the items up in the order you will use them: clay, roller, skewer, baking sheet, cord. It turns the whole project into a tidy little assembly line and saves you hunting for scissors with clay-covered hands.
- Polymer clay in 3 colors — teal, coral and pearl white — 1 oz (28 g) each
- Parchment paper or a ceramic tile
- Acrylic roller or a smooth glass jar
- Craft knife (adults only)
- Wooden skewer or toothpick
- Baking sheet lined with parchment
- Oven thermometer
- Stretch cord, 0.8 mm, about 12 in (30 cm)
- Scissors
- Baby wipes or a damp towel
- Water-based gloss glaze (optional)
- Earring hooks and 2 jump rings (optional)
Step-by-Step Instructions
Set out your parchment, roller and knife before you open the clay. Once the clay is warm, you will want to keep your hands moving, and a clean work surface makes the swirling much easier to see. Keep a baby wipe nearby too — a quick wipe between colors keeps teal and coral from muddying into grey.
- Knead each clay block in your hands for 1-2 minutes until soft and pliable; if the clay feels sticky, set it aside for 10 minutes to cool rather than adding anything.
- Roll each color into a thin snake about 6 in (15 cm) long and pencil-thick, keeping them roughly the same length.
- Lay the three snakes side by side, twist them together into one rope, fold the rope in half and twist again, then roll the bundle under the acrylic roller (or your palms) into a log about 3/8 in (10 mm) thick.
- Slice the log crosswise into pieces about 1/2 in (12 mm) thick with the craft knife, turning the log a quarter turn between cuts so the swirl pattern keeps changing. Adults only for the knife — keep your fingers behind the blade and cut on parchment or a tile.
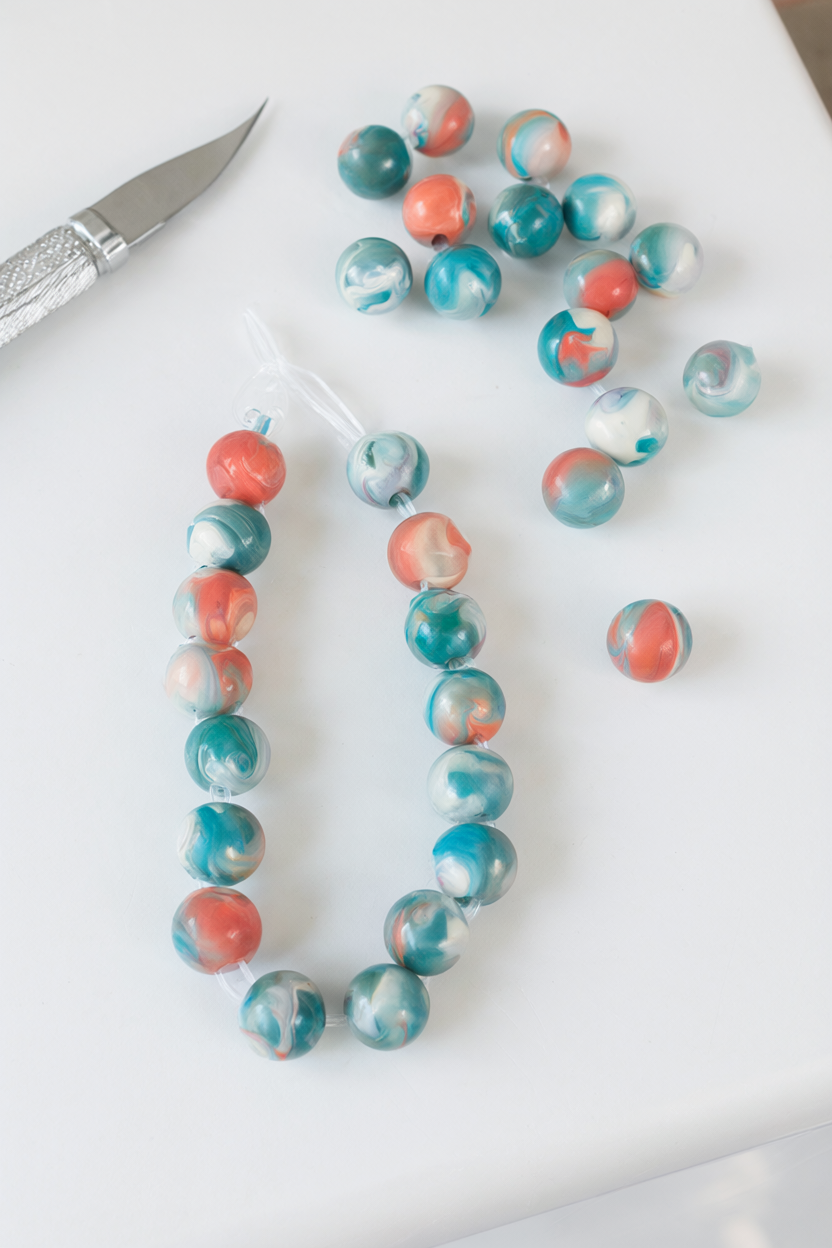
- Roll each slice between your palms into a smooth round ball, pressing gently to close any seams; make 18-20 beads.
- Pierce each bead through the center with the skewer, wiggle the skewer in a small circle to widen the hole, then re-pierce from the opposite side so the channel is clear.
- Place the beads on a parchment-lined baking sheet with space between them and bake at 275°F (135°C) for 30 minutes, checking the temperature with an oven thermometer and ventilating the kitchen. Polymer clay gives off fumes as it cures, so open a window, and do not reuse that baking sheet for food.
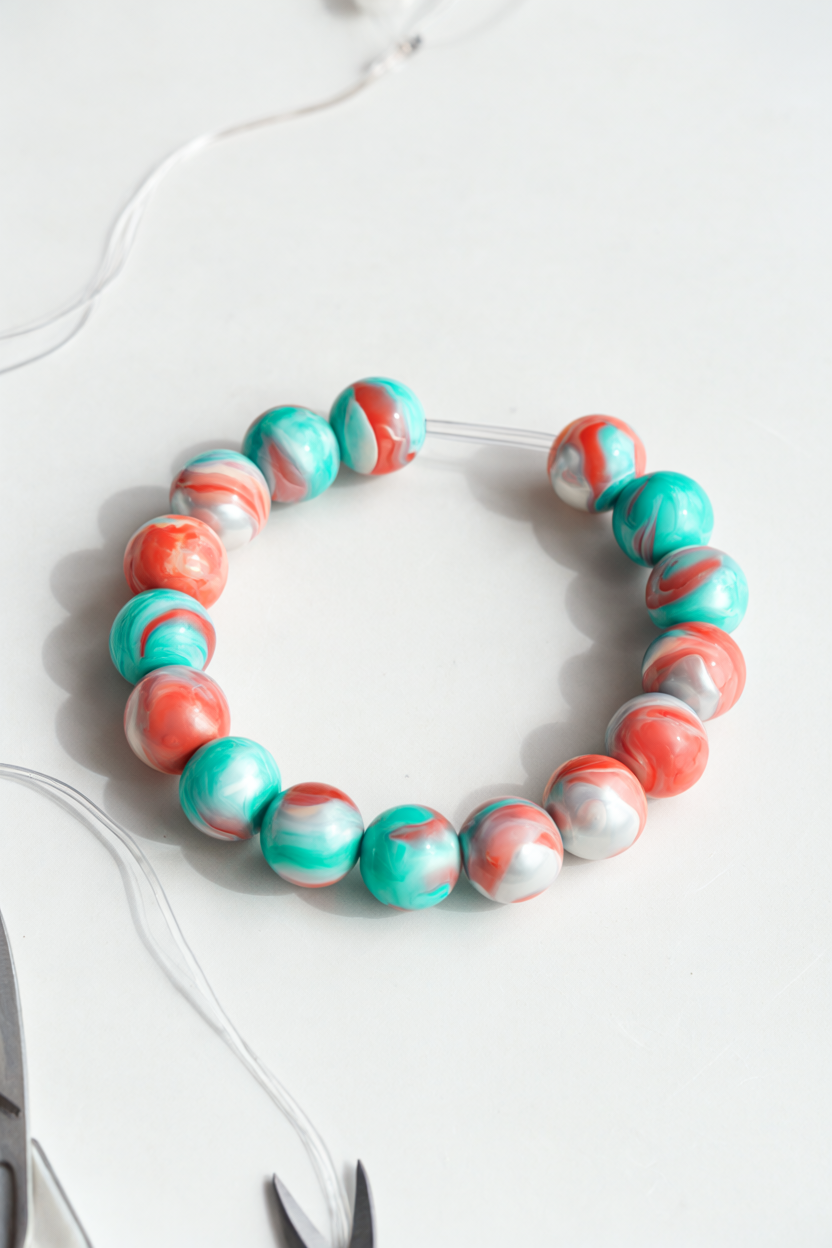
- Let the beads cool completely on the sheet for about 30 minutes. If you want a glossy finish, brush the cooled beads with a thin coat of water-based gloss glaze, keeping the holes clear, and let them dry for 20 minutes. Then thread 16 beads onto a 10 in (25 cm) length of stretch cord, tie a double knot with the ends, pull tight and trim. For the matching earrings, open a jump ring, thread on one spare bead, hook the ring through the loop of an earring hook, and close it; repeat with the second hook and ring.
Make It Your Own
Color scheme: swap pearl white for translucent clay and add a fourth block of gold metallic clay for a dressier, jewelry-store look. The gold catches the light in the swirls and makes the bracelet read as metal from across the room.
Shape: press each slice flat into a coin bead, or cut the log into cubes for a chunkier, geometric bracelet. Coin beads sit flush against each other, while cubes leave tiny gaps that show off the cord.
Gift idea: make a kid-size bracelet and a keychain from the same batch (adults handle the knife and oven), then package them in a small tin with a handwritten tag. The leftover slices are usually just enough for both, and the tin keeps the set from rolling around a drawer.
Beginner Mistakes (and Easy Fixes)
- Skipping the conditioning step: cold, stiff clay traps air and cracks in the oven — knead each color until smooth before rolling.
- Piercing the hole too small or too early: the hole closes as you roll the ball — pierce after shaping, wiggle the skewer, and check when the bead is still warm from your hands.
- Baking too hot or too long: beads darken and turn brittle — use an oven thermometer, stay at 275°F for 30 minutes, and test-bake one bead first.
If you only fix one thing, fix the temperature reading. An oven that runs 25 degrees hot is the difference between beads the color of a seashell and beads the color of toast.
Your Free Printable
The printable keeps the whole project on two pages, so you can work at the table without propping your phone up in a dusting of clay crumbs.
Page 1: What You’ll Need — 12-item checklist of clay, tools, baking and stringing supplies
Page 2: Step by Step — 10-step checklist from twisting clay snakes to tying the bracelet
Questions You Might Have
How long do polymer clay beads need to bake?
30 minutes at 275°F (135°C) for beads up to about 1/2 in (12 mm) thick; let them cool completely before stringing.
Can I bake them in a regular kitchen oven?
Yes, on a dedicated parchment-lined sheet at 275°F with an oven thermometer, in a ventilated kitchen; do not reuse that sheet for food.
Are the beads waterproof?
No, they are water-resistant only; wipe them clean and remove the bracelet before showering or swimming, since the elastic cord weakens in water.
Save This for Later
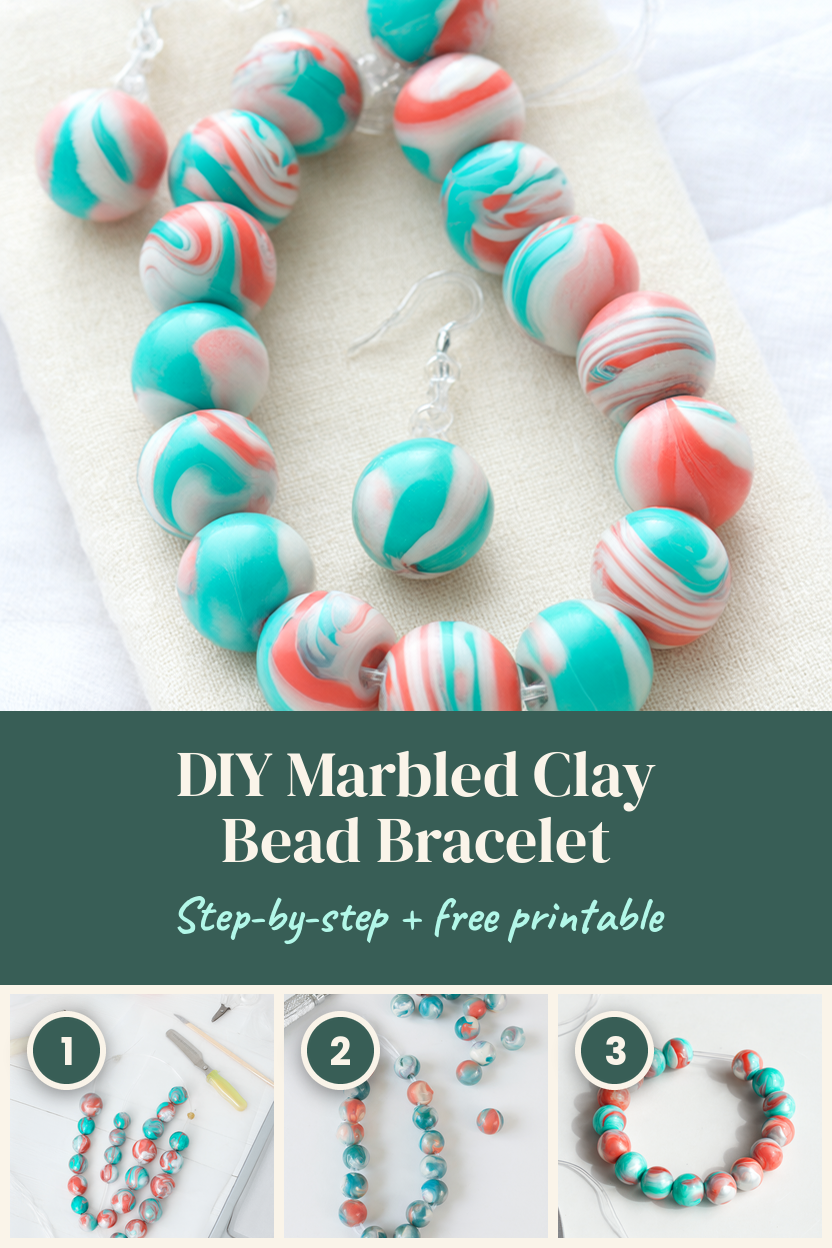
Pin the image below so the supply list and the 275°F timing are one tap away when you are ready to make a batch.
Sixteen little marbled beads, one length of stretch cord, and an afternoon is all it takes. Save the printable, warm up the clay, and see what colors come out of the swirl.