Place cards do quiet work at a wedding: they tell every guest where to sit, and they set the tone for the table before anyone picks up a fork. A thoughtful wedding place card design can be as simple as a name in the right ink on the right material, but the material matters more than most couples expect. The six ideas below move from ceramic tile to handmade paper, and each one is practical to make in the weeks before the reception with tools you can find at a craft shop or in your own kitchen drawer. Choose the one that suits your table linens, your venue, and the amount of time you actually have, and treat the sample card as the real test of whether a material will work.
1. Glazed Tile Names
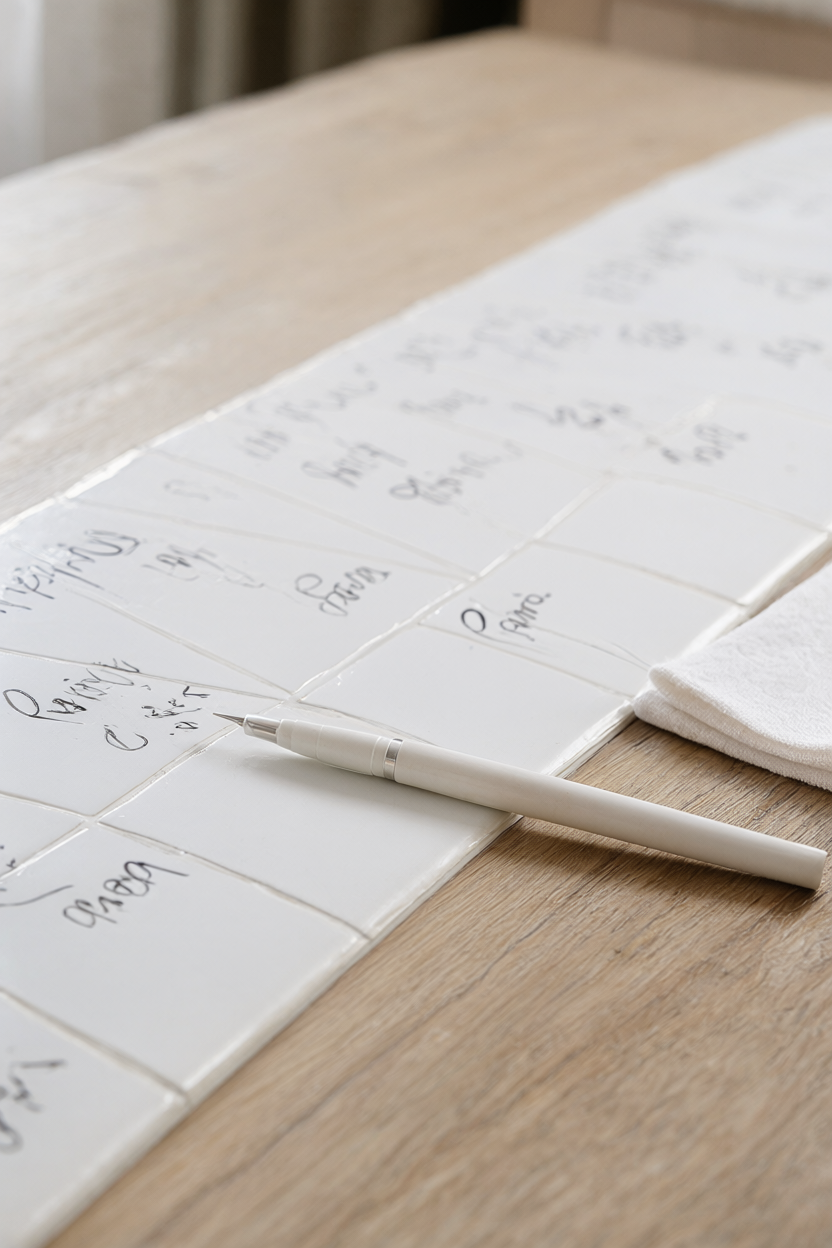
Buy blank glazed tiles in a consistent size and wipe each one with a soft cloth so the surface is completely free of dust and fingerprint oil before you letter it. Write the guest’s name with a fine ceramic paint pen in slow, even strokes, then let the ink cure for the full time printed on the pen’s label, because a shortcut here will smear across the glaze at the reception. Test the lettering on a spare tile first so the spacing stays even, and stack the finished tiles in a padded box; the weight keeps them steady on an outdoor table, and guests can carry them home as small coasters.
2. Vellum Overlay Cards
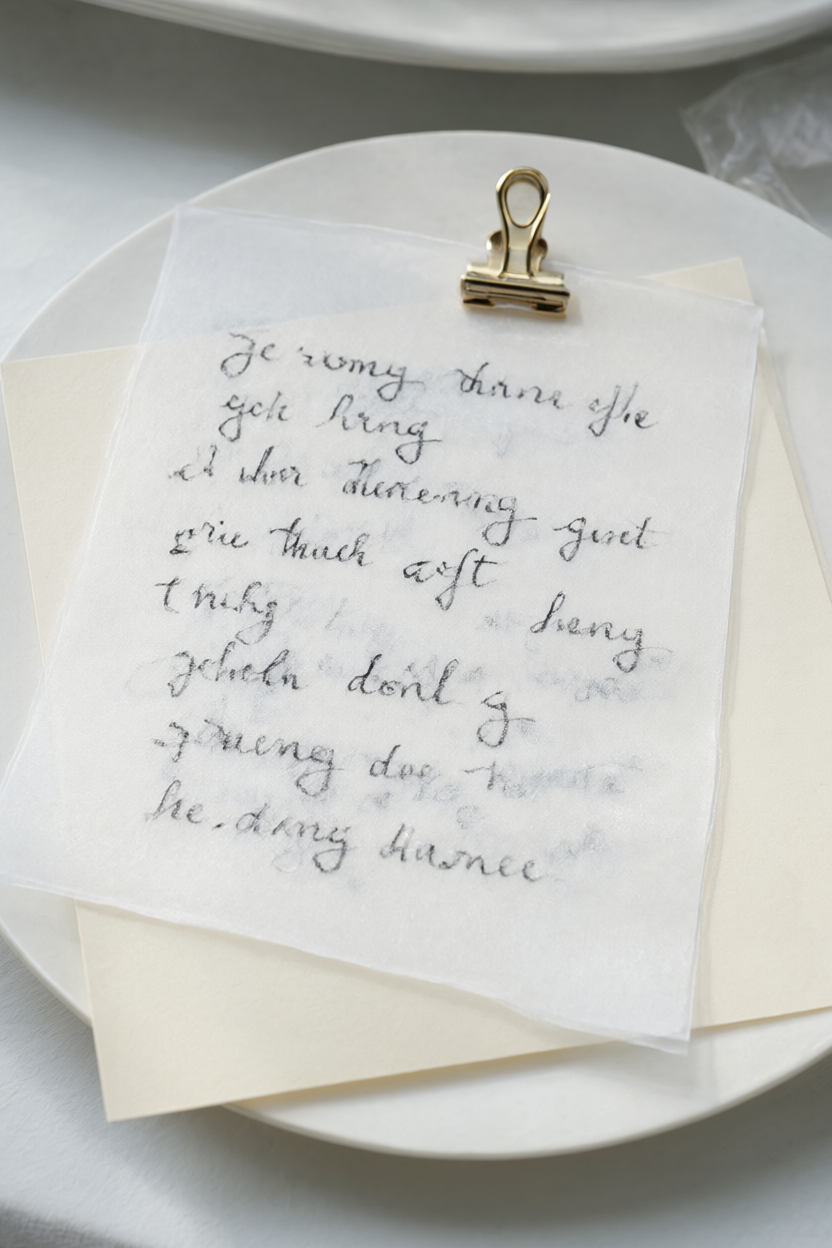
Print names on translucent vellum and lay one sheet over a plain card or menu at each place, so the table looks light and modern while the seating order stays perfectly clear. Choose a heavier vellum, around 110 lb or more, because thin sheets curl at the corners long before dinner is served, and run one test sheet through your printer to confirm the ink dries without feathering. Keep the text dark so the names read easily through the layer, and hold the overlay with a small gold clip or a dab of wax so a warm room or an evening breeze cannot shift it.
3. Wood-Veneer Script
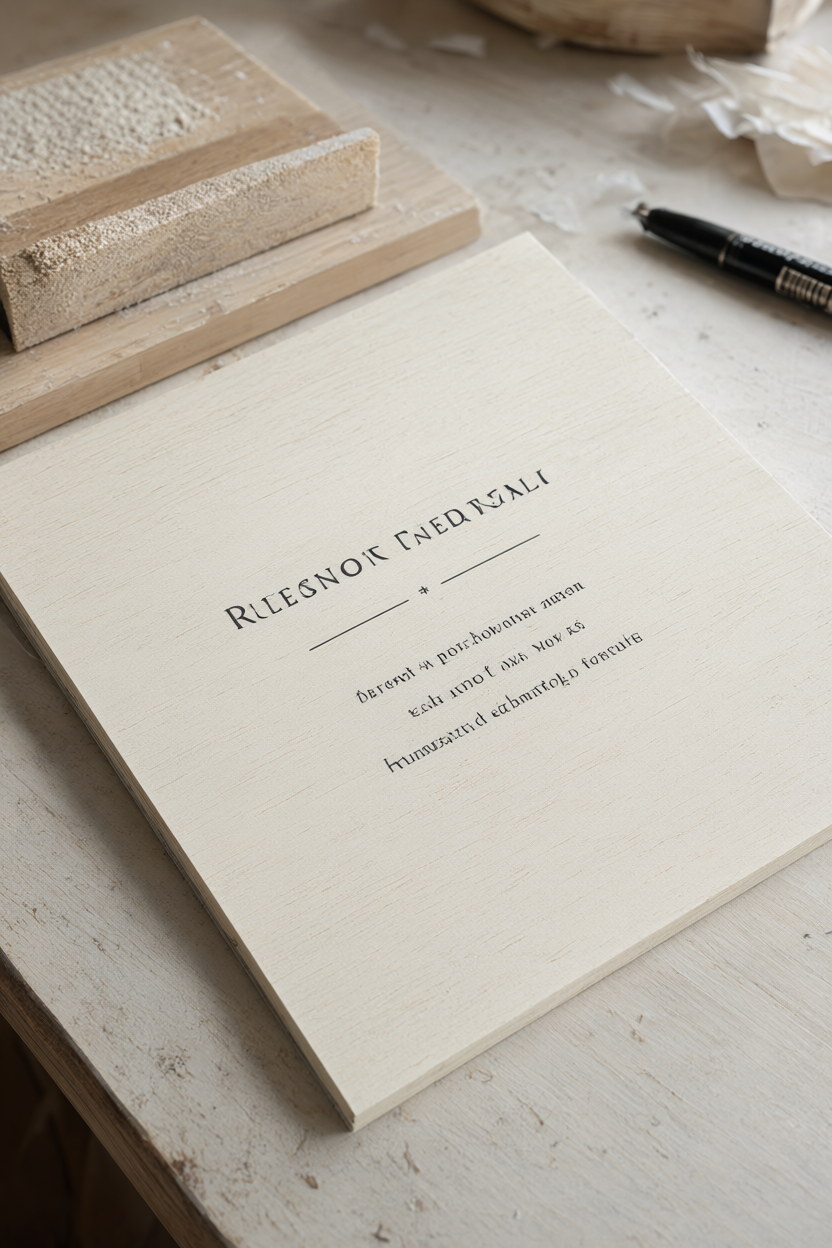
Cut thin wood-veneer rectangles to a consistent size and sand the edges lightly so every card sits flat against the plate instead of rocking on the rim. Write each name in a contrasting ink that stands clear of the grain, and keep the lettering simple because the wood texture already does the decorative work. If the wedding is outdoors, seal the finished cards with a matte spray once the ink is dry, so humidity does not lift the lettering or warp the veneer, and store them flat under a board until the morning of the reception.
4. Leather Luggage Tags
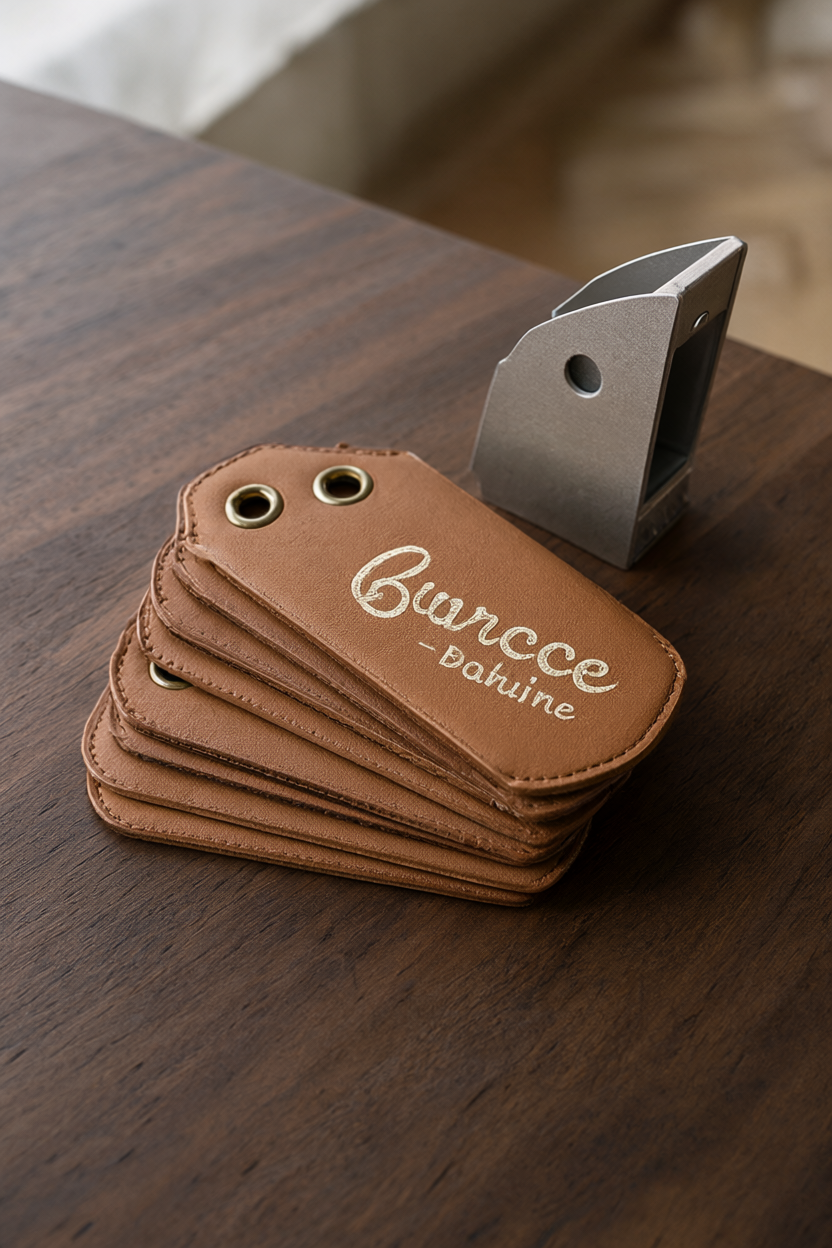
Choose small leather tags with brass eyelets and punch the hole before you letter, so the tag stays steady under your hand while you write. Use a fine white or metallic gel pen and keep every name the same size and slant, practising on a spare tag until the spacing feels natural and the line weight looks consistent. The tags feel substantial, lie flat on a folded napkin, and can double as bag tags after the wedding, so they earn their place as a favor guests actually keep and use again.
5. Perforated Ticket Cards
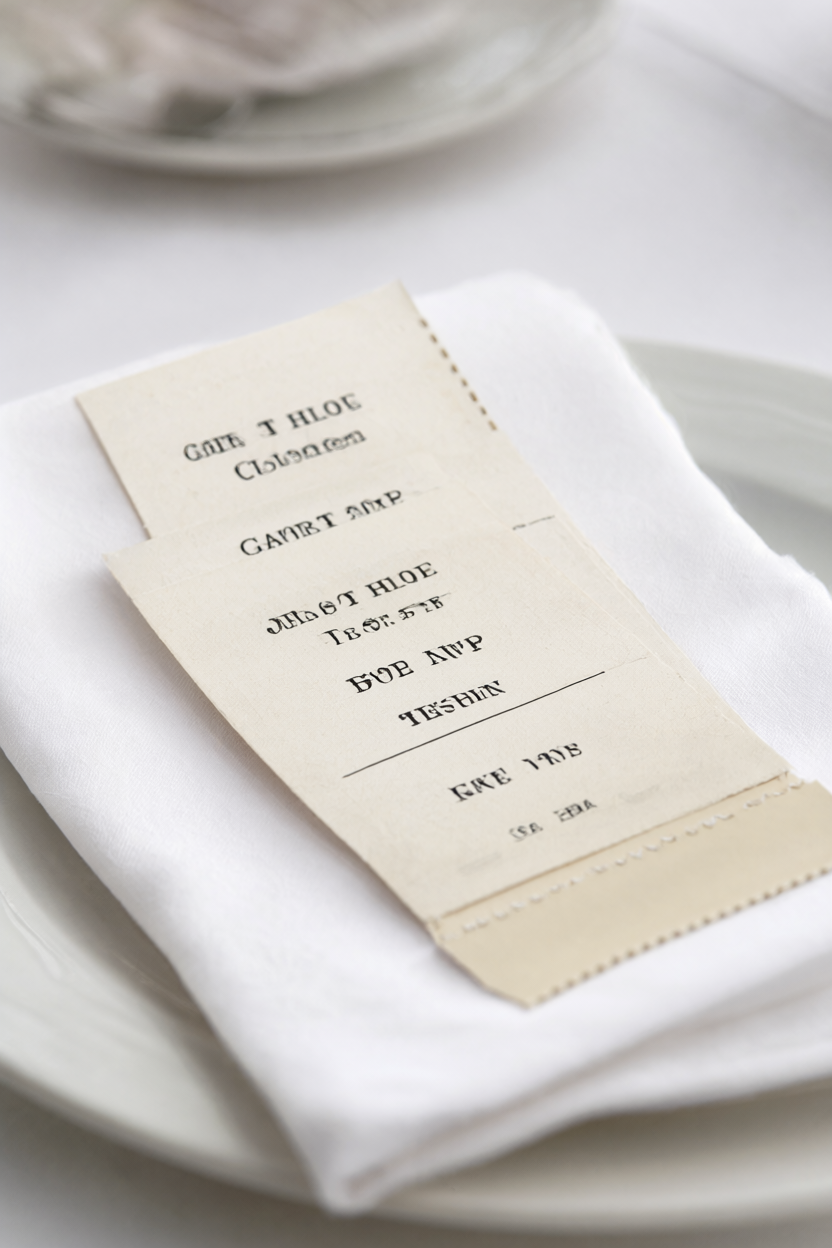
Design each place card as a tear-off ticket with the guest’s name on the face and the table number on the stub, so the card does two jobs at once. Print on sturdy cardstock and perforate the stub with a craft knife and a metal ruler, or a scoring board, so guests can tear it cleanly without ragged edges. The format suits a modern, playful reception, and a small bowl for the torn stubs on the bar turns table-finding into part of the party rather than a pause in the evening.
6. Deckled Paper Cards
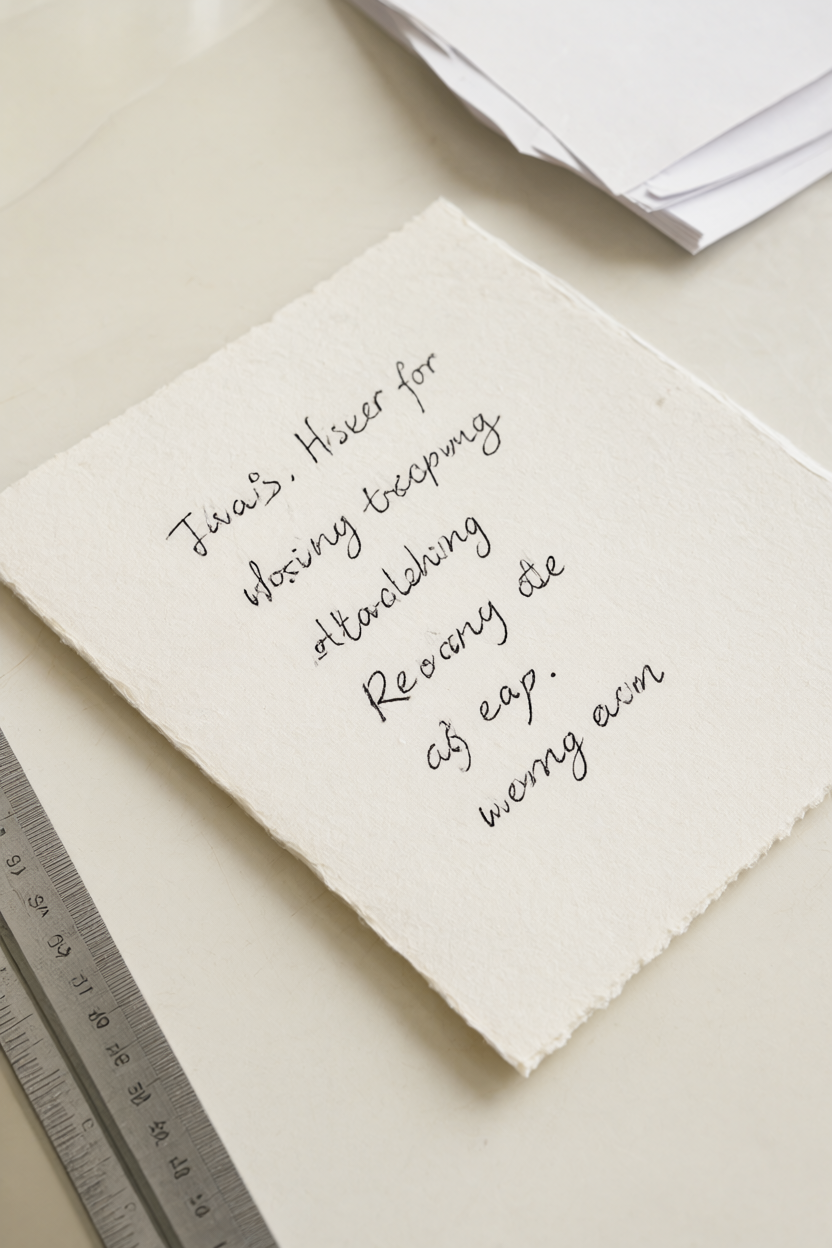
Tear thick handmade paper against a metal ruler to create a soft deckled edge, pulling slowly so the fibers separate instead of ripping in a straight line. Letter each name in ink once the edge is clean, keeping to one strong color because the uneven border is decoration enough for a simple table. Press the finished cards under a heavy book overnight so they dry flat, and check each one the next morning before you pack them for the venue, replacing any sheet that curled.
Whichever idea you choose, make one sample card before you commit to a batch, then set up an assembly line with all the tools on one tray and the guest list split across two evenings. Letter the names in the same session so the ink, the spacing, and your handwriting stay consistent, and pack the finished cards in the order of your seating plan so setting the tables at the venue takes minutes rather than an anxious hour. A wedding place card design is a small detail, but it is the first thing a guest touches at the table, and a material that feels good in the hand says more than a printed flourish ever could. Keep a few blanks in your bag for late additions, and let the cards be one of the few tasks you finish early.