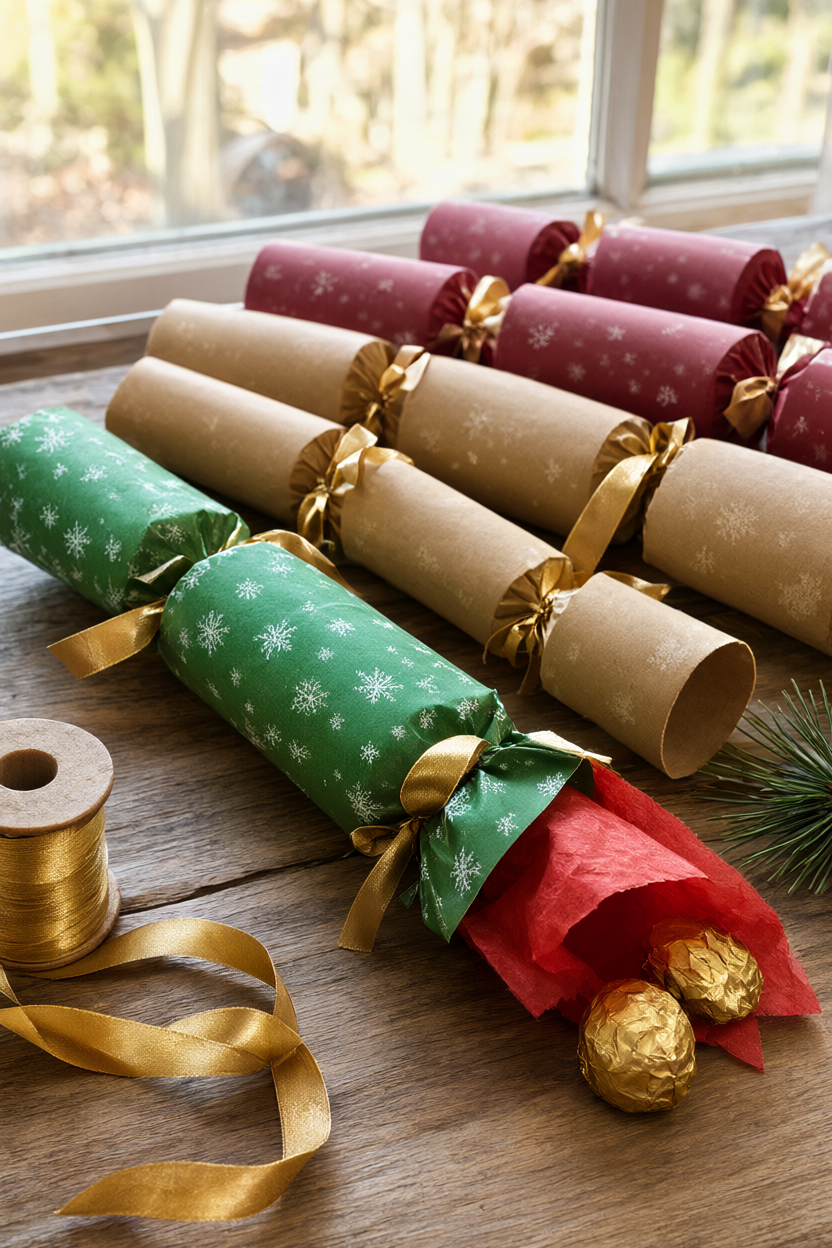
You can turn twelve empty toilet paper tubes into six Christmas crackers that look like they came from a fancy shop. This beginner tutorial shows the barrel trick that keeps each cracker perfectly round, with an honest time of about an hour and fifteen minutes of hands-on work and no drying time. A free printable supply list and step checklist is included so you can print it and craft along.
At a Glance
- Difficulty: Beginner
- Hands-on time: about 1 hour 15 minutes for six crackers
- Drying or curing time: none, they are ready to use straight away
- Cost: about $15-$20 for six if you buy wrapping paper, ribbon, tags and sweets new, which works out at roughly $3 per cracker. About $8 if you already have paper, ribbon and tubes.
What You’ll Need
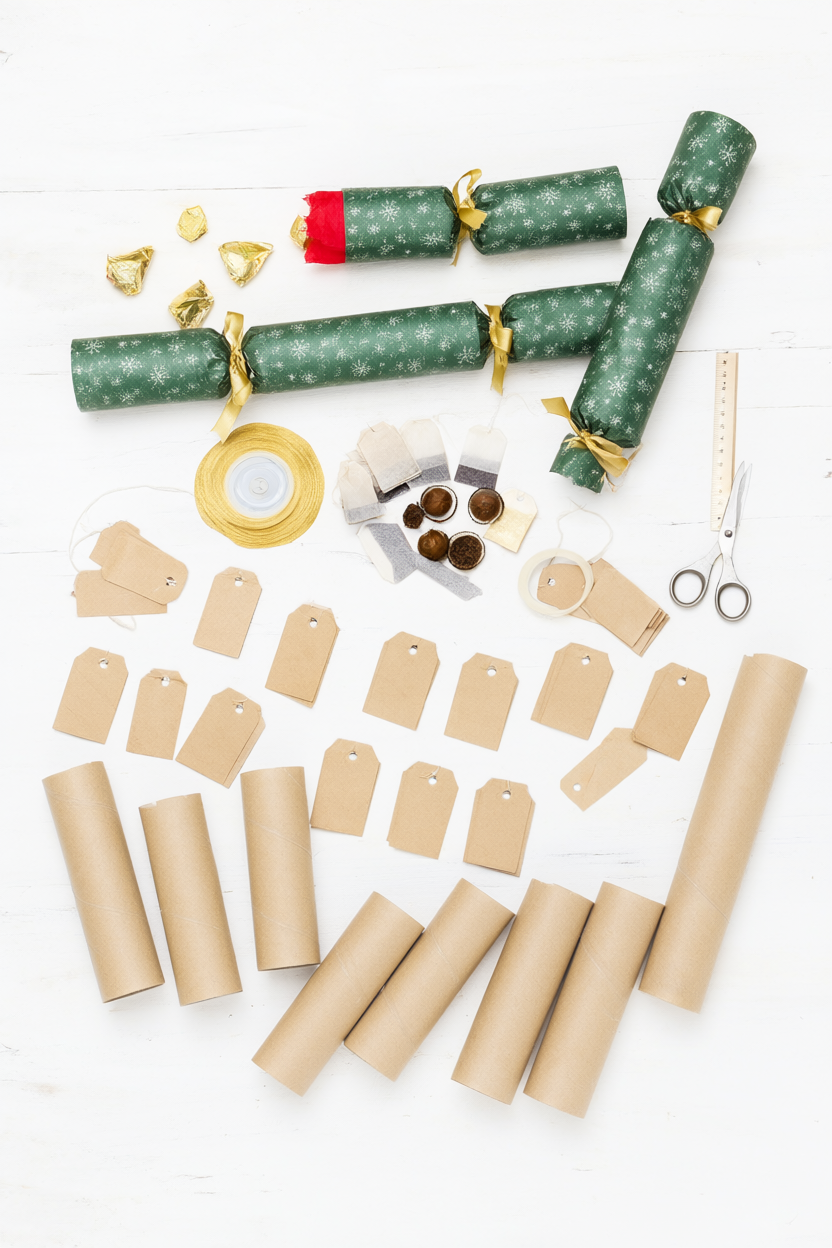
Everything here is easy to find, and most of it is probably in a drawer already. One 7 x 12 inch paper sheet covers one cracker, so cut or buy six sheets in the same pattern for a matching set. Thin wrapping paper is the one thing worth buying new if your stash is full of thick paper, because it folds and cinches with far less bulk.
- 12 empty toilet paper tubes (2 per cracker)
- Wrapping paper: one 7 x 12 inch sheet per cracker
- Double-sided tape
- Scissors and a ruler
- Gold satin ribbon, about 20 inches per cracker
- Small chocolates and wrapped sweets
- Tea bags, lip balm, stickers, scratch cards
- Tissue paper for paper crowns
- Printed jokes or riddles
- Kraft gift tags and a pen
- Optional: pinking shears for fanned ends
- Optional: cracker snap strips for a real bang
Step-by-Step Instructions
Work on a flat table with everything within reach. Each cracker is mostly folding, rolling and tying, so you will find a rhythm by the second one, and nothing needs to dry before the last cracker goes into the box.
- Tape two empty toilet paper tubes end to end, with one strip of tape inside the join and one outside, to make a sturdy 8-inch barrel. Make six barrels and press each join flat so the barrel feels firm, like a short rolling pin.
- Fill each barrel with a rolled joke, a folded tissue-paper crown and small sweets or tea bags, leaving about 1/2 inch empty at each end so the paper can cinch. Keep the fillers light so nothing bulges.
- Cut six rectangles of thin wrapping paper, 7 x 12 inches each, and lay one flat with the pattern side down. Thin paper folds far more neatly than cardstock, so save the heavy rolls for gift boxes.
- Center a filled barrel on the paper so 2 inches of paper stick out at each end, then roll the paper tightly around the tube and seal the long edge with double-sided tape. Run your hand along the roll to press the paper smooth.
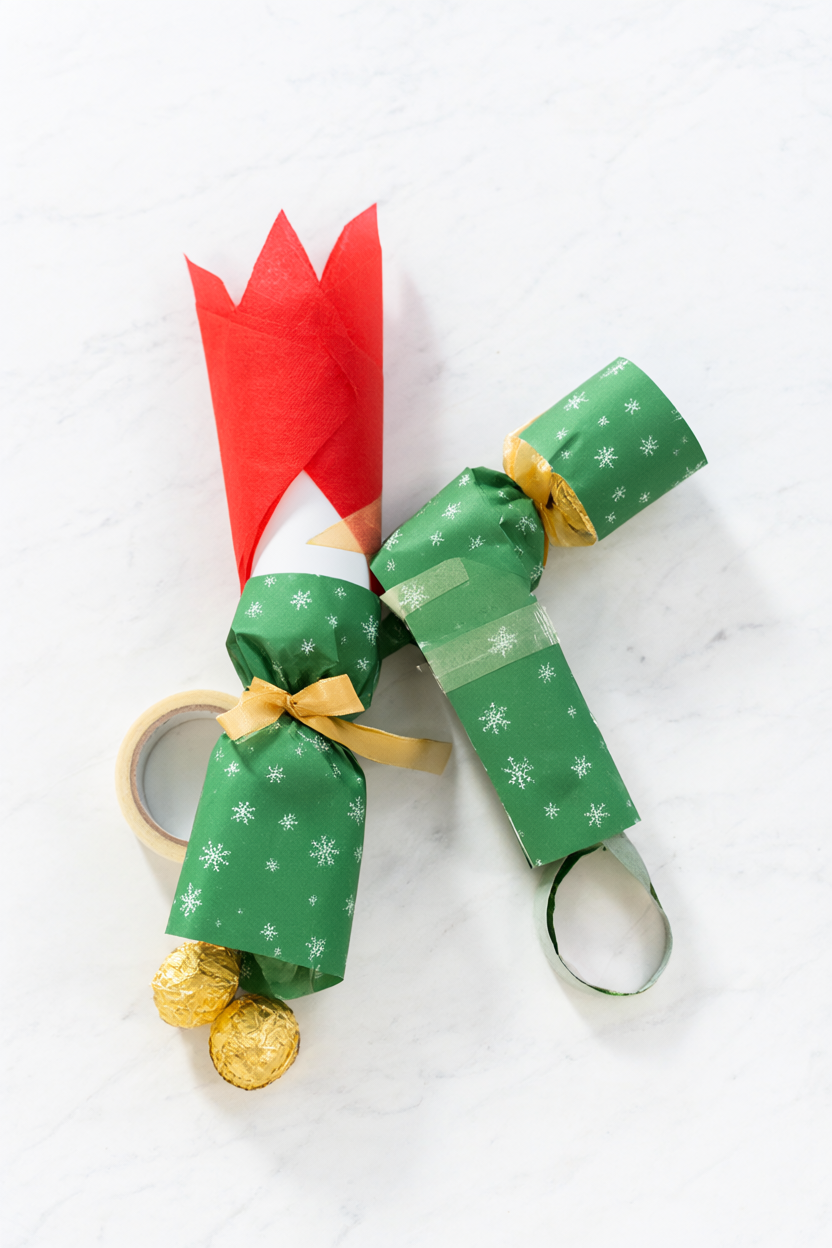
- Cut the 20-inch ribbon for this cracker in half, then pinch the paper flat against one end of the barrel and tie one 10-inch length in a double knot about 1/2 inch from the tube edge. Pull firmly, but let the paper keep a little softness so it does not tear.
- Tie the other end the same way with the second 10-inch length, then pleat the paper beyond each tie into a little fan or trim it with pinking shears. The barrel stays inside, so the cracker holds its round shape even after the paper is cinched. Cut on a stable surface and keep your fingers clear of the blades.
- Tie a kraft tag to one ribbon with a name or short message. Keep the tag small so it does not hide the paper pattern.
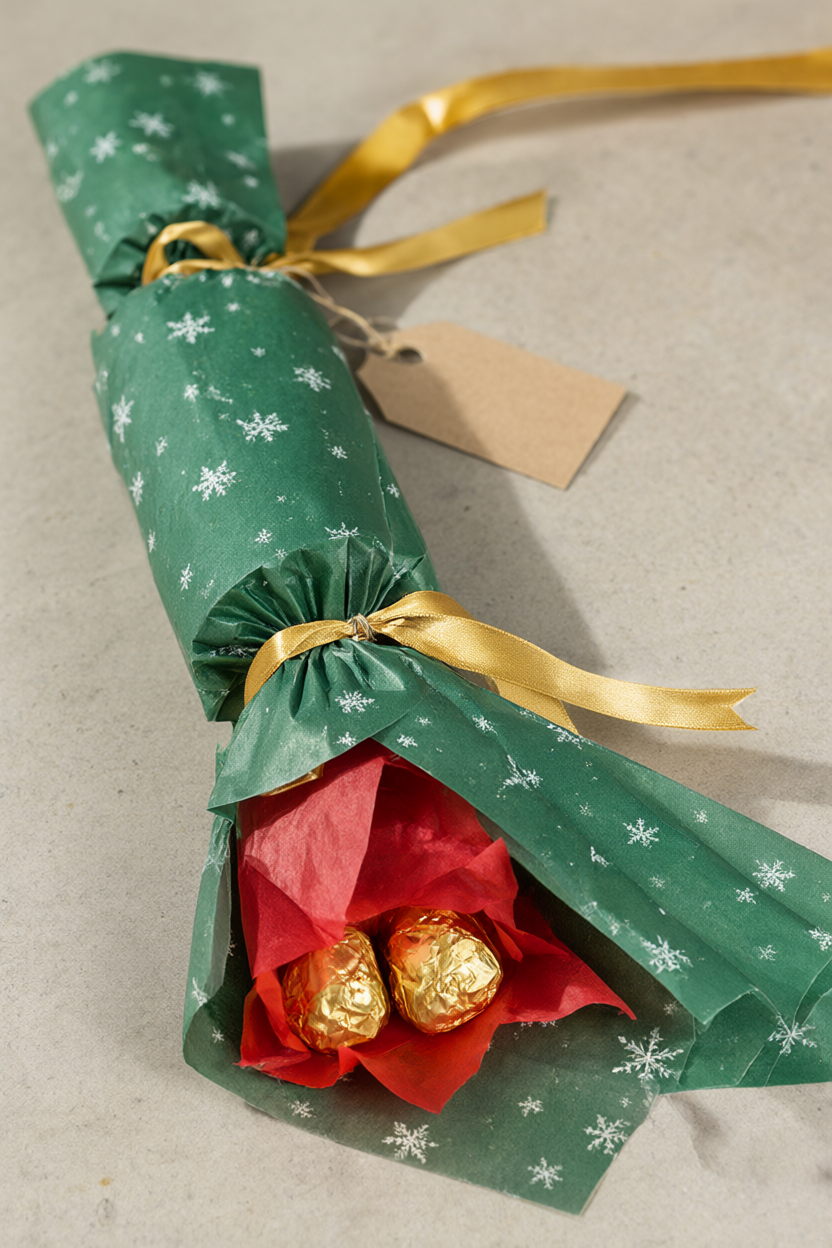
- Repeat for all six and store them flat. To open, untie the ribbons and tip the barrel out; keep the barrels and refill them next year.
Make It Your Own
Scandinavian look. Swap the forest-green paper for plain kraft and the gold satin for red-and-white baker’s twine. A cinnamon stick or a tiny pinecone tucked under each tie adds a warm, natural touch that smells lovely on the table.
Mini tree crackers. Use a single toilet-paper tube, a 6 x 6 inch paper square and a ribbon loop, then hang them as favours on the tree. They take about ten minutes each, which makes them a lovely way to use up paper scraps.
Place-setting crackers. Give every seat its own colour and write each guest’s name on a kraft tag. Fill the grown-up table versions with a scratch card, and keep the sweets and jokes for the kids’ table.
Beginner Mistakes (and Easy Fixes)
- Stuffing a big or heavy gift: the paper tears and the ends sag. Keep fillers light and under about 3 inches so they slide in and out.
- Using thick cardstock or too much tape: the ends will not cinch. Use thin wrapping paper and one neat strip of double-sided tape along the seam.
- Tying too far from the tube end: the cracker looks floppy and rattles. Tie about 1/2 inch from the barrel edge, then fan the leftover paper.
Your Free Printable
The printable is two pages, ready to print on letter paper. Page 1 is What You’ll Need, a 12-item materials and tools checklist, and Page 2 is Step by Step, an 8-step assembly checklist you can tick off as you work. Print it once and keep it on the table so you can shop and craft without scrolling back through this page.
Questions You Might Have
Can you make Christmas crackers without a snap?
Yes. The snap is a separate strip that pops when pulled; without it the cracker simply opens quietly. Tape a snap strip inside the barrel before filling if you want the bang.
What fits inside a homemade Christmas cracker?
Small, light things: chocolates, tea bags, lip balm, stickers, a scratch card, a handwritten joke. Keep each piece under about 3 inches so it slides out easily.
How long should a Christmas cracker be?
About 12 inches is the classic size: an 8-inch barrel wrapped in a 12-inch paper sheet leaves 2 inches at each end to tie. Shorter crackers look cute but leave less room for fillers.
Save This for Later
Pin the photo below so this tutorial is easy to find when the tree goes up.
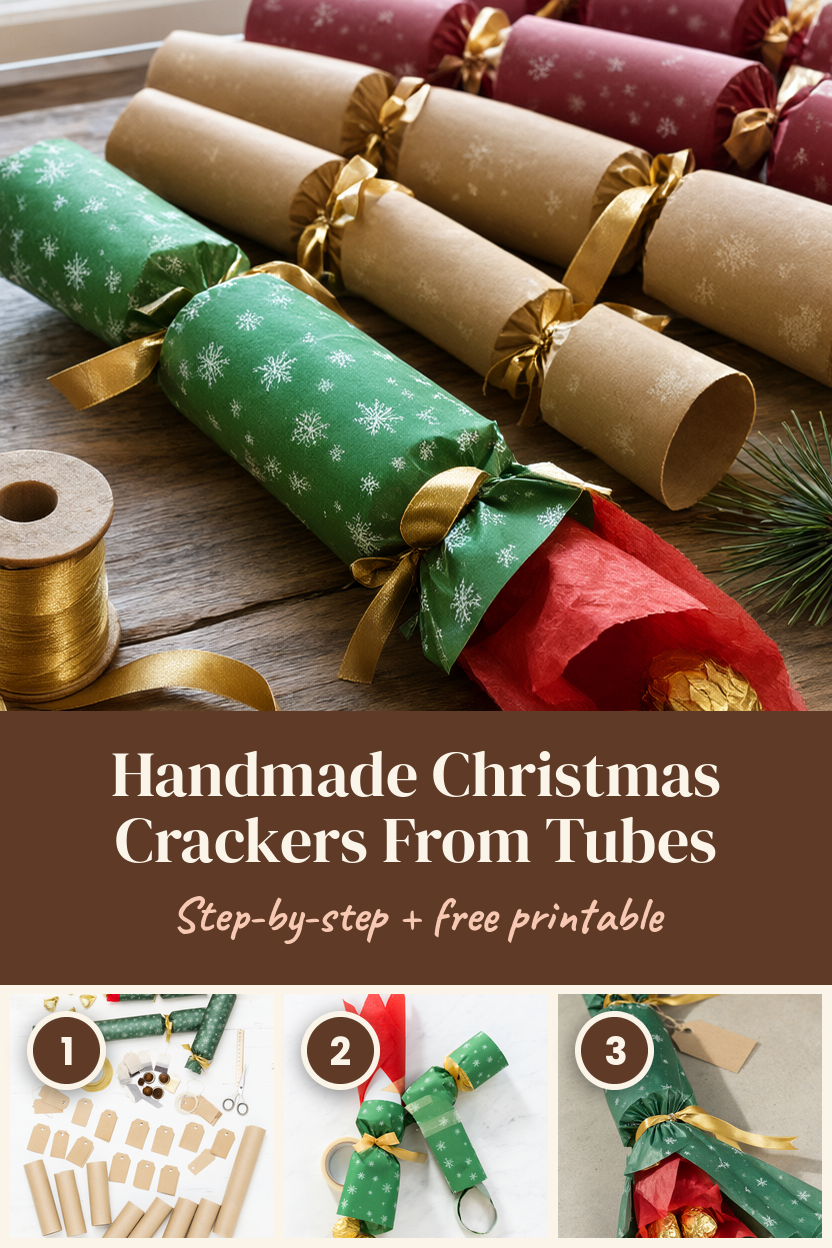
Homemade crackers look generous on a table and cost very little, and the cardboard barrels last for years. Make a batch this weekend, fill them with the good chocolates, and let everyone pull one at dinner. A set also makes a cheerful little gift for a neighbour, tied with the same gold ribbon.