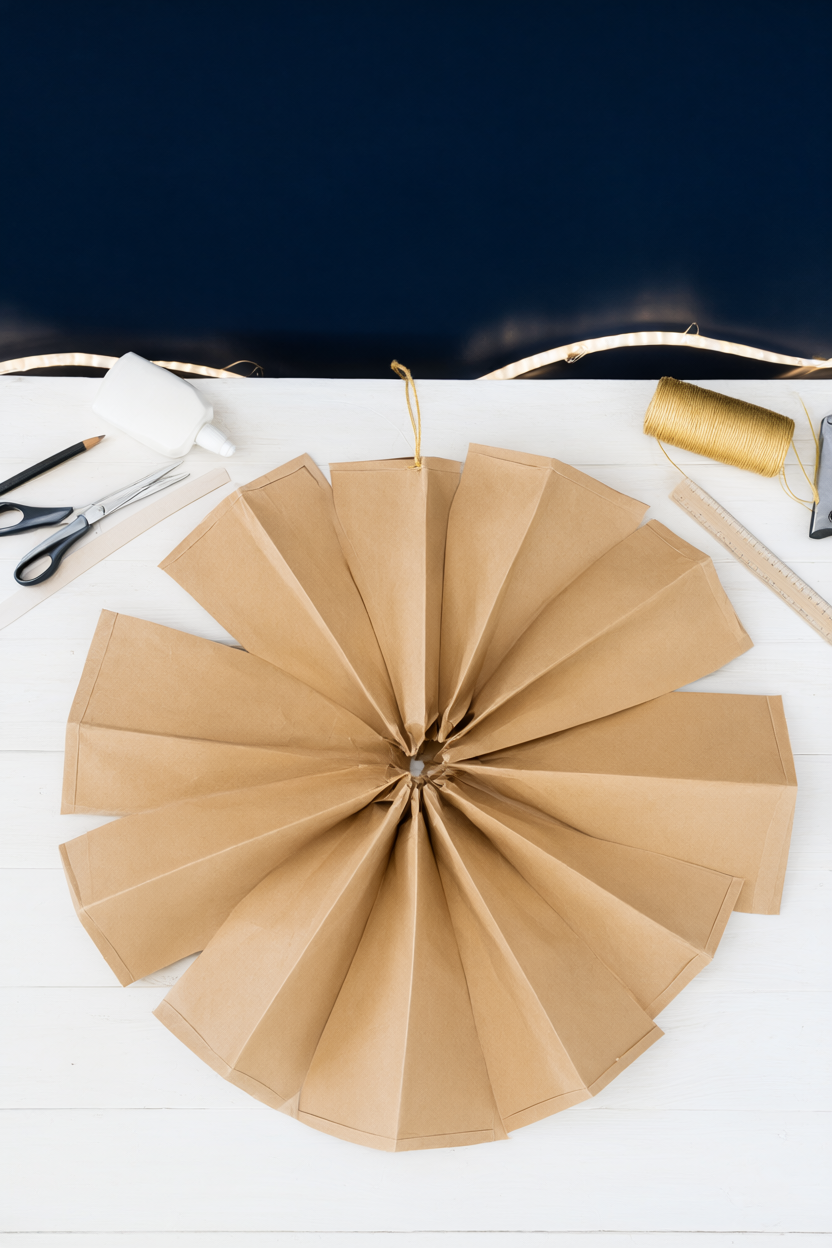
You can turn nine plain brown lunch bags into a fanned paper star about 20 inches across, the kind that makes a window look like a party the moment you hang it. No hot glue gun, no special tools: just white glue, a pencil and two careful cuts, so kids can help with the sticking while an adult handles the blade. Hands-on time is 25 to 30 minutes plus 45 to 60 minutes of drying, and there is a free printable supply list and step checklist included below.

At a Glance
- Difficulty: beginner. Kids can help glue, and an adult should make the nine-layer cut.
- Hands-on time: 25 to 30 minutes.
- Drying time: 45 to 60 minutes, or none at all if you use strong double-sided tape.
- Cost: about $4 to $8 for a 50-pack of lunch bags, white glue and gold twine, enough for five or six stars, so well under $5 per star. Most people already have scissors, a pencil, a ruler and a hole punch. Add $6 to $10 for battery LED fairy lights.
What You’ll Need
- 9 brown paper lunch bags, all the same size, about 5 x 10 inches
- White craft glue, about 1 oz, or strong double-sided tape
- Scrap card or a small foam brush for spreading glue
- Sharp scissors
- Pencil
- Ruler
- Thin gold twine, 12 inches per star, or ribbon
- Hole punch
- Optional: battery-powered warm-white LED fairy lights, and a 2-inch gold cardstock star for the centre
Everything on this list comes from the grocery store or a drawer you already own. If you are making more than one star, buy the 50-pack of bags and a fresh bottle of glue so you are not rationing the last ounce.
Step-by-Step Instructions
Clear a table wide enough for an open 20-inch star, and keep the glue capped between bags so it does not skin over. Keep the finished star flat while the glue dries, because a wet seam will slide if you hang it early.
- Flatten all nine lunch bags and stack them with the flap, the closed bottom, facing down, lining up every edge. Flip through the stack with your thumb so no bag is puffed or twisted.
- Using the ruler, pencil an upside-down T on the top bag: a horizontal line about 1 inch above the flap, and a vertical line running about 5 inches up from its centre. That T is the only place glue goes.
- Lift the marked bag and lay it T-side up as your base. Run a thin line of white glue along the T and spread it with the scrap card, then press the next bag on top and smooth from the centre out. Pencil the same T on each new top bag with the ruler and glue it before adding the next bag, until all nine are stacked; stop with the ninth bag on top and its upper face bare.
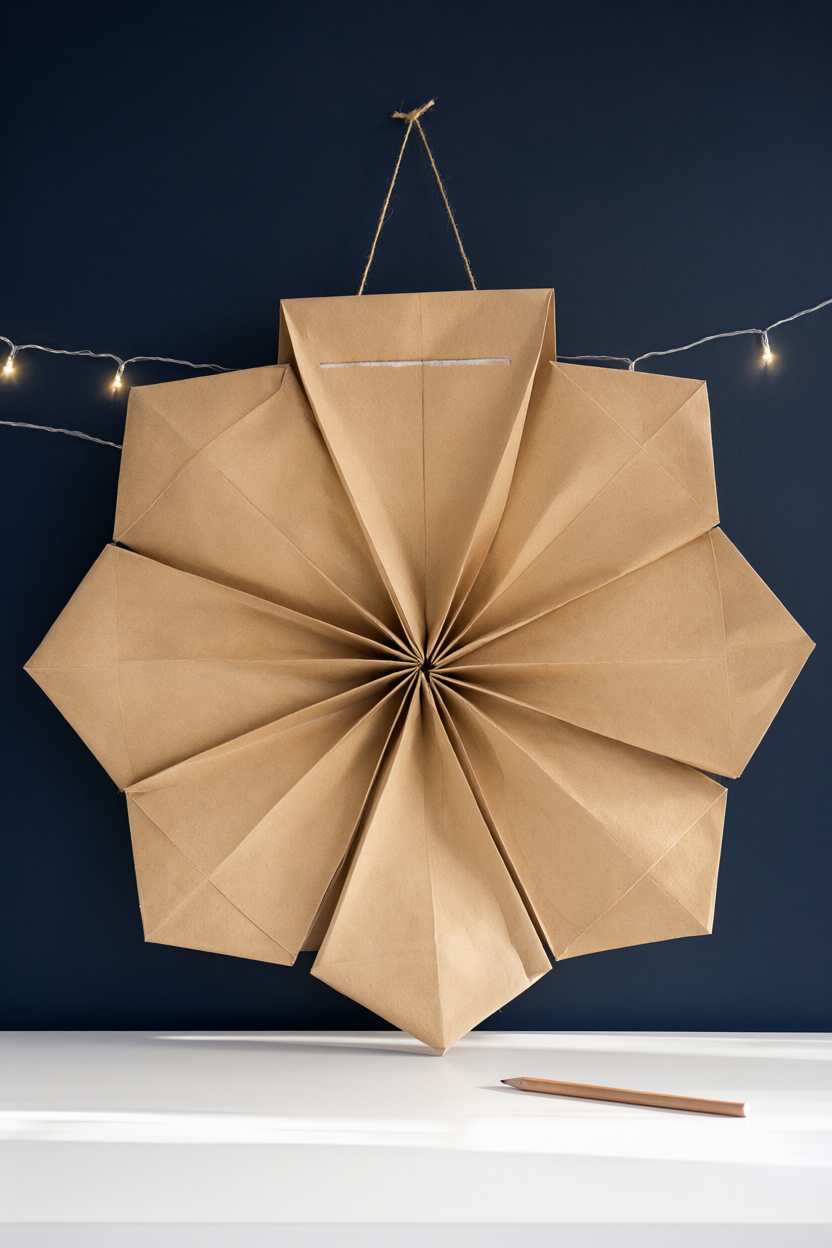
- Mark the centre of the open top edge, then cut from the halfway point of each side edge diagonally up to that mark, through all nine layers. An adult should make this cut, with fingers well clear of the blade.
- Let the stack sit about 10 minutes so the glue grabs, then fan it open until the two end bags meet. Spread the same upside-down T on the exposed end bag and press the first bag onto it.
- Punch a hole through two layers near the top seam, thread 12 inches of gold twine, and tie a loop. Give the loop a gentle tug to check it holds.
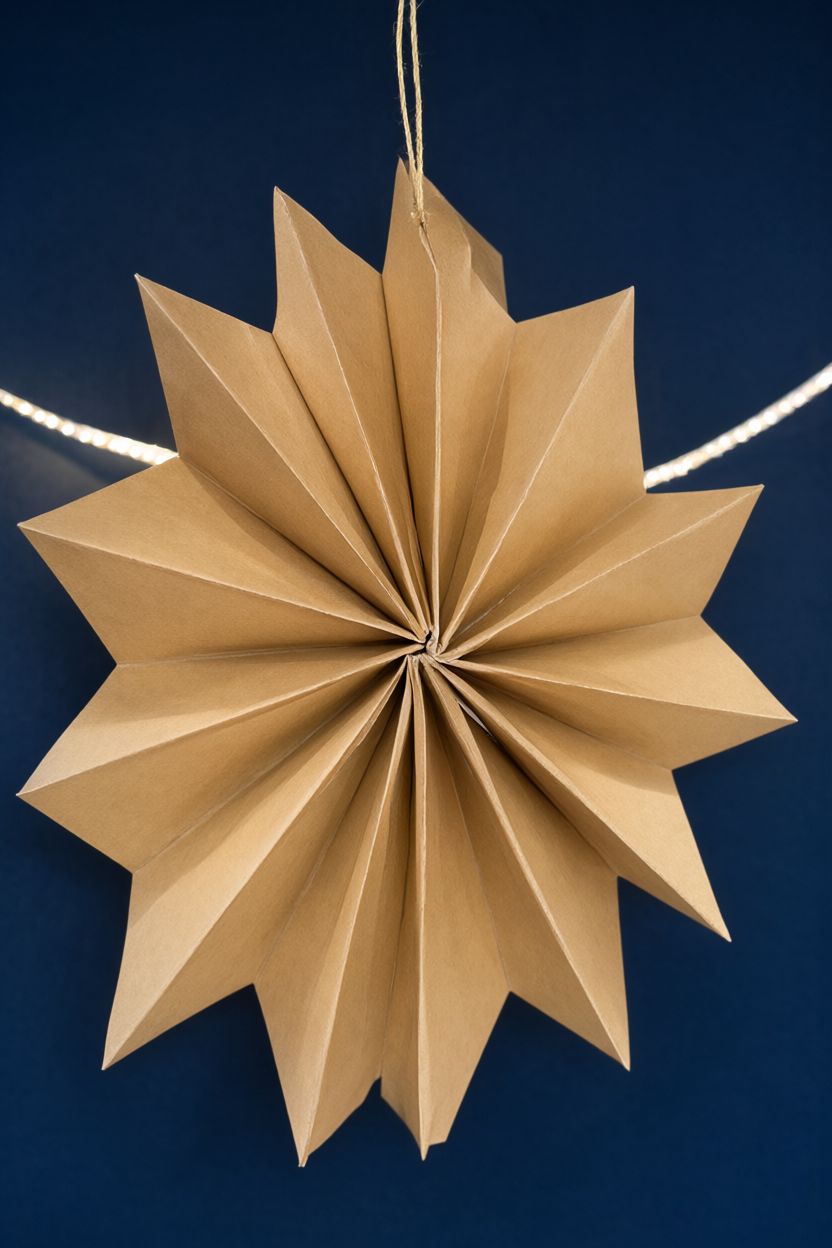
- Let the glue dry 45 to 60 minutes, then hang the star in a window or above a table with battery LED lights tucked behind it.
Make It Your Own
Midnight palette. Swap the brown bags for black or navy ones and keep the gold twine. The pleats catch light along every crease, so the star reads as shadow and sparkle at once, which looks especially good over a dark wall or a black tablecloth.
Mini garland. Use small white bags and 12 to 14 per star so the ends still meet. Make five, thread them along a long line of twine with the LED lights woven between, and run the garland across one window for a softer, twinkling version of the same star.
Gift topper. Glue a 2-inch gold cardstock star right over the centre seam, then tie the paper star to a wrapped gift instead of a bow. The folds are already glued, so it survives the trip and doubles as a decoration afterwards.
Beginner Mistakes (and Easy Fixes)
- Gluing past the T lines locks the fan shut. Keep a thin line on the upside-down T only, and test-open the stack before the glue sets.
- Mismatched or puffy bags stop the end bags meeting. Flatten every bag and use nine identical lunch bags.
- Cutting the top corners too close to the edge gives stubby spokes. Start each diagonal cut about halfway down the side edge.
Your Free Printable
The printable is two pages and follows this tutorial exactly. Page 1 is a What You’ll Need checklist with all nine materials, plus the optional LED lights and gold centre star, so you can shop straight from your phone. Page 2 is a Step by Step checklist covering nine short actions from stacking the bags to hanging the star, with a box to tick for each one.
Questions You Might Have
How many bags make one star?
Nine standard lunch bags, about 5 x 10 inches, give a star about 20 inches across. For small bags use 12 to 14 so the two end bags actually meet, and count them out before you start gluing so you are not short at the last seam.
Is white glue strong enough?
Yes. Once dry it holds the paper folds firmly, and the star stays light enough to hang from a single loop of twine. Double-sided tape is instant if you are working with impatient helpers, and hot glue works but sets too fast to adjust and can burn small fingers.
Can it hang outside?
Keep it indoors or under a covered porch. Paper sags and tears in rain or wind, and the LED lights must stay dry, so a window, a porch ceiling or the wall above a table is the safer spot.
Save This for Later
Save this paper bag star tutorial for your next New Year’s Eve or rainy-day craft session.
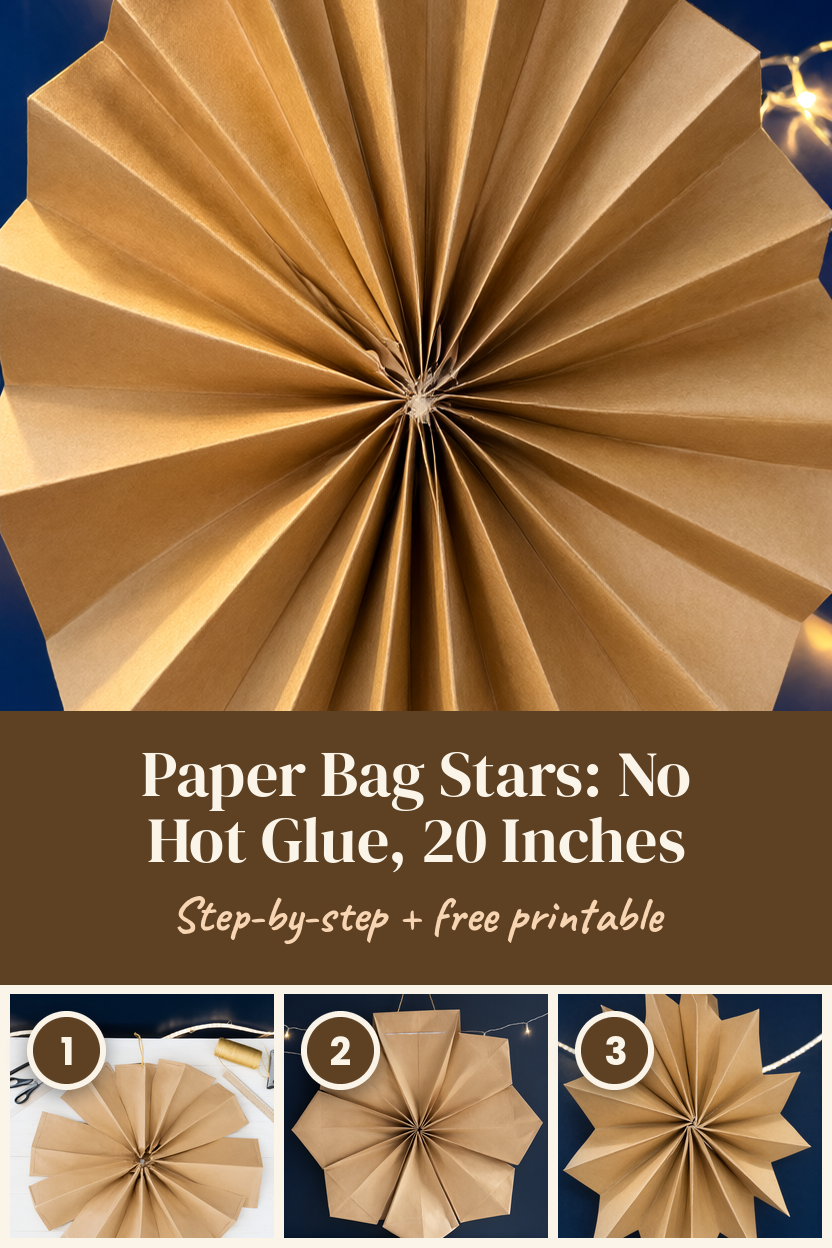
Nine bags, a thin line of glue and two careful cuts are all it takes to fill a dark window with light. Make one this week, then leave the bags out and make a few more while the glue is open. Hang it low enough to see the pleats from the couch, and let the lights do the rest.