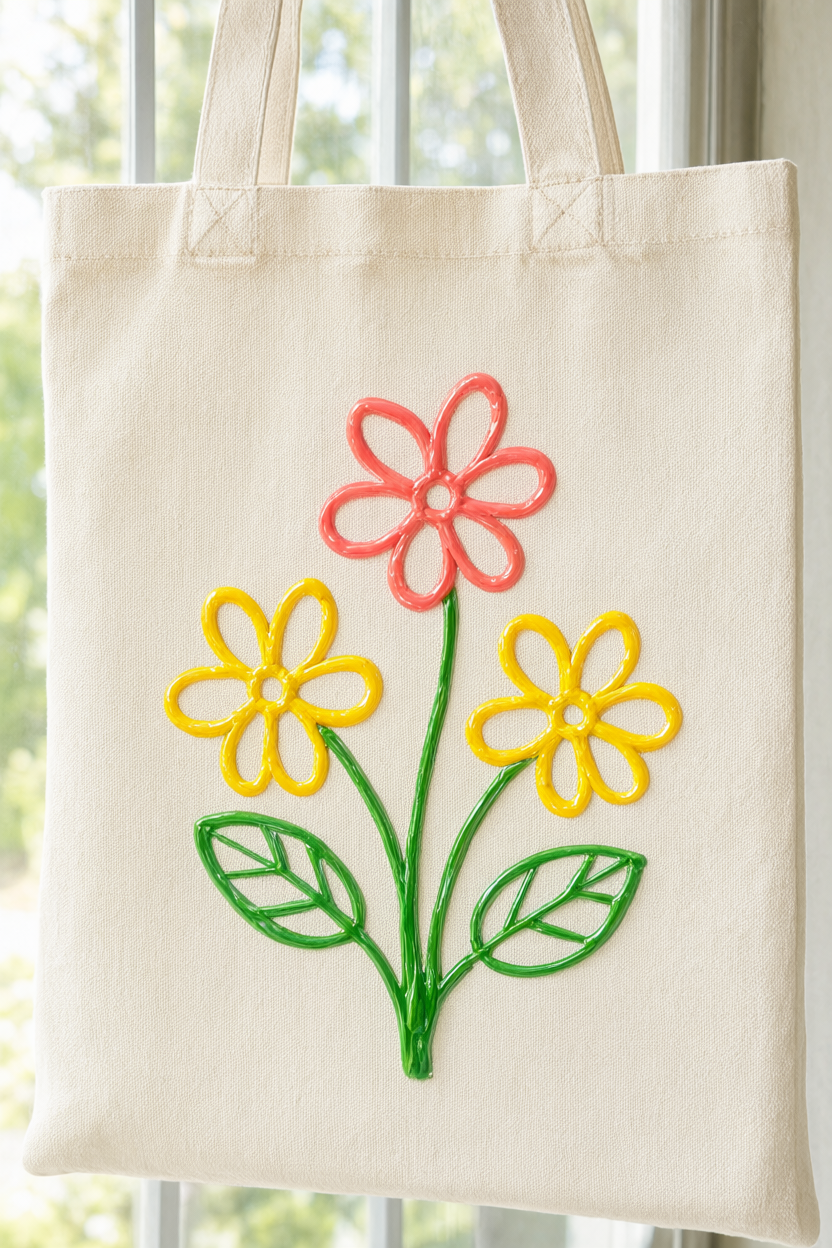
Hot glue embroidery looks like a small magic trick: you draw raised glossy lines with a glue gun, paint them coral pink, sunflower yellow and leaf green, and end up with a wildflower tote that reads as hand-stitched from across the room. There is no needle, no hoop and no embroidery floss involved, just glue, paint and a plain canvas bag. Hands-on time is about an hour plus 30 to 45 minutes of paint drying, and the free printable supply list at the end of this post has everything in one place.
At a Glance
- Difficulty: Beginner. If you can hold a glue gun steady and paint inside a line, you can make this.
- Hands-on time: About 1 hour, start to finish.
- Drying and curing: 30 to 45 minutes between paint coats, plus overnight if you seal the bag with Mod Podge Fabric.
- Cost: About $15 to $25 if you buy the tote, paints, brushes and glue sticks new, or about $5 to $8 if you already own a glue gun and acrylic paints.
What You’ll Need
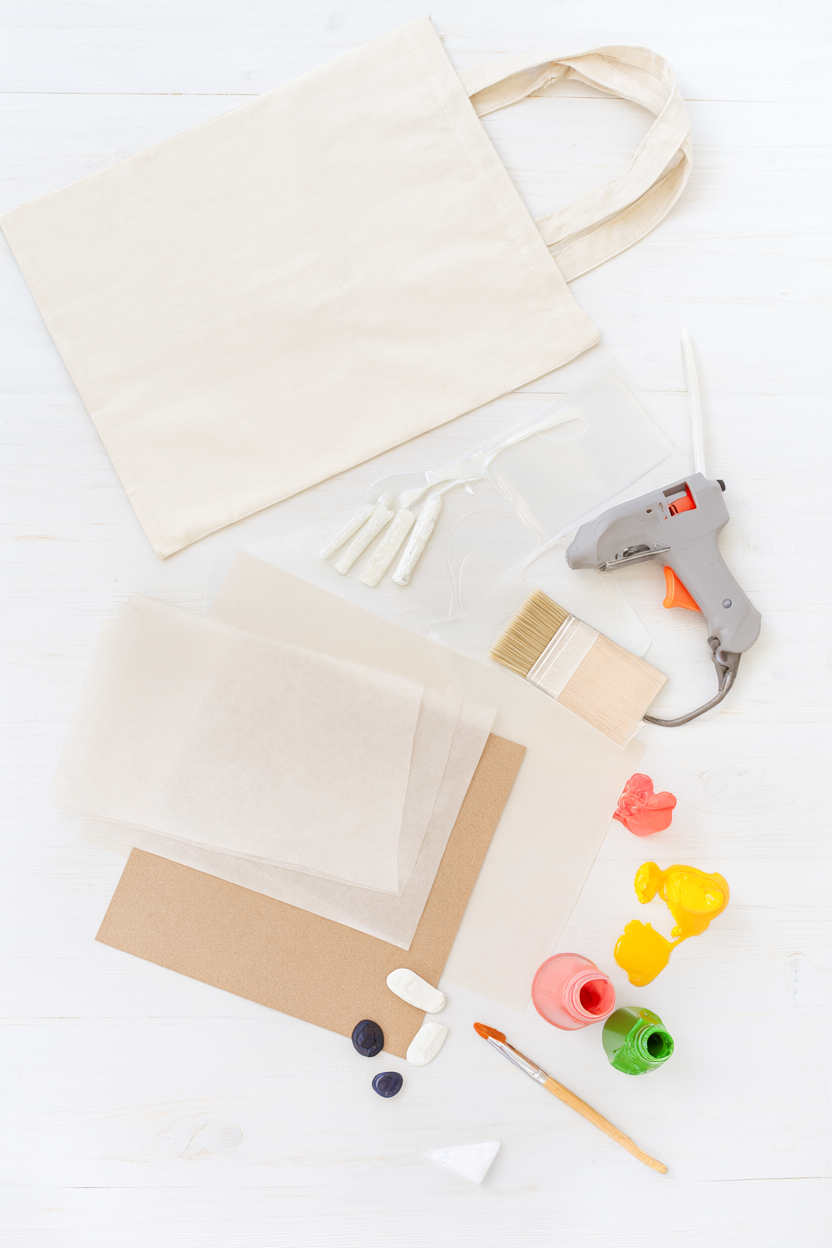
- Cotton canvas tote bag, 15 x 16 inches, natural
- Iron
- Low-temp hot glue gun
- 3 clear hot glue sticks, 7/16 inch
- Acrylic paint in coral pink, sunflower yellow and leaf green, plus fabric medium
- Flat brush size 4 and round brush size 1
- Water-soluble fabric marker or white chalk
- Plain paper and a pencil for sketching
- Cardboard sheet cut to fit inside the tote
- Parchment paper or a silicone mat
- Toothpicks and cotton swabs
- Mod Podge Fabric or matte sealer, optional
- Scissors
Step-by-Step Instructions
- Wash and dry the tote, then press it flat. Give a new canvas bag a quick cold wash and let it air dry so any sizing or factory dust is gone, then press it with a warm iron while it is still a little damp. Let it cool completely, because a smooth, relaxed panel is far easier to draw on than a creased one.
- Slide a cardboard sheet inside the tote. Cut plain cardboard with scissors to roughly the size of the front panel and slide it in. This keeps glue from soaking through to the back and stops the bag from sealing itself shut, which makes it the most important safety step in the whole project.
- Sketch three five-petal flowers and two leaves in chalk. Draw three loose flowers, two soft oval leaves and three connecting stems on plain paper with the pencil first, then copy the bouquet onto the tote in chalk, keeping it about 6 inches wide and centred on the front panel. Keep the shapes open and simple, with small circles for the centres, because the glue line adds most of the detail. If a mark goes wrong, wipe it away with a damp cotton swab and let the fabric dry before redrawing.
- Heat the low-temp glue gun for 5 minutes. A half-warm gun pushes out lumps instead of a smooth bead, so give it the full 5 minutes. Rest it on parchment paper or a silicone mat, never directly on the canvas, and keep the tip away from your fingers.
- Trace each petal outline with a steady glue line. Squeeze a thin, continuous bead along each outline, moving the tip at an even pace and holding the nozzle just above the fabric so the glue sits on top instead of sinking in. Let each line cool for a second before you move your hand, because that raised ridge is what catches the light later. Work one flower at a time and keep the gun moving so the lines stay even.
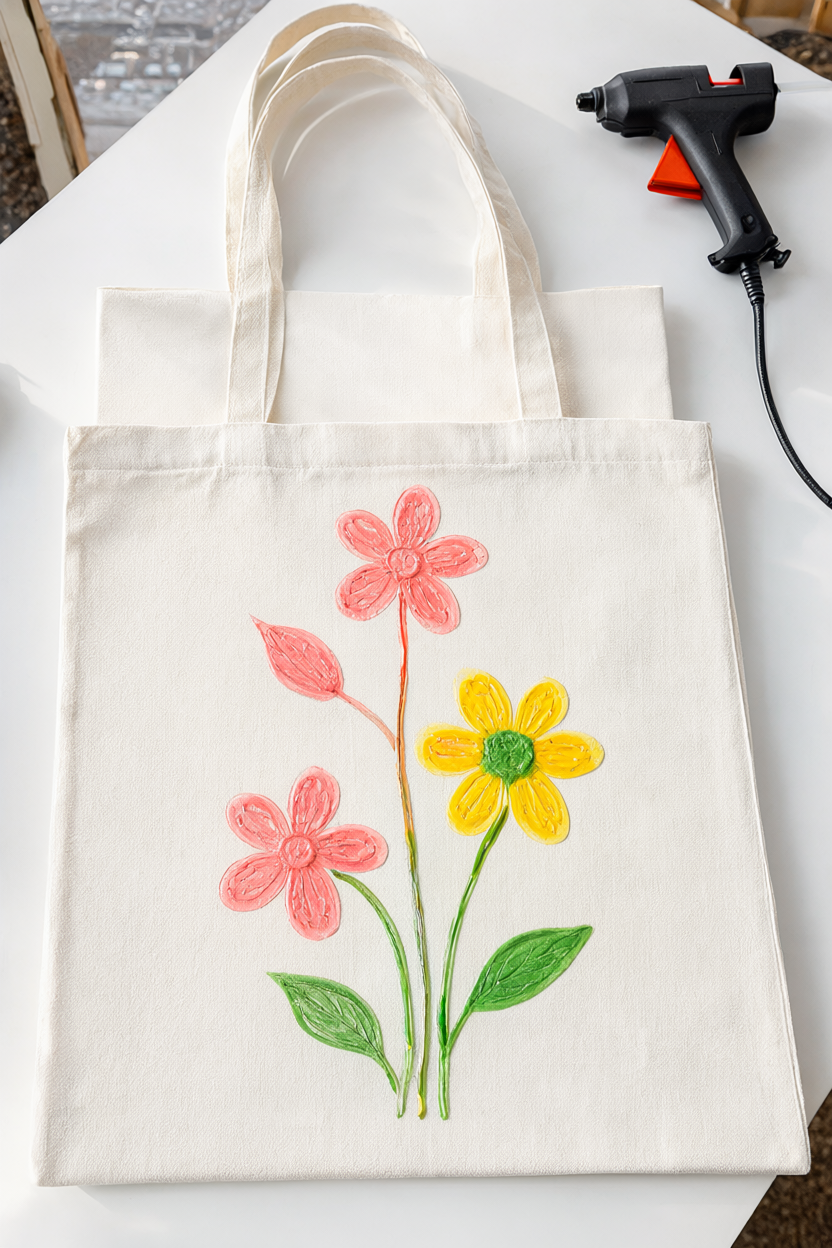
- Add stems and leaf outlines, then let the glue set for 10 minutes. Draw a stem from each flower down to a shared point, then outline the two leaves with a single loop and a centre vein. Keep the stems thin, since a heavy line looks ropey once it is painted. Leave the design undisturbed for about 10 minutes so the glue firms up and turns from clear to cloudy white.
- Paint the raised lines coral, yellow and green. Mix acrylic paint with a little fabric medium, then paint the raised glue lines rather than flooding the canvas around them: a size 4 flat brush for the petals and leaves, and the round size 1 brush for the centres and thin stems. Wipe any slip immediately with a cotton swab and tidy wobbly edges with a toothpick. Paint the petals coral pink, the centres sunflower yellow and the stems and leaves leaf green, letting each colour dry before you start the next so nothing smudges.
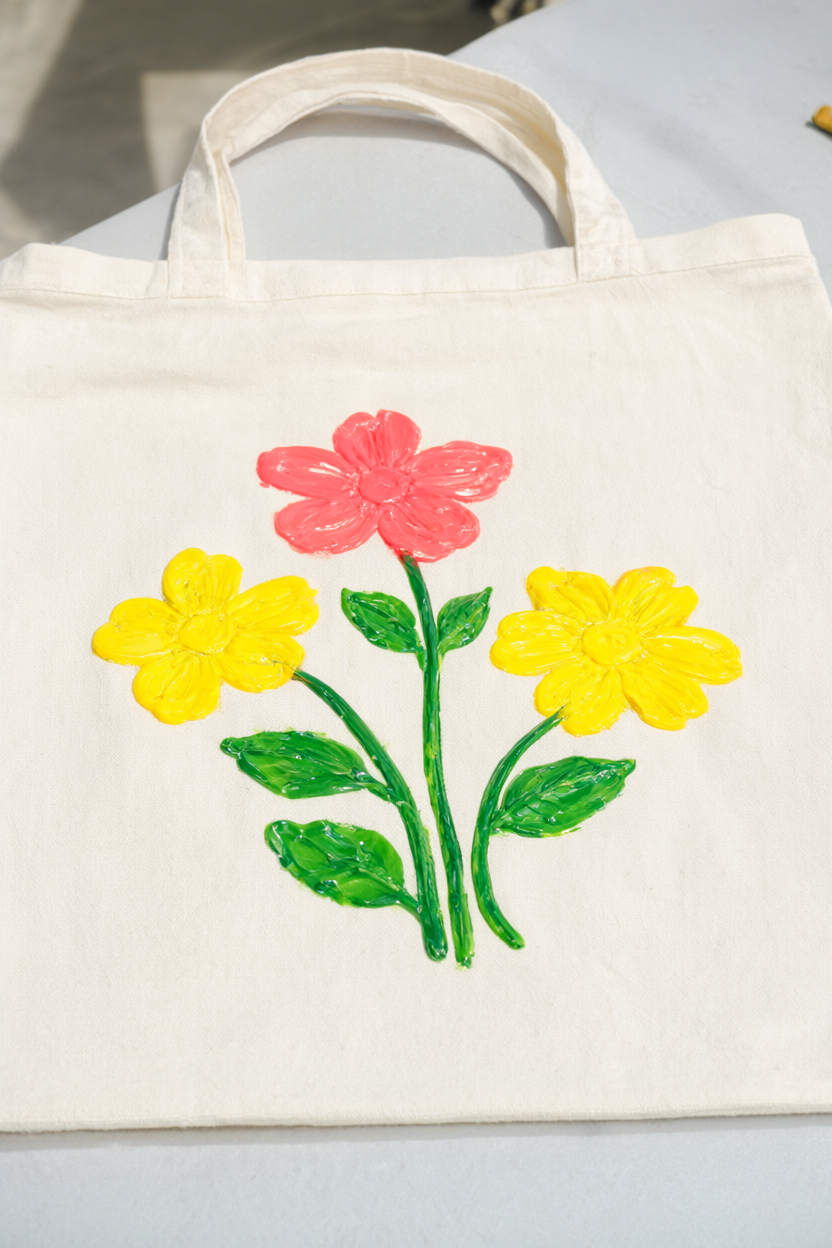
- Let the paint dry 30 minutes, then add a second coat. Wait 30 to 45 minutes, then add a thin second coat to any patchy spots, because thin coats grip smooth glue far better than one thick layer. Let the second coat dry for another 30 minutes before you seal the bag.
- Seal with Mod Podge Fabric (optional) and dry overnight. For a more washable finish, brush on a thin coat of Mod Podge Fabric in a ventilated room and let it cure overnight in a dust-free spot before you fill the bag. If you skip the sealer, let the paint cure for 24 hours instead. From then on, spot clean cold and air dry, and skip the dryer and the iron because heat softens the glue.
Make It Your Own
Colour scheme. Use a navy tote with white and metallic gold lines for a midnight-garden look, or sage green and cream for a softer palette.
Shape. Swap the bouquet for a single bold heart, a monogram or a rainbow arc, since the glue-and-paint method works with any simple outline.
Use. Make a matching zipper pouch or add the same design to a sweatshirt pocket for a coordinated handmade gift.
Beginner Mistakes (and Easy Fixes)
- Thin, blobby glue lines. Squeezing before the gun is fully hot makes lumpy lines, so heat it 5 full minutes and keep the tip moving at a steady pace.
- Glue bleeding through or sealing the bag shut. Skipping the cardboard insert lets glue soak into the back panel, so always slide a cardboard sheet inside first.
- Paint that beads or flakes off. Thick paint on smooth glue cannot grip, so use thin coats of acrylic mixed with a little fabric medium and seal with Mod Podge Fabric.
Your Free Printable
The free printable packs everything into two tidy pages. Page 1 is a 12-item checklist of the tote, glue gun, glue sticks, paints and tools, and page 2 is a 9-step checklist that walks you from washing the tote all the way to sealing the painted design.
Questions You Might Have
Will hot glue embroidery survive washing?
It is best spot cleaned with cold water and mild soap. A gentle hand wash inside out and air drying is okay, but skip the dryer and the iron because heat softens the glue. Sealing helps, though painted lines can fade over time.
Can I use a regular high-temp glue gun?
Yes, but a low-temp gun is safer on thin cotton and gives you a few extra seconds to shape each line. Test on a scrap of canvas first, because high-temp glue can bleed through.
What kind of paint sticks to hot glue?
Acrylic or fabric paint works best. Apply thin coats, let each one dry, and seal with Mod Podge Fabric or a matte fabric sealer so the paint flexes with the bag instead of cracking.
Save This for Later
Pin this tutorial so you can find the supply list and the step-by-step instructions the next time you want a one-hour craft.
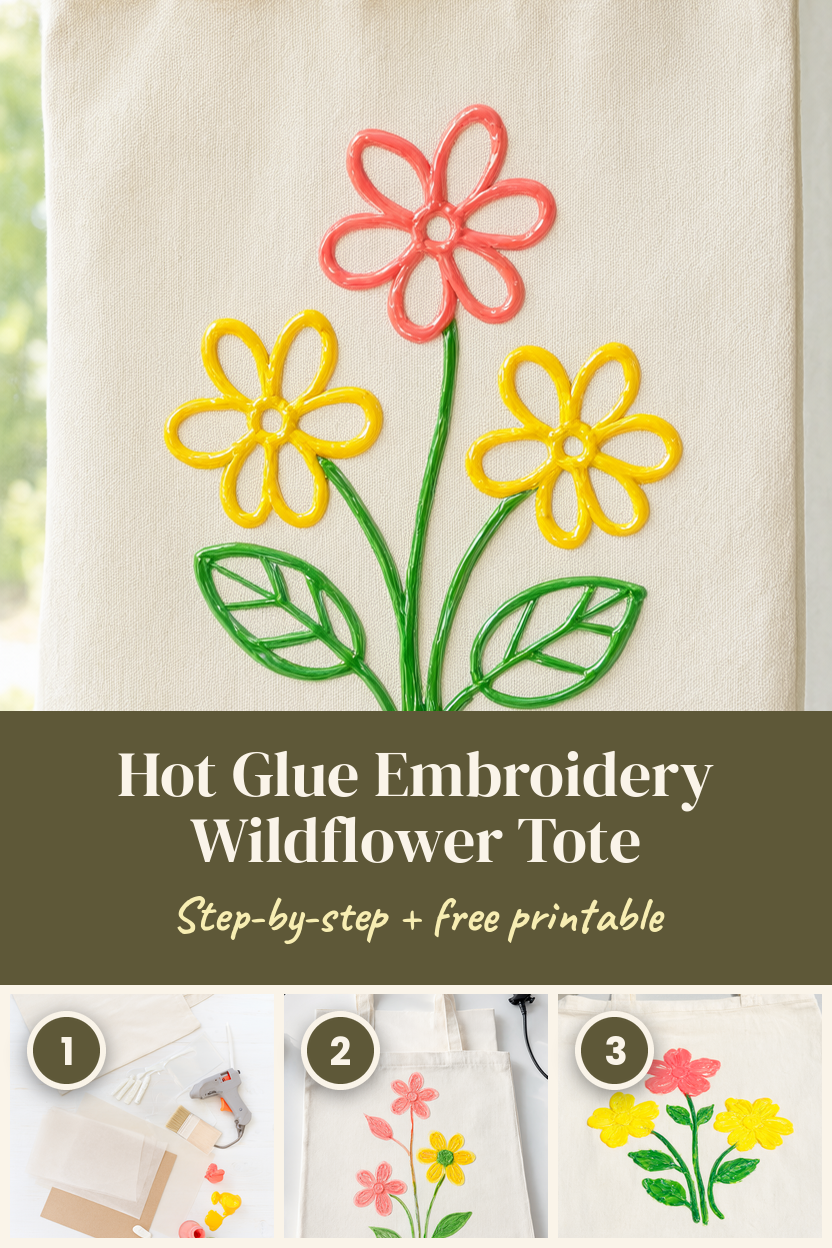
A plain canvas tote, a glue gun and three little paint pots are all it takes to make something that looks far more complicated than it is. Start with one flower to get a feel for the glue, then let the rest of the bouquet bloom.