Snail mail ideas are easy to collect and hard to act on when your stationery lives in five different drawers. A small, ready-to-go kit removes the friction, so a real letter takes minutes instead of an afternoon. This free printable starter kit includes a supply checklist, a letter planner, and an address log to keep everything simple.
What’s inside the printable
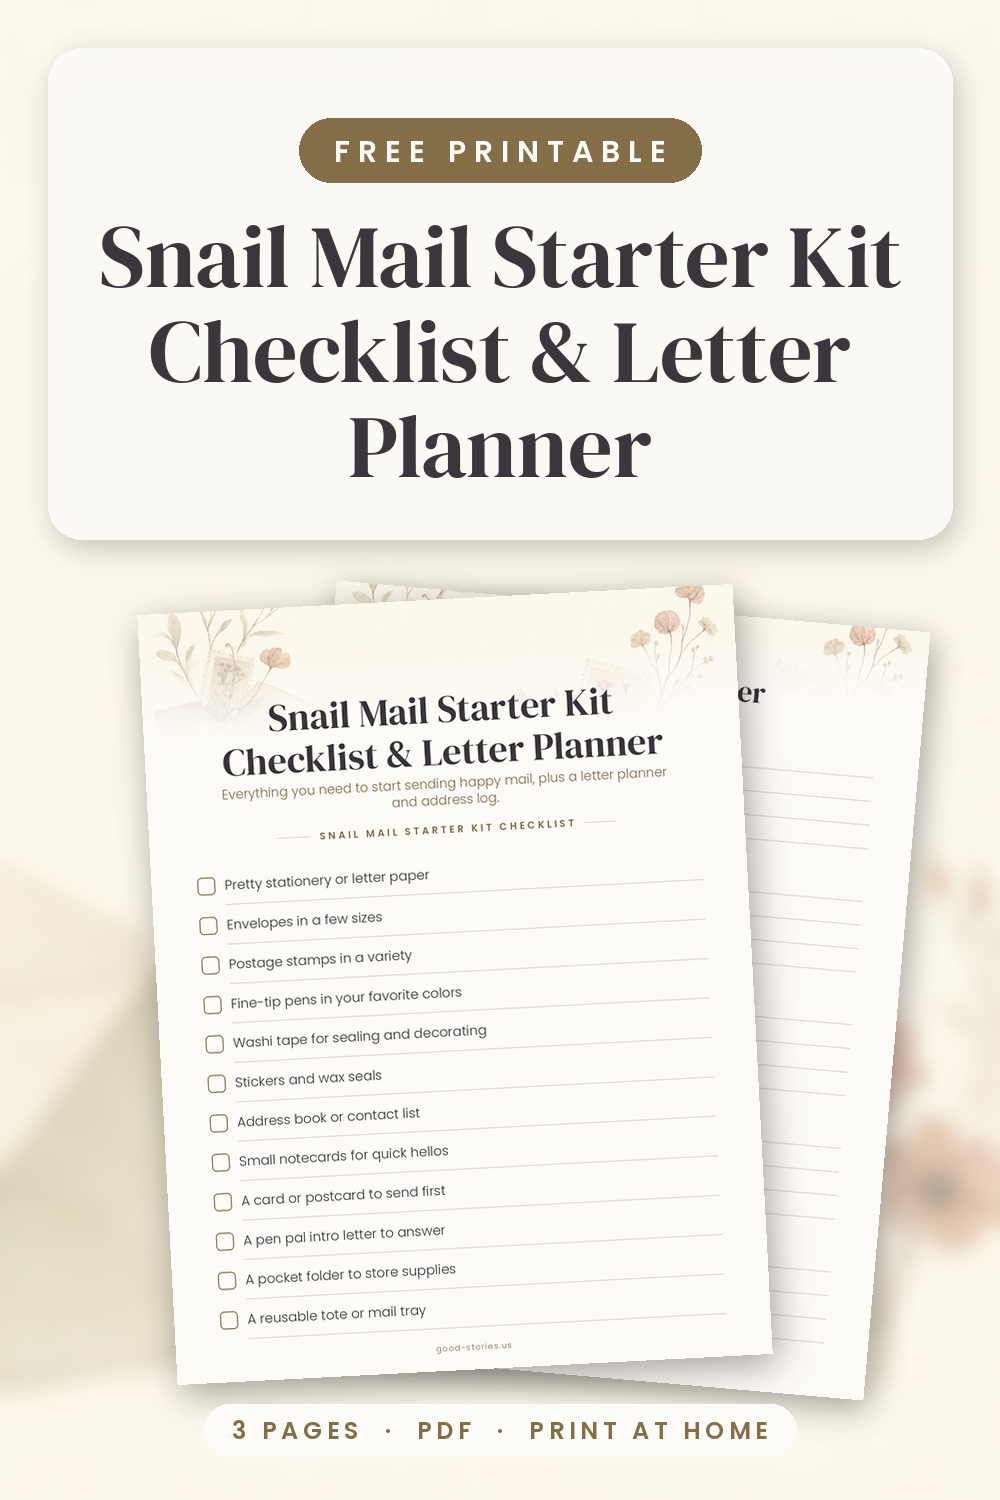
The free printable runs to three US Letter pages, so you can print it once and keep it with your supplies.
- Page 1 is a 12-item checklist of starter supplies, from letter paper and envelopes to washi tape and an address book.
- Page 2 offers five letter-planning prompts with writing lines to help you shape your first letter.
- Page 3 gives you four address-log boxes with writing lines so every pen pal’s details stay in one place.
Why a Kit Helps You Actually Send Mail
The biggest barrier to sending mail is not finding the words; it is finding the supplies. When paper, envelopes, stamps, and pens are scattered across the house, even a short note turns into a project. A kit puts everything in one box, so the only decision left is who to write to. Keep the box where you sit in the evening, next to your favorite chair or on a shelf by the door. A letter then becomes a ten-minute pleasure rather than one more task you keep postponing. The same logic applies when you are collecting pen pal letter ideas: when the materials are ready, you spend your energy on the person, not the preparation.
What Goes in a Snail Mail Starter Kit
You do not need a big budget or a dedicated craft room. A simple snail mail starter kit fits in a shoe box, a tote, or a deep drawer. Start with these basics and add slowly:
- Letter paper or cute stationery you genuinely enjoy writing on.
- Envelopes in a few sizes for letters, notecards, and small photos.
- Forever stamps, since one covers a standard 1 oz US letter.
- Fine-tip pens in colors that feel good in your hand.
- Washi tape and stickers for sealing and decorating.
- A small address book for pen pal details.
- A pocket folder or tote to keep it all together.
If you love a snail mail aesthetic, choose a palette you like and let the supplies match. A few rolls of washi tape in the same colors make even a plain envelope feel considered, and a pretty pen is its own invitation to write.
Plan Your First Letter With the Printable Prompts
The blank page is easier when you give it a shape. Open page two of the printable and work through the five prompts before you write your final copy.
- Pick one person and note why you thought of them this week.
- Share three small updates, the kind you would mention over coffee.
- Ask one easy question that is simple to answer.
- Choose one small extra to tuck in, such as a sticker, a photo, or a tea bag.
- Draft a rough version on the lines, then copy it onto your good paper.
Short is fine. A warm half page beats a perfect letter you never finish, and the prompts are there to get you moving, not to turn a friendly note into homework. If you get stuck, start with the question and work backwards. Questions give the other person an easy way to reply, which is what keeps a pen pal friendship alive.
How to Address and Send Your Letter
Addressing is the step people overthink most. Put your return address in the top-left corner and your pen pal’s address in the center of the envelope. Place the stamp in the top-right corner. If your envelope is heavy or bulky, check the postage before you send it, because one Forever stamp covers a standard one-ounce US letter.
Log the address on page three of the printable on the same day you send. Your future self will be glad when a reply arrives and you want to write back without hunting for an envelope. Finally, choose a monthly send day, such as the first Saturday or the last Sunday evening, and put it on your calendar. A fixed date turns sending mail into a rhythm instead of a resolution you forget by February.
Keep It Going All Year
Once the kit exists, keeping it going is the fun part. Keep a few notecards in your bag for five-minute hellos, and send postcards when you want to say something short. Postcards need less postage and only a sentence or two, which makes them perfect for busy weeks.
Check your supplies once a month: count your stamps, restock envelopes, and make sure your favorite pen still writes. Ten minutes of restocking prevents the moment when you are finally ready to write and discover you are out of everything. The printable checklist makes the monthly check quick, and the address log keeps every reply within reach.
How to Use Your Printable
Print the pages on US Letter paper at 100 percent scale for the clearest lines. If you use A4, choose Fit to page when you print so nothing is clipped at the edges.
- Print two copies and keep one in your kit and one in your planner.
- Write addresses in pencil so you can update them later.
- Slip the checklist into a page protector and mark it with a dry-erase pen.
- Use the letter planner for a rough draft, then copy the final version onto your good paper.
- Take a photo of the finished address log as a backup.
There is no wrong way to use it. Some people fill the checklist in one sitting; others add to it as supplies arrive. Both work.
Starting a pen pal habit does not require a perfect desk or a big budget. Fill one box, print one checklist, and write one letter this week. The rest is envelopes, stamps, and small habits that make the mailbox a happier place.