Turn four leftover skeins of worsted yarn into a six-foot garland of twelve soft, fluffy pom-poms that looks cheerful above a dresser, a headboard, or a party table. The trick is a plain cardboard rectangle instead of a store-bought pom-pom maker, so the whole project stays beginner-friendly and cheap. Set aside about 2.5 to 3 hours of hands-on time, with no drying or curing, and keep the free printable supply list and checklist nearby while you work.
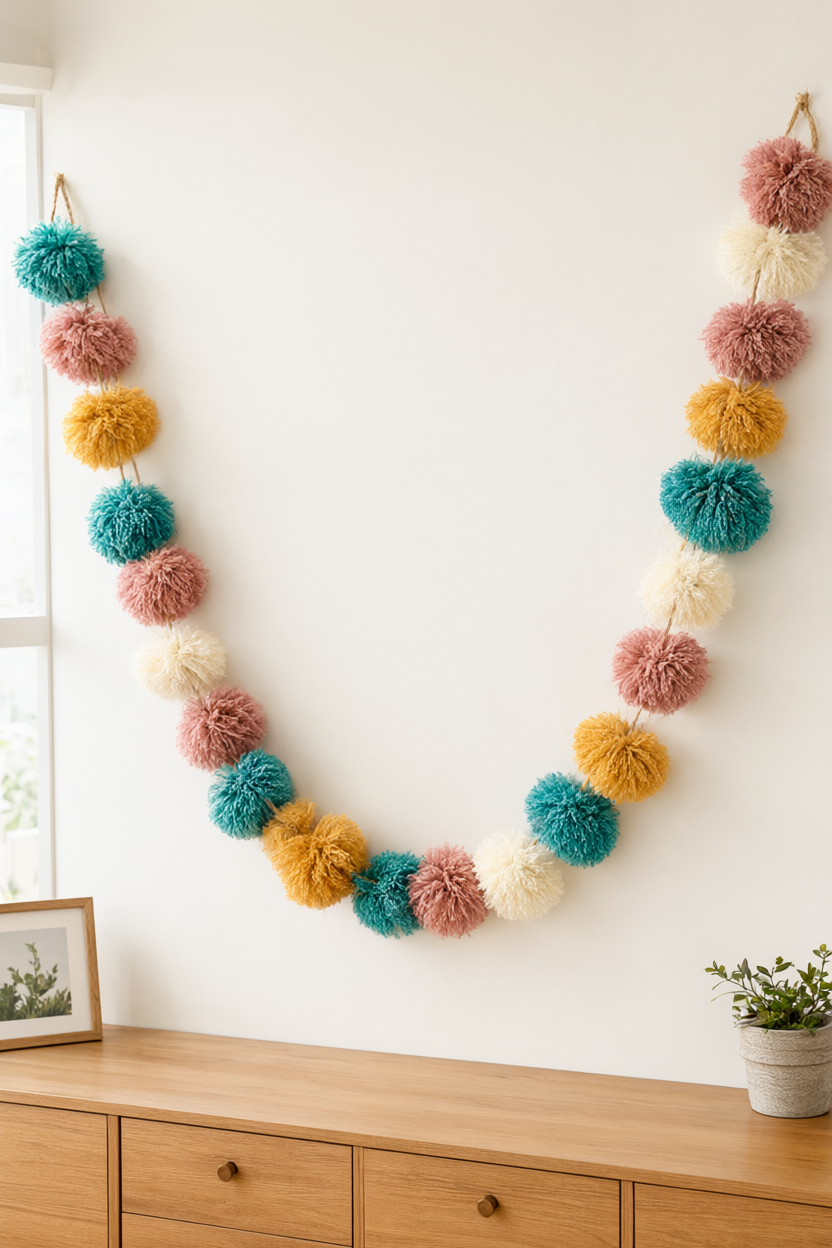
At a Glance
- Difficulty: Beginner. No pom-pom maker or sewing needed.
- Hands-on time: About 2.5 to 3 hours, including wrapping, trimming and tying.
- Drying or curing: None. The garland is ready to hang as soon as it is fluffed.
- Cost: About $12 to $20 for four 100 g acrylic skeins and twine, or under $5 with stash yarn and string you already own.
What You’ll Need
One trip to a craft shelf, or a dig through your yarn basket, covers everything. The yarn amounts below leave a little room for trimming mistakes, which is exactly what you want.
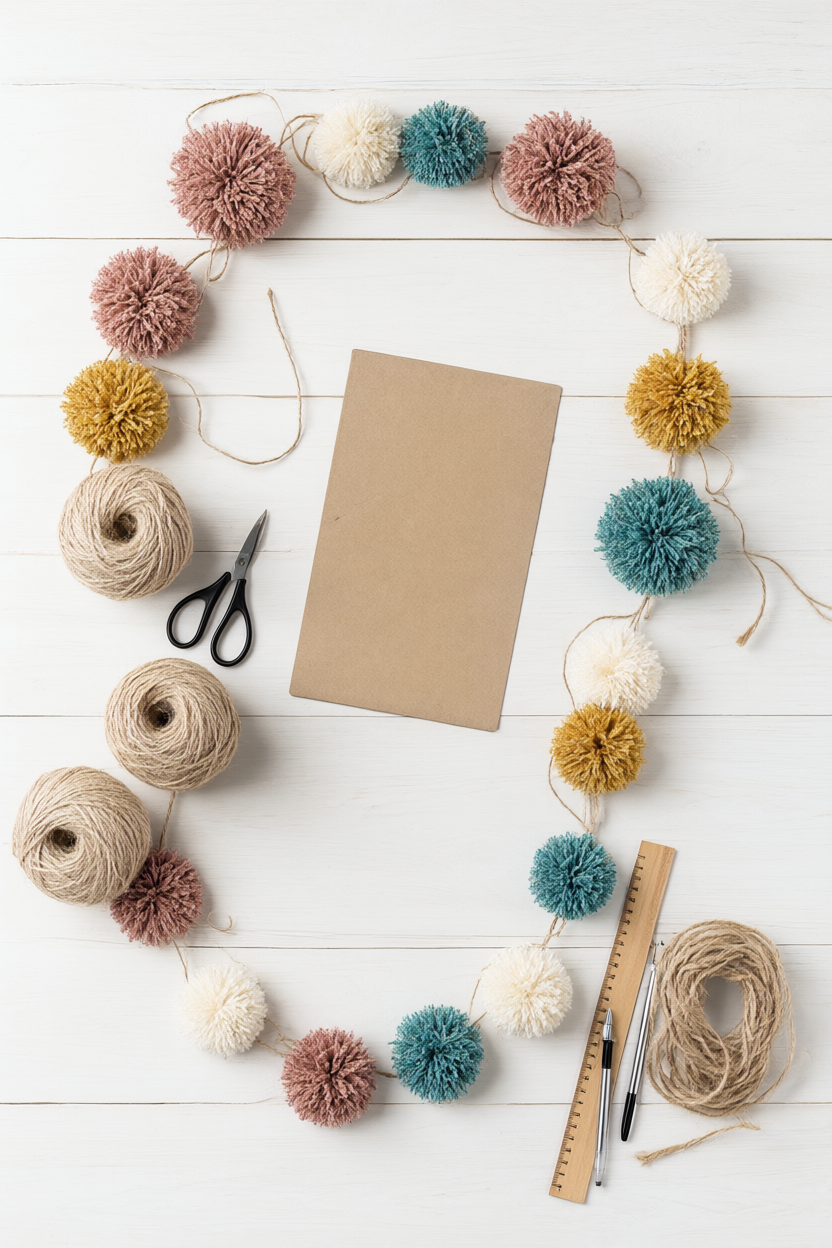
- Worsted-weight yarn, about 60 yards each in dusty rose, mustard yellow, teal and cream (roughly 220 to 240 yards total)
- A piece of sturdy cardboard at least 3.5 by 6 inches
- Jute twine or cotton string, 7 feet
- Sharp scissors
- A ruler or tape measure
- A pen or pencil
- A small bin or bag for yarn scraps
- Clear-drying craft glue (optional, for securing a stubborn tail)
Step-by-Step Instructions
Each pom-pom takes about ten minutes once you find the rhythm, and the whole garland comes together in one sitting. Work at a table with good light, and keep the scissors pointed away from your fingers.
- Cut the template. Cut a piece of sturdy cardboard 3.5 inches wide and 6 inches tall; a cereal box is sturdy enough. The width sets the finished pom-pom size, so measure twice and trim the edge straight. Draw a 3-inch circle on a scrap of cardboard and keep it nearby as a trimming guide.
- Wrap the first color. Hold a 6-inch tail of your first color against the cardboard and wrap it around the 3.5-inch width 80 to 100 times. Keep the wraps side by side and snug, not stretched tight, and push them together as you go so no gaps show. Count in groups of ten, then cut the yarn and leave a 6-inch tail.
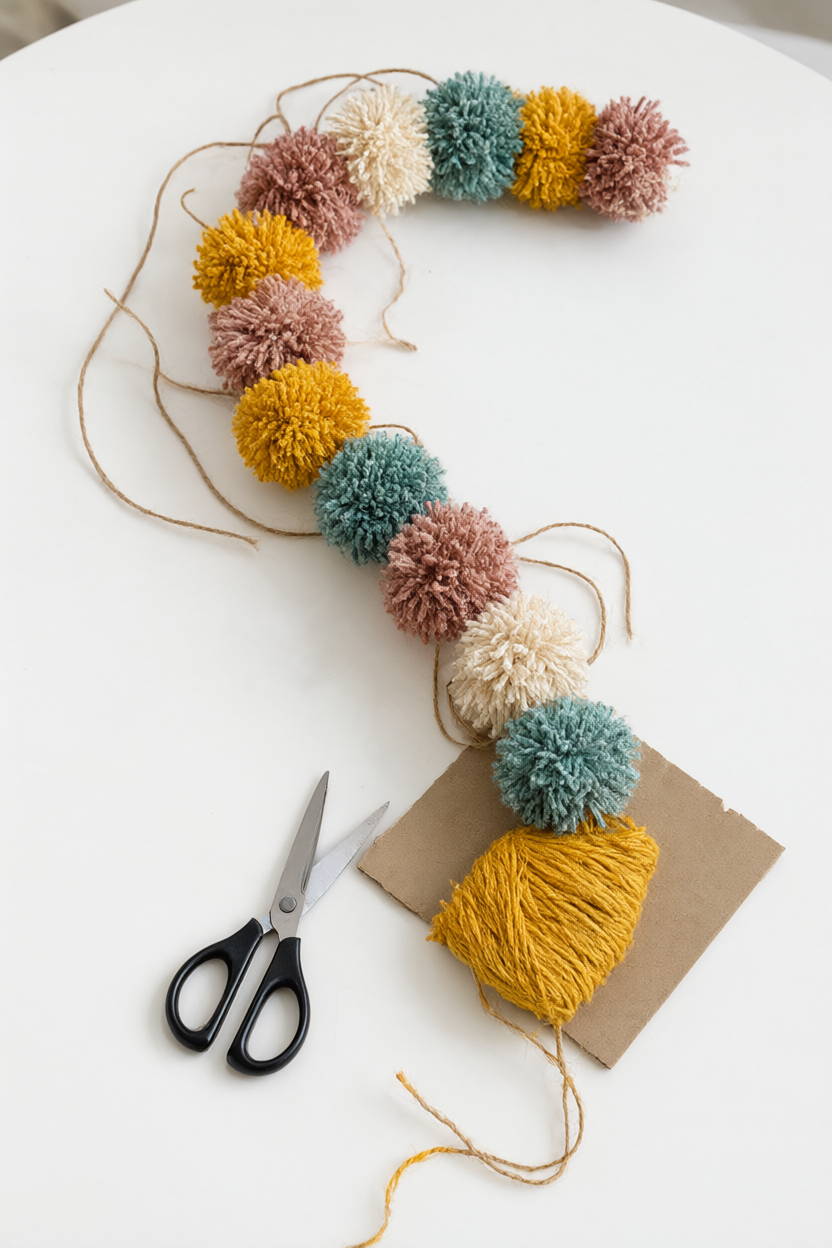
- Slide off and tie the middle. Slide the wrapped bundle off the cardboard, keeping the loops lined up. Cut a 12-inch length of the same yarn, slip it under the bundle, and tie it around the middle with a tight double knot, leaving both tails long. Those tails become the hanger for the pom-pom, so leave them at least 6 inches.
- Cut every loop. Holding the bundle by the tails, cut through all the loops on both ends with sharp scissors. Work over the bin or bag so the trimmings stay contained, and keep your fingers clear of the blades. Fluff the strands into a rough ball.
- Trim to an even ball. Trim all over with small snips, rotating the pom-pom as you go and checking it against the 3-inch cardboard circle. Small cuts shape a rounder ball than big chops, so sneak up on the size. Repeat until you have twelve pom-poms, three in each of the four colors, using about 60 yards per color.
- Shake out the fuzz. Shake each pom-pom over a bin or bag to shed loose fibers. Keep the long middle tails on every one. A good shake now means less fuzz on your wall later.
- Lay out the twine. Cut 7 feet of jute twine and tie a small loop at one end for hanging. Lay the twine out straight so you can see the full length before you start tying.
- Tie on the pom-poms. Start near the center and tie a pom-pom onto the twine with its middle tails, using a double knot. Work outward, spacing the pom-poms about 6 inches apart, and slide each one along the twine before you lock the knot if the spacing needs a nudge. Keep the knots snug so the pom-poms stay upright.
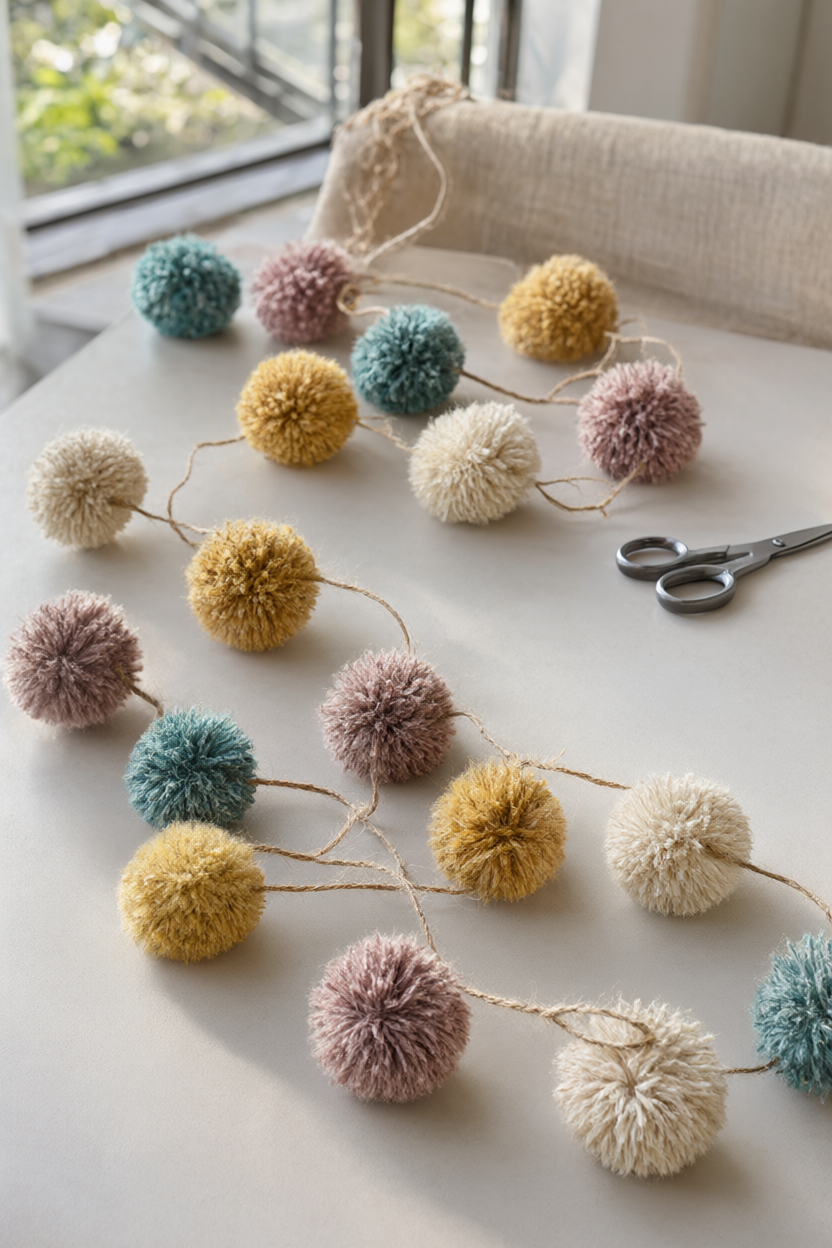
- Finish and hang. Double-knot the last pom-pom, trim the yarn tails close, and tie a loop at the other end of the twine. If a trimmed tail will not lie flat, secure it with a tiny dot of clear-drying craft glue. Fluff every pom-pom by hand, give the garland a gentle shake, and hang it on small nails or removable hooks. Step back and straighten any pom-pom that sits crooked.
Make It Your Own
Color scheme. Use nursery pastels such as blush, sage, butter and ivory for a baby-shower gift, or choose three shades of one color for a calmer, tonal garland that blends into a quiet room.
Size. Make 1.5-inch pom-poms on a fork for a delicate 10-foot garland, or mix 2-inch and 4-inch pom-poms for an organic, textured look. Just keep the spacing consistent so the strand still reads as one piece.
Use. Drape it over a headboard or gallery wall, use it as a photo backdrop, or wire the pom-poms onto a 10-inch wreath form for a fluffy wall hanging. A short strand also makes a sweet gift topper.
Beginner Mistakes (and Easy Fixes)
- Skimpy pom-poms. Fewer than 70 wraps makes see-through pom-poms, so wrap 80 to 100 times and push the wraps together as you go.
- A loose middle knot. A single knot lets the pom-pom shed and fall apart. Tie a tight double knot with strong yarn and leave long tails for hanging.
- Lopsided trimming. Cutting the loops unevenly or trimming too fast gives a lopsided ball. Cut all the loops first, then trim in small snips while rotating the pom-pom against the 3-inch cardboard guide.
Your Free Printable
The free PDF is two pages. Page 1 is What You’ll Need, an 8-item checklist covering yarn, twine, cardboard and tools. Page 2 is Step by Step, a 9-item checklist from cutting the template to hanging the garland.
Questions You Might Have
How much yarn does a 3-inch pom-pom use?
About 18 to 20 yards of worsted-weight yarn. Twelve pom-poms need roughly 220 to 240 yards total, or about 60 yards per color in a four-color garland.
Can I make this without a pom-pom maker?
Yes. A 3.5-inch-wide cardboard rectangle, yarn and sharp scissors are enough. The cardboard sets the size and the wrap count sets the density, so a ruler and a little patience do the rest.
Will the pom-poms slide or shed?
Tie each one with a double knot around the twine and trim the tails close. Give the garland a shake outside before hanging to remove loose fibers, then re-fluff by hand.
Save This for Later
Pin the photo below so the tutorial is easy to find the next time you have a free afternoon and a few skeins to use up.
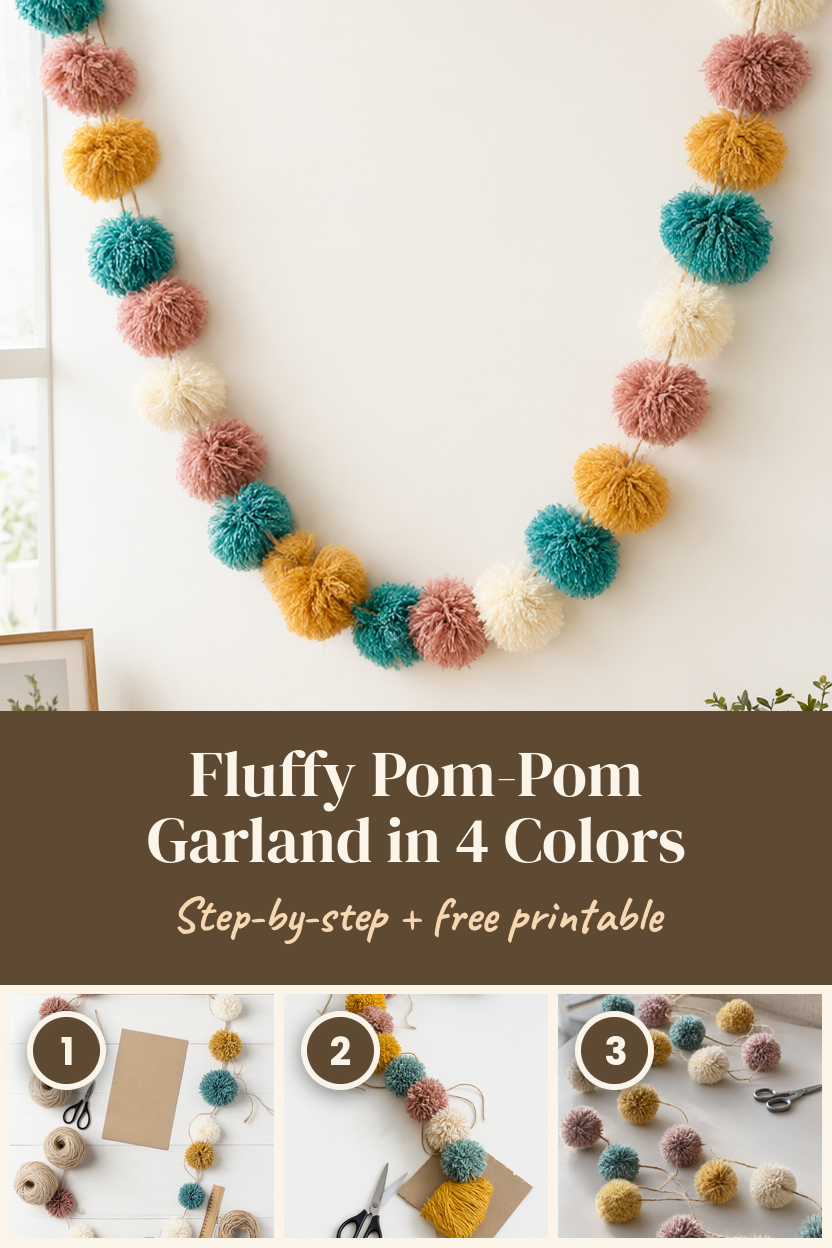
A handmade garland adds soft color and texture without much fuss, and it is the kind of small project that makes a room feel finished. Once the first pom-pom turns out round and fluffy, the other eleven go quickly.